How to Prepare Land for Gardening in 10 Essential Steps
Preparing land for gardening can feel overwhelming, especially when weeds, compacted soil, or drainage problems get in the way. You’re not alone—many gardeners struggle to create a healthy, easy-to-maintain space. The right tools can make each step simpler, from clearing the ground to preparing beds for planting.
To prepare land for gardening, choose a sunny, well-drained site near water, then check for buried utilities and remove hazards. Clear weeds and grass without spreading invasive roots. Test your soil before adding targeted amendments, and loosen compacted areas gently. Plan drainage, irrigation, reachable beds, and clear paths before shaping the ground. Apply two to three inches of clean mulch, keeping it away from stems. Let the bed settle, monitor moisture, and make final adjustments before planting; these steps set you up for success.
Key Takeaways
- Choose a sunny, well-drained site with convenient access to water and protection from strong winds.
- Check for buried utilities, then remove debris, weeds, invasive plants, and grass safely.
- Test soil texture, pH, and nutrients; apply appropriate amendments based on results.
- Loosen compacted soil gently, plan accessible beds and paths, and direct excess water away from plants.
- Shape beds, install watering systems if needed, and apply two to three inches of clean mulch.
Choose a Sunny, Well-Drained Garden Site
Where should you place your garden? Choose a spot that gets at least six to eight hours of direct sunlight each day. Most vegetables and flowering plants need steady light to grow well, so watch how shadows move across your yard before deciding. A sunny area away from tall trees, fences, and buildings usually gives you more reliable results.
Check how water moves through the site after rain. Your garden should drain well, not stay soggy or collect runoff. If puddles linger, consider another location or plan to raise the beds. Avoid low spots where water gathers, since saturated soil can limit root growth and encourage disease.
Look for convenient access to a hose, and choose a location you can reach easily for regular care. A nearby water source makes watering simpler, while a clear view helps you monitor plants. Consider wind exposure, too; a sheltered site can protect delicate growth without blocking sunlight. These choices give your garden a strong start and support healthy plants throughout the growing season.
Check for Utilities and Remove Debris
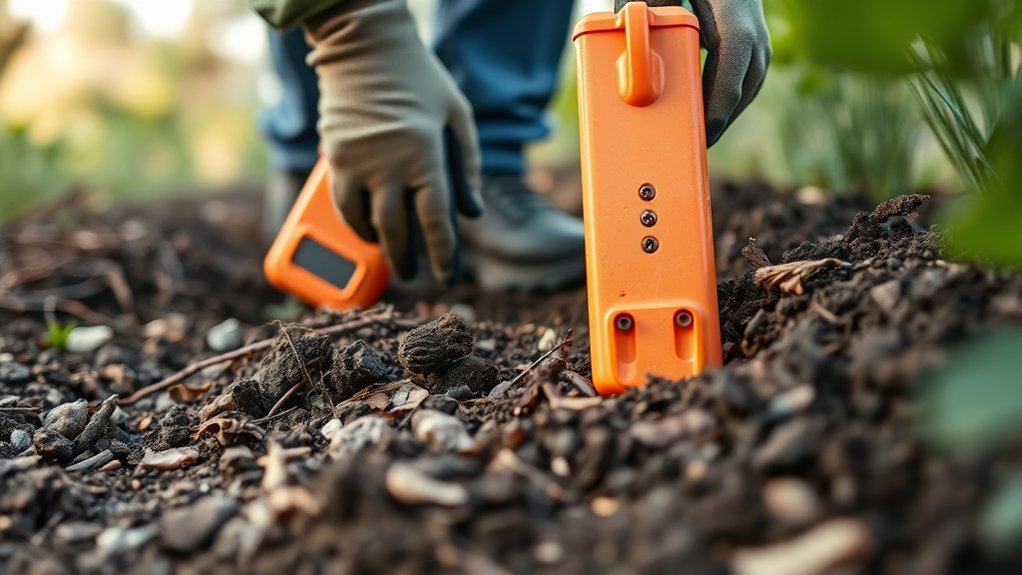
Before digging, contact your local utility-marking service to locate buried gas, water, electrical, and communication lines. Wait for markings, then check utilities against your garden plan. Don’t assume shallow digging is safe; lines may sit close to the surface. Keep marked areas clear, and follow the service’s instructions before using tools.
> Before digging, have utilities marked, check them against your garden plan, and keep marked areas clear.
Next, inspect the ground and remove debris while avoiding hazards. Wear sturdy gloves and shoes, and lift cautiously; sharp or heavy objects can cause injuries. Look for:
- Broken glass, rusty metal, and nails hidden in soil
- Bricks, stones, and concrete that could obstruct beds
- Litter, branches, or discarded materials that might conceal hazards
Sort what you find: recycle suitable materials, dispose of rubbish safely, and set aside useful stones or clean wood for later projects. Don’t disturb suspicious containers or unknown materials; contact local authorities for safe handling.
Note signs of animal activity, such as burrows or droppings, and include weeds vs pests planning in your site notes. You’ll address unwanted plants separately, so focus now on hazards and safe access.
Clear Weeds, Grass, and Unwanted Plants
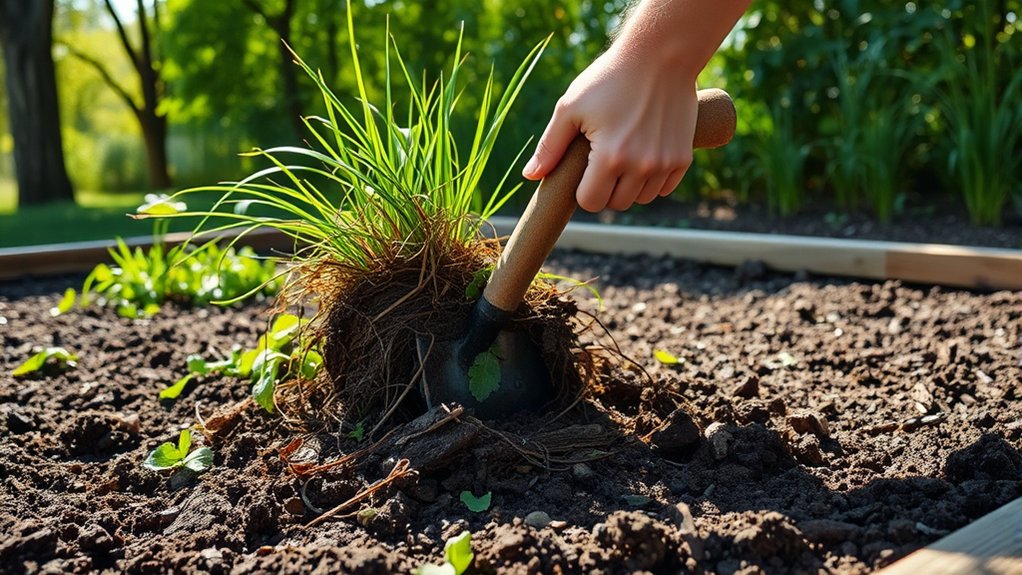
With hazards cleared, remove weeds, grass, and other unwanted plants so they won’t compete with your garden crops. Start by identifying what’s growing, especially invasive species that can spread from roots or seeds.
Pull small weeds by hand when the ground is moist, gripping each plant near its base to remove as much of the root as possible. For larger patches, use a hoe or spade to cut plants below the surface.
If you’re clearing turf, slice it into manageable sections and lift it away, or smother it with cardboard or a light-blocking cover. Avoid tilling weeds that spread through fragments, since chopping roots can create more plants. Bag seed heads and invasive growth rather than adding them to your compost.
Consistent weed control supports healthy soil preparation and gives crops room to establish. Remove regrowth before planting, and keep pathways clear to limit new weeds from spreading into your garden beds.
Test Your Garden Soil
Once you’ve cleared unwanted plants, test your garden soil to learn what it needs before planting. A simple test gives you a clearer picture of pH, nutrient balance, and soil structure, so you can choose plants suited to your garden.
Test your soil before planting to understand its pH, nutrients, and structure—and choose plants that suit your garden.
Collect samples from several spots in the bed, using a clean trowel. Remove stones, roots, and surface debris, then mix the soil in a clean container. Follow your test kit’s directions, or send a sample to a local extension service for a detailed report.
As you gather samples, notice how the earth looks and feels:
- Sandy soil feels gritty and slips through your fingers.
- Clay soil forms a dense, sticky clump when damp.
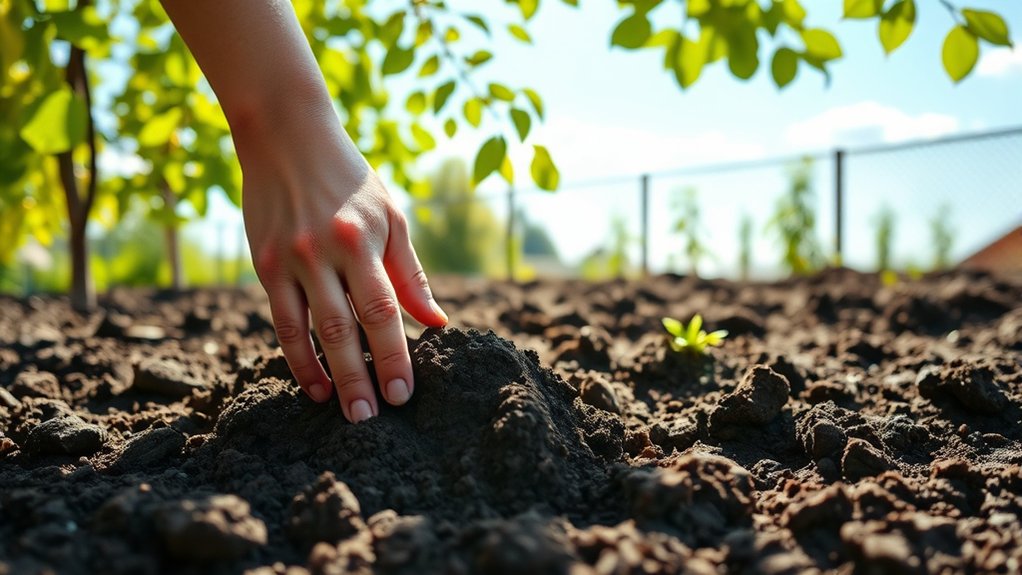
- Loamy soil crumbles into soft, dark crumbs.
Record the results and keep the report handy as you plan your garden. Testing before planting helps you understand your starting conditions and avoid guessing about what’s beneath the surface. Don’t change the soil yet; use the findings to guide your next step.
Amend Soil Based on Test Results
Review your soil test to understand its nutrient levels and pH. Then choose amendments that address any specific needs and apply them at the recommended rates. Retest your soil afterward to make sure the changes worked.
Interpret Soil Test Results
Soil test results show which nutrients your garden needs and whether its pH is suitable for the plants you plan to grow. Read each value alongside the lab’s recommended range, not in isolation. Check the sample notes, too, so you know which bed or area the results describe.
Your report may also mention soil texture and organic matter, which affect drainage, nutrient availability, and how soil holds water.
Look closely at these key details:
- A pH below or above the recommended range can limit nutrient uptake.
- Low nutrient readings signal a shortage; high readings warn against adding more.
- Different garden beds may show different results, even when they look alike.
Compare the findings with your plants’ needs and note any gaps. Don’t assume a symptom alone confirms a deficiency; use the test as your guide. Keep the report handy as you plan.
Choose Targeted Amendments
With your test results in hand, choose amendments that address specific nutrient gaps or pH issues rather than adding products by guesswork. If your soil lacks nitrogen, select a suitable nitrogen source; if phosphorus or potassium is low, choose an amendment that supplies the missing nutrient. Match your choice to your garden’s needs and the test’s recommendations.
For soil pH outside the preferred range for your crops, use lime to raise it or sulfur to lower it, guided by the test results. Don’t add lime or sulfur automatically: unnecessary changes can make nutrients less available.
Consider organic options, such as compost, when they address your soil’s needs. Compost can support microbial diversity and improve soil structure, but it won’t correct every deficiency. Choose only amendments that serve a clear purpose for your planting area.
Apply Correctly and Retest
Apply each amendment at the rate and depth specified by your soil test or product label, spreading it evenly over the intended area. To apply correctly, measure carefully rather than guessing; too much lime, fertilizer, or compost can harm plants and disrupt soil balance. Use these simple techniques to distribute materials:
- Scatter fine amendments in a thin, even veil across the bed.
- Work granular products into the topsoil with a rake or garden fork.
- Water gently afterward to settle dust and help amendments begin working.
Wear gloves and follow label precautions, especially when handling concentrated products. Don’t mix amendments unless your test recommendations or product instructions say it’s safe. Give the soil time to respond, then retest at the interval your lab recommends. Compare the new results with your target ranges, and adjust only where needed before planting.
Loosen Compacted Soil Without Overworking It
When the ground feels dense underfoot, loosen it only as much as needed to make room for roots, air, and water. Soil compaction can restrict root growth, but aggressive digging may damage soil structure and disturb helpful organisms.
First, check whether the bed truly needs attention: press a garden fork into the ground. If it’s difficult to insert, work the soil when it’s slightly moist, not wet or bone-dry.
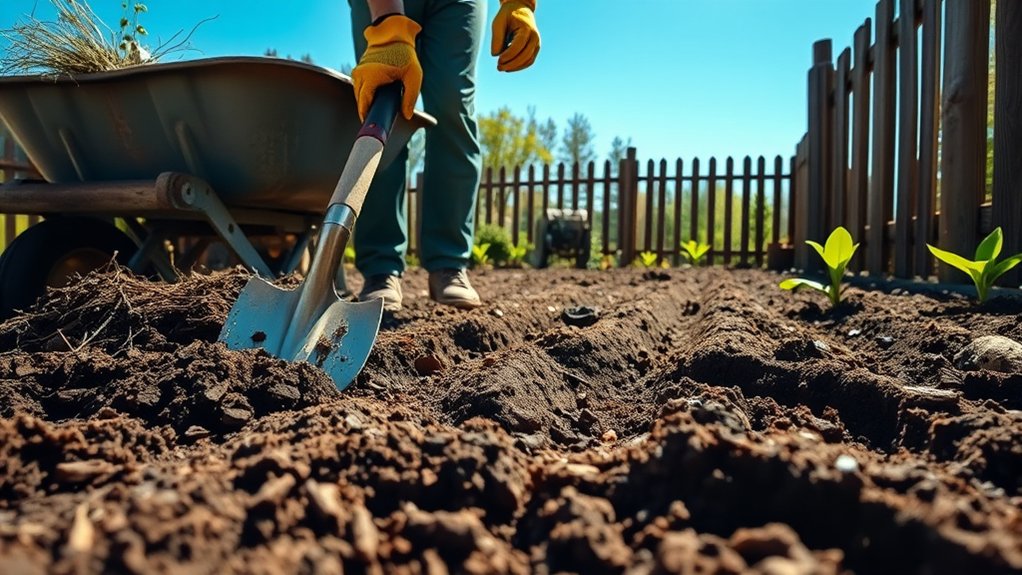
Push a broadfork or garden fork several inches into the bed, then rock the handle gently to lift and crack the soil. Repeat across the area, spacing each insertion without turning over the layers.
For a small patch, use a hand fork. Avoid walking on the loosened bed; use a board or reach from the edges if needed.
Skip routine tilling, which can break down aggregates and encourage compaction over time. Add organic matter at the surface when appropriate, and let roots, soil life, and seasonal cycles help maintain a friable texture.
Plan Garden-Bed Drainage and Watering
Check how quickly water drains from your soil to spot areas that may need improvement. Then shape your beds to direct excess water away from your plants. Make sure you have easy access to a water source so you can water efficiently.
Assess Soil Drainage
Good drainage keeps roots healthy, while steady watering helps plants thrive. To assess your soil, dig a hole about 12 inches deep and wide. Fill it with water, let it drain, then refill it. Check the water level after an hour: a slow drop may signal compacted soil, while rapid drainage can leave roots thirsty. Notice how the ground looks and feels, too; soil structure affects both drainage and nutrient balance.
- If water lingers in the hole, choose plants that tolerate damp conditions.
- If the hole empties quickly, add organic matter to help soil retain moisture.
- If drainage seems even, plan regular watering and monitor plants during dry spells.
Repeat the test in several spots, since conditions can vary across your garden. Use what you learn to match watering frequency to each area’s needs.
Shape Beds for Runoff
Shape garden beds to guide excess water away from plant roots and prevent pooling. After assessing your soil’s drainage, observe where rainwater flows and collects. Position beds to shape runoff toward safe outlets, such as a planted swale or a stable, vegetated area. Don’t direct water onto paths, foundations, or neighboring properties.
On gentle slopes, make beds across the grade rather than straight downhill. Build low, compacted berms along bed edges to slow water, but leave a controlled overflow point so heavy rain won’t breach them. If your site has a steep slope, terrace sloping ground with level planting areas and sturdy retaining edges. Keep terraces modest in height, and stabilize exposed soil with mulch or ground cover.
Check your layout during a rainstorm, then adjust contours where water still pools or cuts channels. Shape beds before planting.
Plan Watering Access
Once you’ve shaped beds to manage runoff, plan how you’ll get water to every planting area. Trace a route from your spigot, checking that hoses or pipes won’t cross paths, block gates, or invite trips. Place watering valves where you can reach them without stepping into muddy beds.
If you’re installing drip irrigation, run main lines along bed edges, then branch smaller tubes toward rows of plants. Keep connections accessible for repairs and leave room to expand as your garden grows.
- Picture a hose following the fence, clear of the walkway.
- Set valves beside a firm path, not among seedlings.
- Lay drip lines beneath mulch, with emitters near roots.
Check water pressure at the farthest bed before planting. Adjust the layout now so every crop gets a steady supply without wasting water or damaging soil.
Shape Garden Beds and Plan Paths
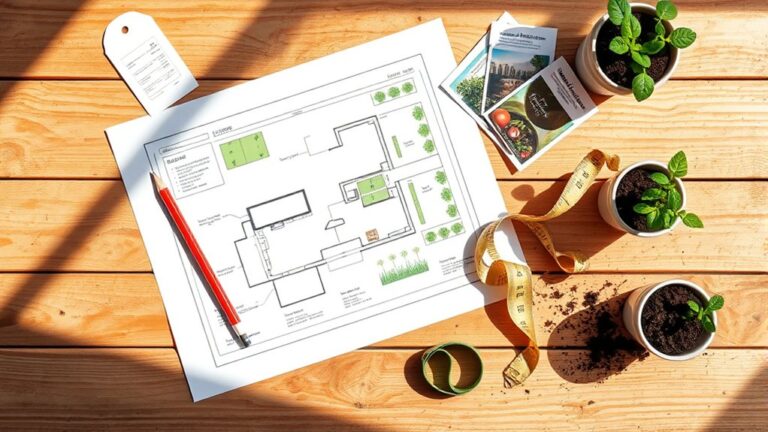
Where will your garden beds get the best sun and stay easy to reach? Observe how sunlight moves across your yard, then place beds where your chosen plants will thrive. Keep them close enough to water and tend without stepping over growing areas. Arrange beds to fit your space, leaving room to move comfortably between them.
Place garden beds where your plants get the right sun, and leave enough room to reach, water, and tend them easily.
Choose bed shapes that suit your site and gardening habits. Straight beds work well in narrow spaces, while curved beds can soften an open layout. Use bed edging to define each growing area and keep its outline clear.
Make beds narrow enough that you can reach the center from either side; you shouldn’t need to walk on the soil. Plan paths before you start digging. Set a main route from the entrance to the beds, then add smaller paths for access.
A path winding through the garden can create interest, but keep its turns broad and its surface stable. Allow enough width for a wheelbarrow if you’ll use one. Mark the layout with string or a hose, walk it, and adjust before shaping the ground.
Mulch to Protect Soil and Suppress Weeds
A layer of mulch protects your prepared soil by slowing evaporation, moderating temperature, and blocking light from many weeds. Choose among mulch types that suit your garden bed, climate, and plants.
Organic options enrich soil as they break down, while inorganic materials last longer but don’t add nutrients. Spread mulch after you’ve shaped your beds and paths, keeping it clear of plant stems and trunks.
Picture how each material will look and work:
- Straw: A pale, loose blanket that lets water reach the soil and makes vegetables easy to spot.
- Shredded leaves: A soft, earthy layer that settles around plants and gradually feeds the soil.
- Wood chips: A coarse, dark covering that creates a tidy finish around paths and perennial beds.
For effective weed suppression, apply an even layer about two to three inches deep. Don’t pile it too thickly, or water and air may struggle to reach the soil.
Check coverage occasionally and top up thin spots as needed. Choose clean, seed-free material to avoid introducing unwanted weeds.
Let the Bed Settle Before Planting
After mulching, give the bed time to settle before planting. A brief pause lets moisture spread, soil organisms adjust, and mulch begin protecting the surface. Check the bed every few days; don’t disturb the layers unless you spot a problem.
| What to check | What you want | What to do |
|---|---|---|
| Soil moisture | Evenly damp | Water gently |
| Mulch depth | A loose, thin layer | Re-spread clumps |
| Surface level | Stable and even | Smooth lightly |
| Weather | Mild conditions | Wait after heavy rain |
Use this settling period to observe your bed microclimate. Note where sunlight lingers, wind dries the soil, or water collects. Those details can guide plant placement and companion planting.
If the soil sinks or mulch shifts, make small corrections, then let the bed rest again. Avoid walking on prepared soil, since pressure can compact it and restrict roots.
Once the surface stays level and moisture remains consistent, plant into the bed. You’ll give seeds and transplants a steadier start without undoing your preparation.
Frequently Asked Questions
When Is the Best Time of Year to Prepare Land for Gardening?
The best time to prepare your garden land is usually fall or early spring, when the soil is workable but not waterlogged or frozen. For best timing, check your local climate and plan a few weeks before planting.
Fall preparation gives organic matter time to break down, while spring work supports seasonal readiness for immediate planting. Avoid digging wet soil; you’ll compact it. If conflicting topics? Check your crop’s preferred planting season before choosing.
How Much Does Professional Garden-Land Preparation Typically Cost?
Professional garden-land preparation typically costs $500–$5,000 or more, depending on your plot’s size, condition, location, and required work. You might pay a few hundred dollars for clearing and basic tilling, while grading, drainage, soil amendments, or equipment rental can raise the bill substantially.
Ask contractors for itemized quotes, and check whether professional soil analysis and irrigation feasibility are included. Your site’s specific needs will determine the final price, so compare estimates before hiring a professional.
Can I Prepare a Garden Plot on a Slope?
Yes, you can prepare a garden plot on a slope. Think of a hillside garden like a staircase: each level slows water and gives plants steadier footing.
You can build small terraces across the slope, anchoring them securely to prevent collapse. Add soil stabilization with deep-rooted plants, mulch, or erosion-control fabric.
Plan slope drainage carefully, directing runoff away from beds and structures. Start with a small section, then expand once you see how water moves.
What Tools Are Essential for Preparing Land for a Garden?
Your essential tools include a spade or shovel for digging, a garden fork for loosening soil, a hoe for removing weeds, and a rake for leveling beds. Use a wheelbarrow to move compost and debris, plus gloves to protect your hands. For soil testing, get a test kit or send a sample to a local extension service. Add pruning shears if you’ll clear brush, and a measuring tape to plan your garden layout.
How Long Should I Wait After Applying Herbicide Before Planting?
You might wait anywhere from a few hours to several months after applying herbicide before planting—the label holds the answer. Check its replanting interval and follow every instruction; products differ wildly, and planting too soon can damage seedlings or leave residues.
Consider your crop, soil, and weather, too. If timing’s unclear, contact your local extension service. Use herbicide rotation to manage resistance, and follow soil testing ethics by testing responsibly and interpreting results carefully.
Conclusion
Prepare your garden site with care, and you’ll give every plant a stronger start. Choose a sunny spot, clear the ground, test the soil, and add only what it needs.
Shape beds that drain well, plan easy paths, and protect bare earth with mulch. Then let the soil settle before planting.
With each step, you’re building more than a garden—you’re creating a place where roots can spread, rain can soak in, and new growth can thrive. These 10 essential steps to prepare land for gardening can help you create a healthy, welcoming space for your plants.