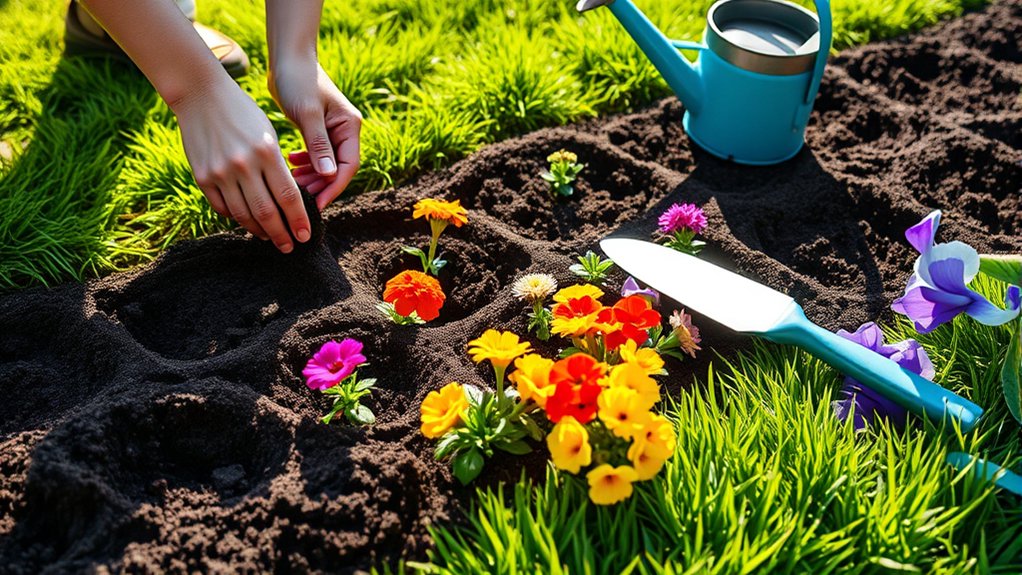
How Do You Make a Flower Bed in 5 Easy Steps?
Starting a flower bed can feel overwhelming when you’re unsure what to plant, where to place it, or how to prepare the soil. You’re not alone—many gardeners struggle to get everything right. This guide to how to make a flower bed in 5 easy steps will help you create a colorful, healthy garden with confidence.
You can make a flower bed in five easy steps: track sunlight over several days, then choose flowers suited to the light and your climate. Sketch a layout with taller plants behind shorter ones, leaving room for mature growth and repeating colors.
Clear weeds and debris, loosen the soil, and mix in compost. Arrange flowers before planting, then space them according to plant labels.
Water deeply, add mulch, and keep checking soil moisture. A few practical details can help each step go smoothly.
Key Takeaways
- Map sunlight at different times on multiple days, then choose flowers suited to the bed’s light and local climate.
- Sketch a balanced layout with taller flowers behind shorter ones, allowing for mature spread and grouping plants by water needs.
- Choose a mix of early-, midseason, and late-blooming flowers; check labels for height, spacing, and bloom time.
- Clear weeds, grass, rocks, and debris, then loosen the top 8–12 inches and mix in finished compost.
- Position plants before digging, space them according to mature width, water deeply at soil level, and add mulch.
Match Your Flower Bed to Available Sunlight
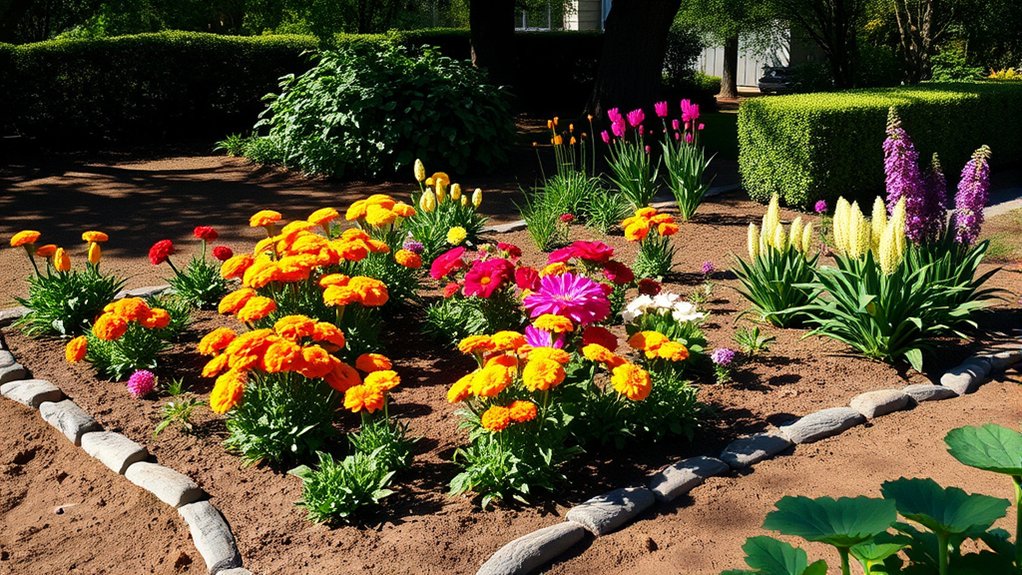
Before choosing flowers, note how many hours of direct sunlight your spot gets each day. Track the light in the morning, midday, and afternoon, since nearby trees, fences, or buildings can cast changing shadows. This simple sunlight mapping helps you understand what your bed can support throughout the growing season.
Count only direct rays, not bright, indirect light. A sunny location usually receives six or more hours of direct sun daily; partial sun gets about four to six, while full shade gets fewer than four. Your observations may shift as the sun’s angle changes, so check the area on more than one day.
Then compare the conditions with each flower’s listed needs. Pay attention to shade tolerance: some varieties handle limited sun, while others need stronger exposure to bloom well. If the spot receives mixed light, use the plant’s guidance for similar conditions. Matching flowers to the light you actually have helps prevent weak growth, sparse blooms, and avoidable replacements later.
Plan the Layout and Choose Suitable Flowers
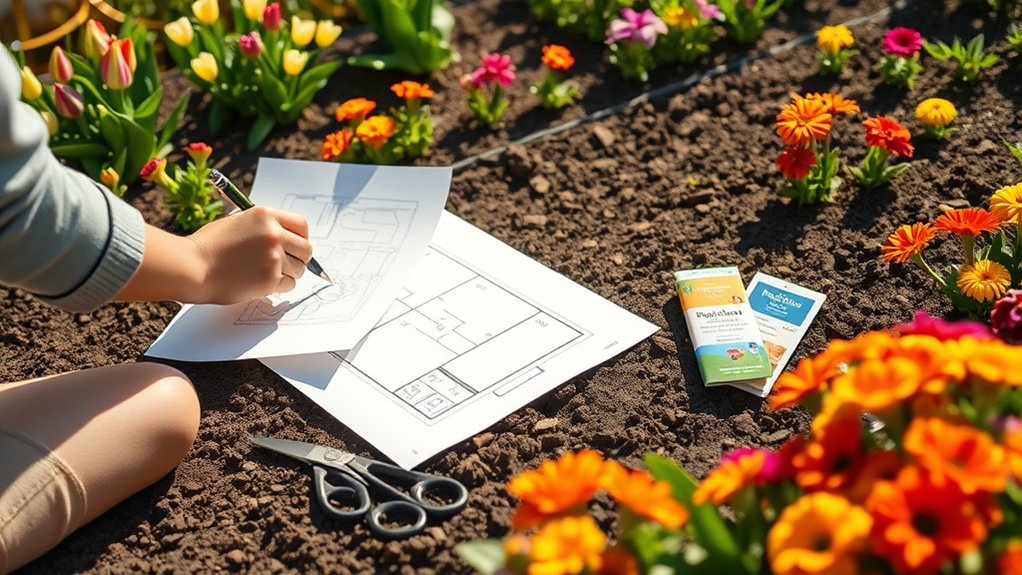
Once you’ve mapped the sunlight, sketch a layout that fits the space and puts taller flowers behind shorter ones. Leave room for each plant to reach its mature width, and group flowers with similar water needs. Curved edges can soften a small bed, while repeated colors create a cohesive look.
Sketch a balanced flower bed with taller blooms behind shorter ones, room to grow, and plants grouped by water needs.
Use these steps to choose flowers that suit your plan:
- Pick varieties suited to your mapped sunlight and local climate.
- Combine early, midseason, and late bloomers for color across the growing season.
- Make pollinator friendly choices, such as native blooms that offer nectar and pollen.
- Apply budget friendly planning: compare seed and plant costs, then grow some flowers from seed.
Check plant labels for height, spread, and bloom time before you buy. Choose a manageable mix rather than filling every gap; flowers need space to grow, and you can add more later.
Keep your sketch handy when shopping so you can match each selection to its planned spot. This approach helps you build a balanced bed without overspending or crowding.
Clear the Site and Prepare the Soil
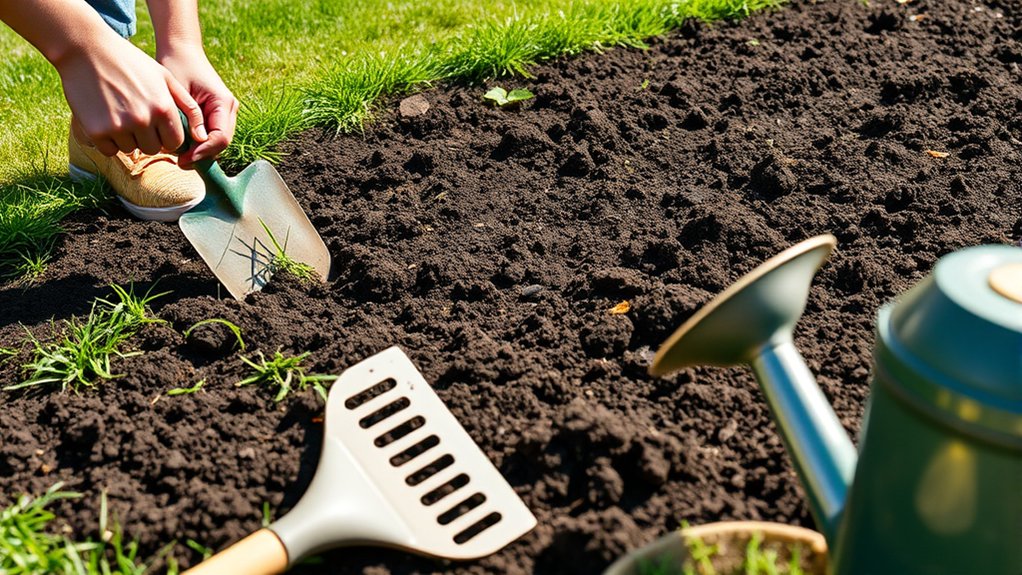
With your layout planned, clear the site by removing weeds, grass, rocks, and debris. Dig out persistent roots so they won’t return, and dispose of diseased plant material separately.
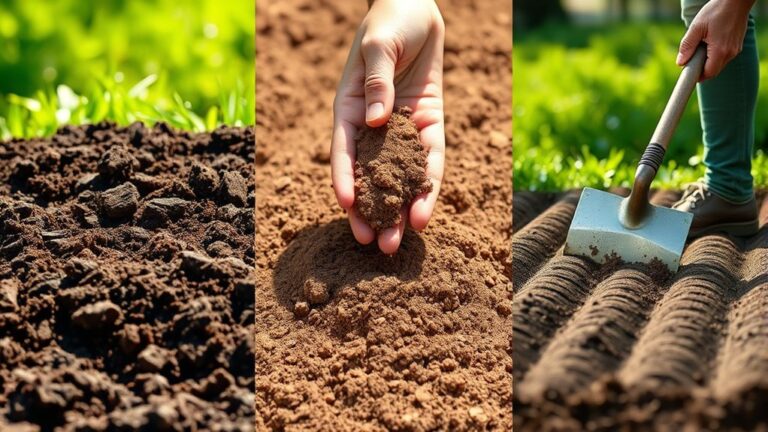
For clear soil preparation, loosen the top 8 to 12 inches with a garden fork, breaking up compacted clumps without working wet soil.
| Task | What to do |
|---|---|
| Remove weeds | Pull roots completely |
| Lift turf | Slice and roll grass |
| Clear debris | Collect stones and litter |
| Loosen soil | Turn the top layer |
| Add compost | Mix it in evenly |
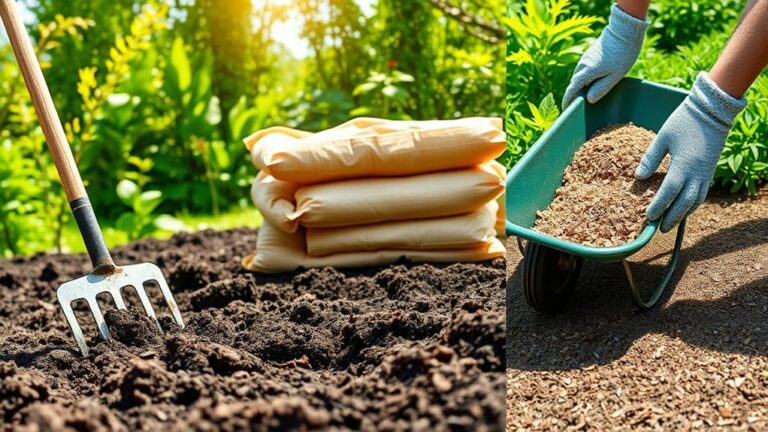
Check drainage by watering a small area; if water pools, improve the soil before planting. Mix in a few inches of finished compost to support healthy soil structure.
Choose pesticide free amendments, such as leaf mold or aged compost, and follow package directions for any soil conditioners. Avoid fresh manure, which can damage plants.
Rake the surface smooth, then water lightly to settle the soil. Your bed’s ready for the next step.
Plant Flowers at the Right Spacing
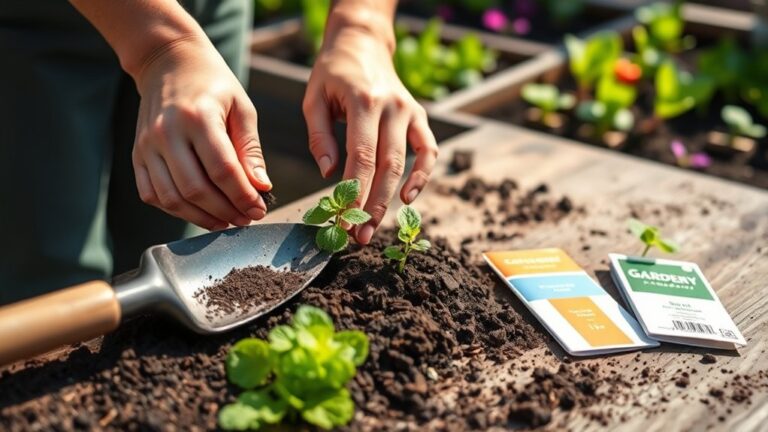
How far apart should you plant each flower? Check the plant tag or seed packet for mature width and spacing guidelines. Give each flower enough room to reach its full size without crowding its neighbors. If you plant too closely, flowers may compete for light, nutrients, and airflow; too far apart, and the bed may look sparse.
Use these steps to plan your layout:
- Measure your bed and mark the planting area so you can estimate how many plants will fit.
- Note each flower’s mature spread, then use that measurement to set the distance between plants.
- Arrange taller varieties toward the back and shorter ones near the front, keeping every plant within its recommended spacing.
- Group flowers with similar light and soil needs, and consider companion planting to create a balanced, attractive display.
Before you dig, set pots on the soil and adjust their positions. Step back to view the arrangement from different angles. This lets you spot gaps, crowded clusters, or uneven rows and make changes while the plants remain easy to move.
Water, Mulch, and Care for Your Flower Bed
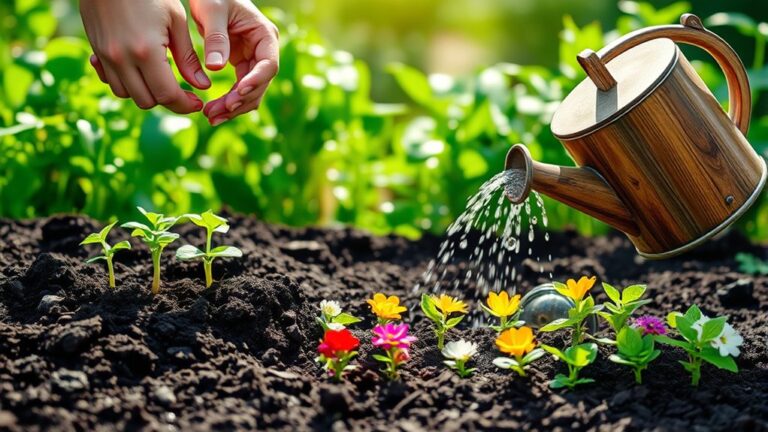
After planting, water the bed deeply to help roots settle into the soil. Aim the hose or watering can at the soil, not the leaves, and soak the root zone.
Water deeply at the soil level after planting to help roots settle and avoid wetting the leaves.
Check moisture with your finger; if the top inch feels dry, water again. Early morning watering reduces evaporation and supports water efficiency. Adjust your schedule for rainfall, heat, and your plants’ needs.
Spread a two- to three-inch layer of organic mulch around your flowers, keeping it a few inches from stems. Choose mulch texture that suits your garden: fine materials break down quickly, while coarser bark lasts longer.
Mulch helps retain moisture, suppress weeds, and moderate soil temperature.
Keep your flower bed healthy by removing weeds before they spread and trimming faded blooms when needed. Watch for drooping leaves, pests, or disease, and respond promptly.
Refresh mulch as it thins, but don’t pile it against plant crowns. As flowers grow, check spacing and airflow so foliage stays healthy. Your consistent care will help the bed thrive through the season.
Frequently Asked Questions
When Is the Best Time of Year to Create a Flower Bed?
The best time to create a flower bed is spring or early fall, when mild temperatures and reliable moisture help plants establish roots. Choose spring if you want to plant warm-season flowers after frost; choose fall for hardy perennials and bulbs.
Start soil preparation several weeks before planting, removing weeds and improving the soil with compost. Plan seasonal planting around your local frost dates, and water new plants consistently as they settle in.
How Much Does It Typically Cost to Build a Flower Bed?
You’ll typically spend $100–$500 to build a small flower bed yourself, while a larger or professionally installed bed can cost $1,000–$3,000 or more. Measure twice, spend once.
Your cost breakdown depends on bed size, soil preparation, edging, plants, and labor. Material considerations matter: mulch, compost, stone, and mature plants cost more than basic soil and seedlings.
You can lower expenses by choosing native flowers, reusing edging, and doing the installation yourself.
Should I Install Edging Around My Flower Bed?
Yes, you should install edging if you want a cleaner-looking flower bed and easier maintenance. Edging practicality depends on your soil, plants, and how often you mow or trim nearby grass.
A border can help keep mulch in place, limit grass from spreading, and define the bed’s shape. Choose border materials that suit your budget and style, such as stone, brick, metal, or plastic.
You can skip edging if you prefer a natural, informal look.
How Can I Keep Pets From Digging in My Flower Bed?
Want to keep pets out of your flower bed? Install sturdy pet barriers, such as low fencing or protective mesh, and secure them firmly so your pets can’t push through.
Cover exposed soil with large stones, pine cones, or thorn-free branches to discourage digging. You can also use soil amendments, like compost, to improve the bed’s texture and reduce tempting loose patches.
Give pets a designated digging area nearby, and reward them for using it.
Do I Need a Permit to Create a Flower Bed?
You usually don’t need a permit to create a small flower bed on your own property, but local permit requirements and zoning concerns can change that. Check with your city or county before digging, especially if you’ll build a raised bed, install edging or walls, alter drainage, or work near utilities or public land. Your homeowners’ association may also have rules. Call your local planning or building department to confirm what applies to your project.
Conclusion
Creating a flower bed doesn’t have to be complicated. Match your plants to the sunlight, plan a layout, prepare the soil, and give each flower room to grow. For example, if your sunny yard dries quickly, you could plant drought-tolerant coneflowers and mulch around them to conserve moisture.
Water consistently while roots establish, then keep an eye out for weeds and signs of stress. With a little care, you’ll enjoy colorful blooms and a flower bed that feels truly yours.