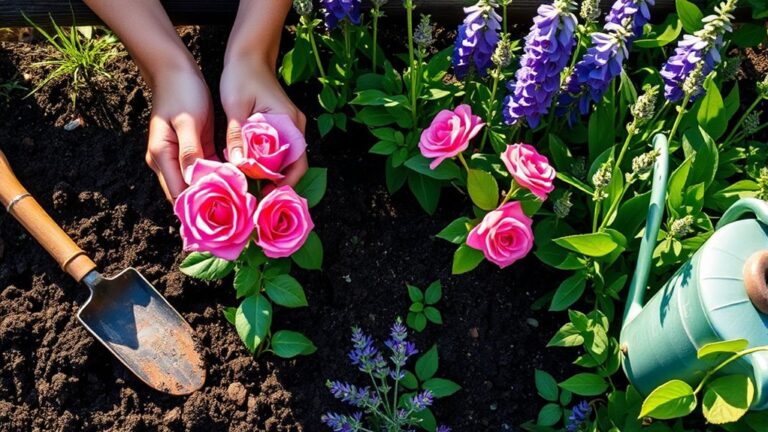
How to Arrange a Flower Bed in 3 Simple Steps
Planning a flower bed can feel overwhelming when you’re unsure what to plant or where to put it. You’re not alone—many gardeners struggle to create a layout that looks beautiful and thrives. These three simple steps will help you arrange a flower bed with confidence.
Arrange a flower bed in three simple steps. First, choose a sunny spot with well-drained soil, checking how nearby trees or buildings cast shade throughout the day. Second, select flowers suited to your climate and site, then plan by mature height, spread, color, and bloom time; place taller plants at the back or center and shorter ones along the edges. Third, plant at the recommended depth, water thoroughly, and add mulch. A few details can help your bed thrive.
Key Takeaways
- Choose a sunny, well-drained spot, checking how light and water conditions change throughout the day.
- Select flowers suited to your climate and site, and check their mature heights, spreads, and bloom times.
- Sketch the layout with tall flowers at the back or center, medium plants around them, and short varieties along the edges.
- Group flowers with similar needs, repeat or contrast colors, and leave enough space for mature growth.
- Plant at the recommended depth and spacing, water thoroughly, add mulch, and monitor moisture and plant health.
Choose a Sunny Spot for Your Flower Bed

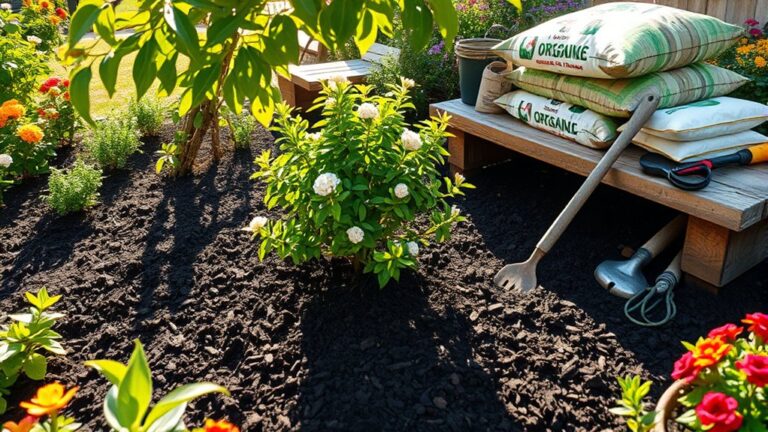
Before you choose a spot, check how much sunlight it gets throughout the day. Watch the area in the morning, around midday, and late afternoon, noting where shadows fall. Nearby trees, fences, and buildings can block light at different times, so don’t judge the location from one quick glance. Choose a place with sunny exposure that suits the flowers you may want to grow, and confirm that the light stays consistent across the bed.
Next, check the ground after rain or watering. If water pools or the soil stays soggy, the site may have poor soil drainage, which can stress many plants. Look for a spot where excess water can move away naturally. Avoid low areas that collect runoff, and consider whether a slope could wash soil away. You can also dig a small test hole, fill it with water, and see how quickly it drains. A well-lit, well-drained location gives your flower bed a stronger start.
Select Flowers and Plan Their Placement
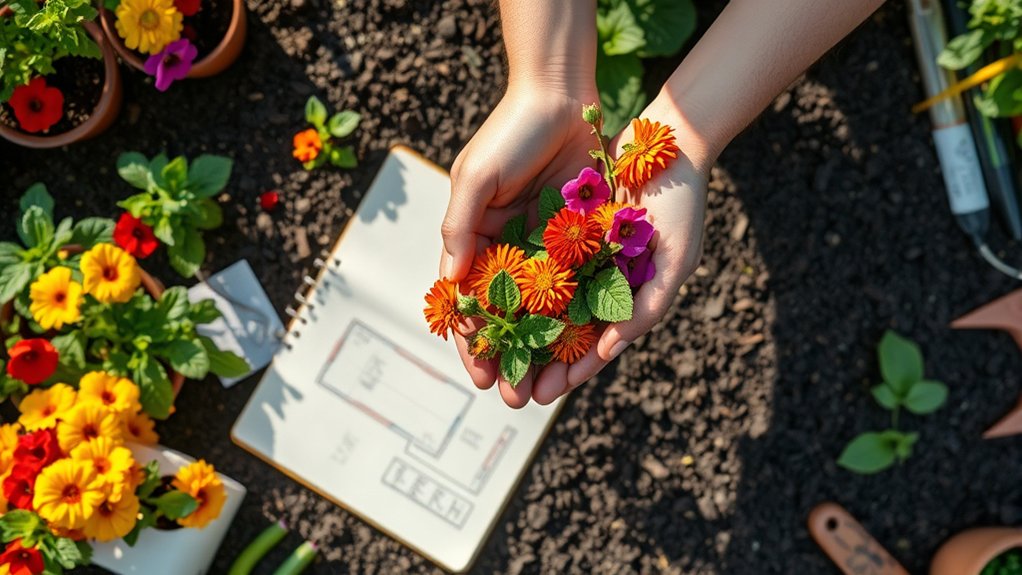
Choose flowers that suit your bed’s sunlight, soil, and climate, then check each plant’s mature height and spread. These details help you select varieties that can thrive together and fit the space as they grow.
Plan your layout before you buy. Place taller flowers toward the back of a bed viewed from one side, or in the center of an island bed. Arrange medium-height plants around them, then use shorter varieties along the edges.
This tiered design keeps each flower visible and gives the bed a balanced shape. Consider bloom timing so your display stays colorful across the season. Combine early, midseason, and late bloomers, and note when each variety flowers.
Use color thoughtfully: repeat a few shades for unity, or mix contrasting hues for energy. You can also explore companion planting by grouping flowers with similar needs or pairing varieties that attract pollinators.
Sketch your plan, label each spot, and adjust spacing to account for mature growth.
Plant, Water, and Mulch Your Flower Bed
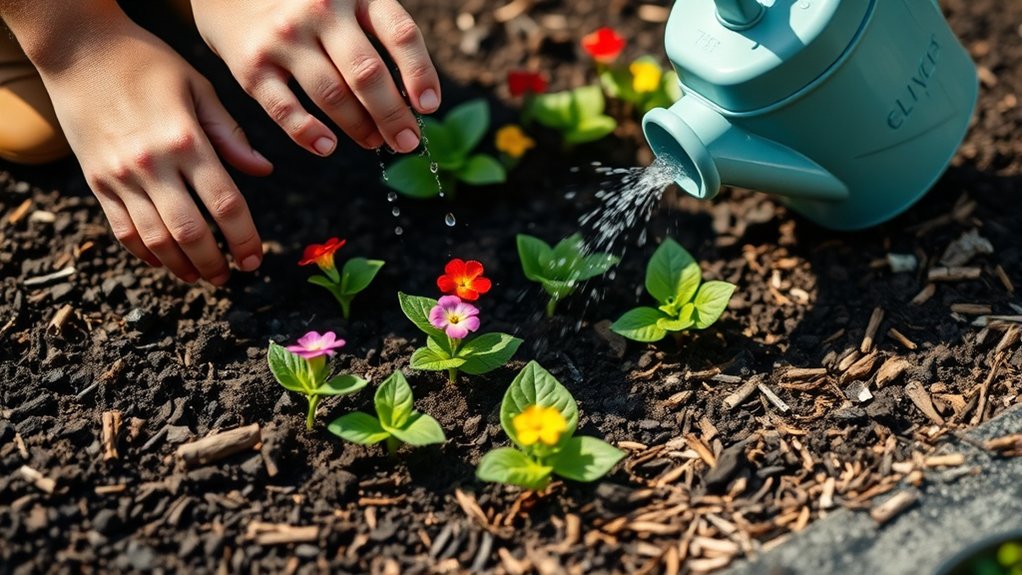
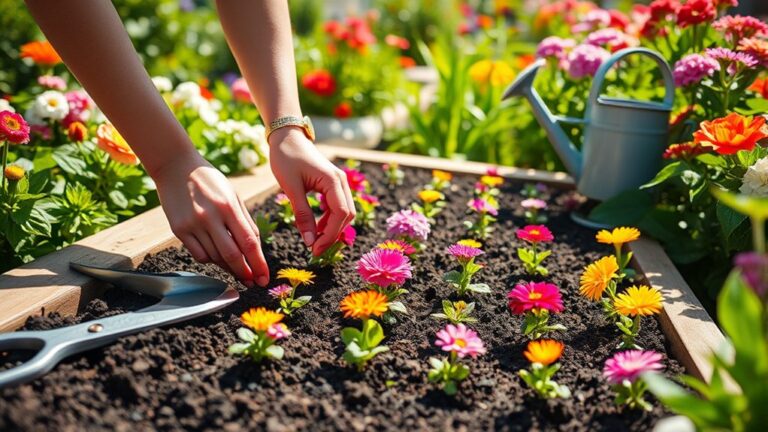
With your layout ready, plant each flower at the depth and spacing listed on its label, firm the soil gently around its roots, then water thoroughly to help it settle in. Work carefully so you don’t damage nearby stems or compact the soil.
Water at the base of each plant, keeping foliage dry to reduce disease risk. Check moisture regularly during the first few weeks; water when the top inch feels dry, adjusting for rainfall and heat.
If you haven’t already, use soil testing to identify nutrient or pH issues, then amend the bed as needed rather than guessing.
Spread a two-inch layer of mulch over the soil, leaving a small gap around each stem. Mulch helps retain moisture, suppress weeds, and regulate soil temperature. Keep it from piling against plant crowns, where excess dampness can cause rot.
Inspect your flowers often for pests, and remove damaged leaves promptly. Consistent checks support pest prevention and help your new bed thrive.
Frequently Asked Questions
What Tools Are Useful for Maintaining a Flower Bed?
You’ll maintain a flower bed more easily with a few reliable tools. Use hand pruners to trim stems, a trowel to plant and loosen soil, and a hand fork to remove weeds. A long-handled hoe supports efficient weeding strategies, while a watering can or hose keeps plants hydrated.
Wear gloves for protection, and use a rake to clear debris. A wheelbarrow helps move compost and mulch, whose mulching benefits include moisture retention and fewer weeds.
How Can I Prevent Weeds From Taking Over My Flower Bed?
Keep weeds from staging a takeover by covering bare soil, removing invaders early, and crowding them out with healthy plants. For effective Weed prevention, pull young weeds after rain, when roots slip free, and never let them set seed. Use smart Mulching strategies: spread two to three inches of bark or compost, leaving space around stems. Water deeply but less often, and edge your bed regularly to stop creeping weeds from sneaking in.
When Should I Prune Flowers in a Flower Bed?
When to prune depends on each flower’s growth cycle. For spring-blooming shrubs, prune just after flowers fade so you don’t remove next year’s buds. Prune summer-blooming plants in late winter or early spring, before new growth starts.
Deadhead spent blooms throughout the season to encourage more flowers, and remove damaged stems whenever you spot them. Check plant labels for exceptions, since the right pruning timing varies by species and climate.
How Can I Protect a Flower Bed From Pests?
Protect your flower bed by checking plants regularly, removing damaged leaves, and handpicking visible pests. Use pest proofing strategies like row covers, sturdy barriers, and mulch to discourage insects and slugs.
Encourage beneficial insects, such as ladybugs and lacewings, by planting diverse flowers and avoiding broad-spectrum pesticides. Water at the soil level, clear away weeds and debris, and choose pest-resistant varieties.
If an infestation persists, identify the pest before selecting a targeted treatment.
How Do I Prepare a Flower Bed for Winter?
Put your flower bed to bed before frost arrives: clear away diseased foliage, pull weeds, and cut back perennials that shouldn’t overwinter standing. Add finished compost to replenish the soil; learning how to compost nutrients helps you feed next season’s growth naturally.
Water plants well before the ground freezes, then cover the soil with two to three inches of mulch. Consider what mulch to choose for winter protection, such as shredded bark or straw, and keep it off plant crowns.
Conclusion
With a sunny spot, a thoughtful flower selection, and a simple planting plan, you’re ready to create a bed that blooms beautifully. Arrange taller flowers behind shorter ones, then plant, water, and add mulch to help your garden thrive.
Don’t worry about getting every detail perfect on the first try; gardening is a learning process, and you’ll find your rhythm as the seasons change. Roll up your sleeves, enjoy the fresh air, and watch your flower bed come to life as you learn how to arrange a flower bed.