3 Easy Steps to Prepare Soil for Planting Flowers
Getting flower beds ready can feel like a lot of work, especially when you’re unsure what your soil needs. You’re not alone—many gardeners struggle to turn compacted, weedy ground into a healthy place for flowers to grow. These three easy steps to prepare soil for planting flowers can help you get started.
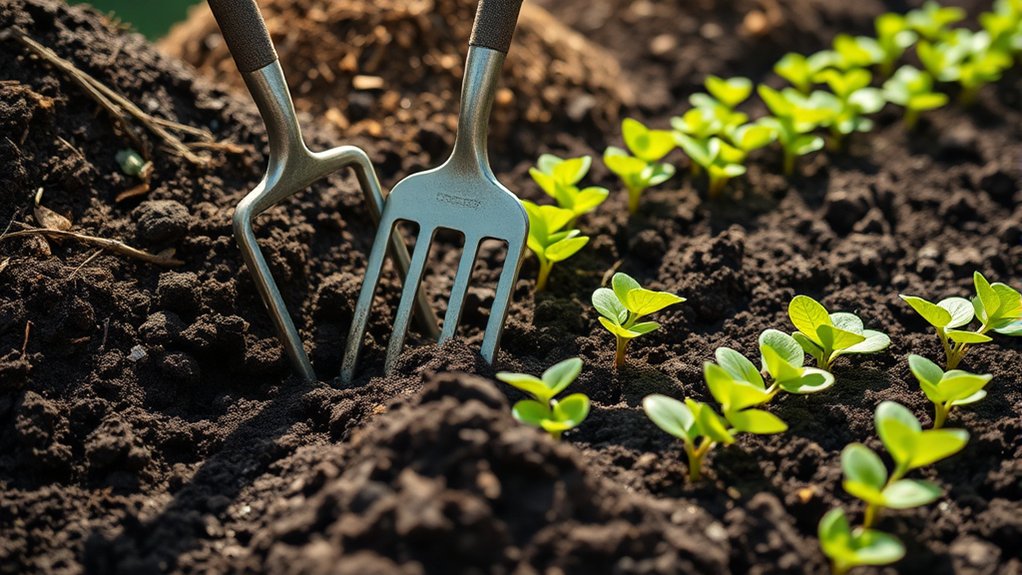
Prepare flower-bed soil in three easy steps. First, clear away weeds, rocks, and dead plants, then loosen compacted areas with a garden fork or hand cultivator.
Second, test soil from several spots to check its pH and nutrient levels, then choose any needed amendments based on the results.
Finally, apply products at their labeled rates and rake the bed smooth. Work gently and avoid digging when soil is wet. A few practical tips can help you get planting-ready results.
Key Takeaways
- Clear weeds, rocks, dead plants, and debris; pull weeds when the soil is moist, removing as much root as possible.
- Loosen compacted soil with a garden fork, turning it only as deeply as needed to protect its structure.
- Break up large clods and rake the bed level, avoiding work when soil is very wet.
- Test soil from several spots for pH and nutrients before choosing amendments.
- Apply recommended amendments at label rates, then rake the bed smooth and prepare to plant.
Clear the Flower Bed and Loosen Its Soil
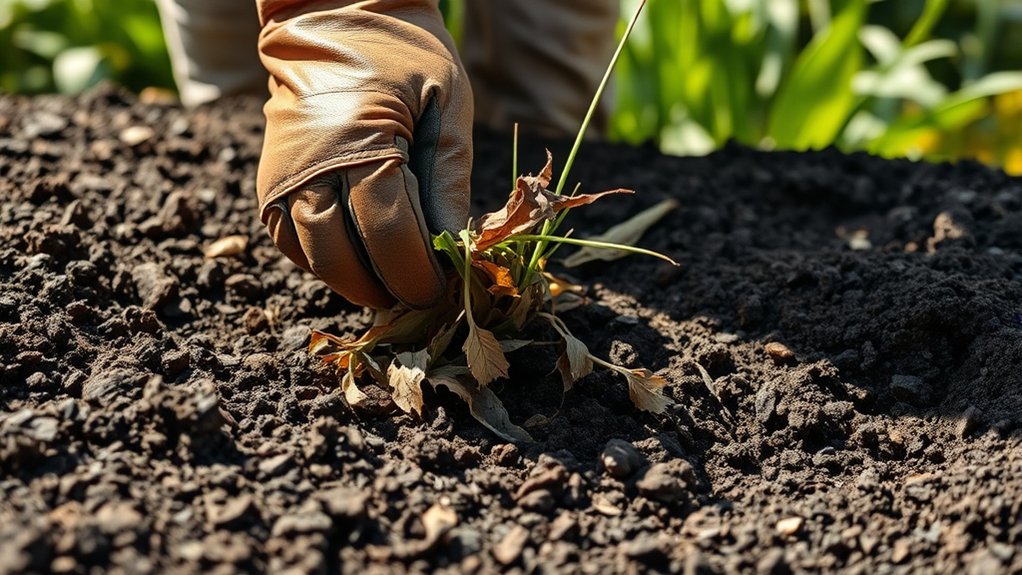
Start by removing weeds, rocks, dead plants, and other debris from the flower bed so your flowers won’t have to compete for space or nutrients. Pull weeds by hand when the soil is moist, gripping each plant near its base to remove as much of the root as possible.
> Clear weeds, rocks, and dead plants from the bed, pulling weeds from moist soil to remove as much of each root as possible.
For larger weeds, use a hand fork or weeding knife. Regular weeding maintenance keeps unwanted growth from returning while you prepare the bed.
Next, loosen the soil to help roots spread and allow water to move through it. Use a garden fork for compacted areas, pushing its tines several inches into the ground and gently rocking the handle.
Turn the soil only as deeply as needed; excessive digging can disturb its structure. Good tool selection makes this work easier: choose a fork for dense ground or a hand cultivator for smaller beds.
Break up large clods with the tool, then rake the surface level. Avoid working soil that’s very wet, since it can compact as you walk or dig.
Test Flower-Bed Soil and Choose Amendments
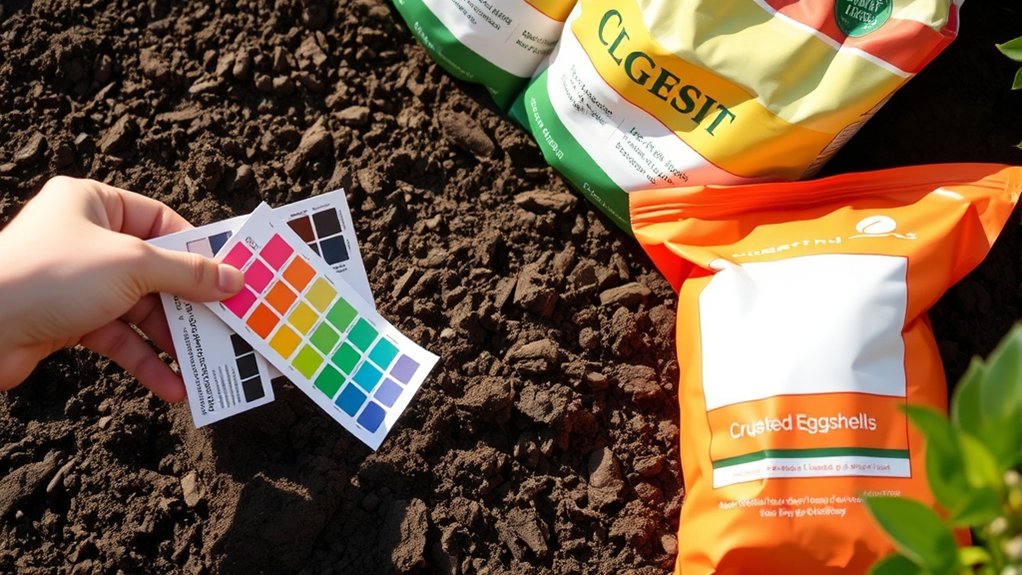
With the bed cleared and loosened, test the soil before adding amendments. A soil testing kit or lab analysis can reveal your soil’s pH and nutrient levels. Collect samples from several spots, following the test provider’s instructions, and avoid sampling only one unusual patch. Check the results before you decide what your flowers need.
Use the findings to guide amendment selection rather than adding products by guesswork:
- If the soil is too acidic, apply lime only at the recommended rate.
- If it’s too alkaline, use sulfur when the test calls for it.
- If nutrients are low, choose a fertilizer suited to the deficiency and your flowers.
- If the soil lacks organic matter, add finished compost to improve its structure.
Read product labels and follow application rates; excess amendments can harm plants or disrupt nutrient balance. Consider your flowers’ preferences, too, since some thrive in conditions that others dislike. Keep the test results handy as you plan the bed.
Rake the Bed Smooth and Prepare to Plant
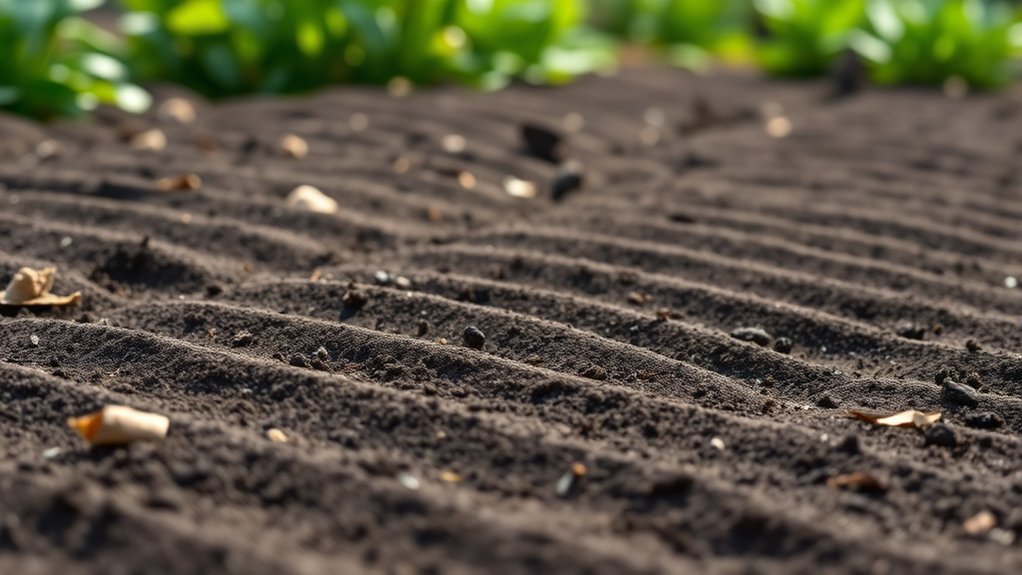
After applying any needed amendments, rake the bed to create a smooth, even surface. Break up clumps, remove stones and roots, and pull the rake lightly so you don’t compact the soil.
A level bed helps you plant at consistent depths and gives roots room to settle. Check the soil texture with your hands: it should feel loose and crumbly, not soggy or dusty. If water pools, consider further drainage improvement before planting.
| Bed check | What you’ll feel |
|---|---|
| Smooth surface | Hope for an even start |
| Loose soil | Confidence roots can spread |
Now check soil temperature and follow each flower’s planting guidance; cool soil can delay growth. Set out plants before digging so you can adjust spacing and picture the finished display.
Plant at the recommended depth, firm soil gently around roots, then water thoroughly. Add mulch only after planting, keeping it away from stems and using the recommended mulch depth. You’re ready to give your flowers a welcoming start.
Frequently Asked Questions
When Is the Best Time of Year to Prepare Soil for Flowers?
The best time to prepare soil for flowers is fall or early spring, before you plant. In fall, you can improve beds ahead of next year’s blooms; in spring, work the soil once it’s thawed and dry enough to crumble.
Your seasonal prep should match your climate and flower varieties. Avoid digging when soil is soggy, since you’ll compact it. Check local frost dates, then prepare beds several weeks before planting.
How Deep Should Flower Roots Be Planted?
Measure twice, plant once: set each flower at the depth it grew in its nursery pot, keeping the crown level with the soil surface. For bare-root flowers, spread the roots and cover them with soil without burying the crown; follow the plant label if it specifies a different soil depth. Planting too deeply can hinder root growth and cause rot, while shallow planting may leave roots exposed and dry.
Which Flowers Grow Best in Shady Areas?
For shady areas, choose flowers such as astilbe, impatiens, begonias, hellebores, and foxgloves. These flowers shade gardens beautifully, though each prefers different light levels and soil conditions.
If you want reliable color year after year, plant shade-loving perennials that bloom at different times, such as lungwort and bleeding heart. Check your garden’s sunlight before choosing, since partial shade and deep shade support different plants.
Keep the soil moist, but make sure it drains well.
How Often Should Newly Planted Flowers Be Watered?
Water newly planted flowers daily for the first week, then every two or three days for the next few weeks, adjusting for rainfall, heat, and soil moisture. Check the top inch of soil; if it feels dry, water deeply at the base. You’ll help roots establish without waterlogging them. As you consider discussing mulch benefits, remember mulch retains moisture. Exploring soil testing methodologies can also reveal drainage issues that affect watering needs.
Can Flowers Grow Well in Containers Instead of Garden Beds?
Yes, flowers can grow well in containers instead of garden beds. With container gardening, you can control soil quality, move pots to catch sunlight, and brighten patios or balconies. Choose containers with drainage holes, then match each flower’s size and light needs to its pot. You’ll need to water more often because containers dry out faster than garden soil. If you want a larger planting area, raised beds offer another flexible option for growing flowers.
Conclusion
A flower bed’s fresh start begins with clearing away weeds and loosening compacted soil. Test what remains, then add amendments to balance its needs and give roots a welcoming home. Finally, rake the surface smooth, ready for planting.
Think of each step as opening a door: you’re not just preparing earth, you’re making room for color, growth, and new beginnings. With your soil prepared for planting flowers, plant with confidence and let the garden’s next chapter unfold.