How to Prepare Dirt for a Garden in 5 Easy Steps
Preparing dirt for a garden can feel overwhelming when you’re not sure where to start. You’re not alone—many gardeners struggle to create healthy soil that helps plants thrive. The right tools can make the job easier, and these five simple steps will help you get your garden bed ready.
To prepare dirt for a garden, first put on gloves and clear away weeds, rocks, sticks, and debris. Next, test your soil’s pH and nutrient levels using a kit or lab, then follow the results. When the soil is moist but crumbly, loosen it 8 to 10 inches deep with a garden fork. Mix in finished compost and only the recommended amendments. Finally, rake the bed smooth without packing it down. These steps help create a healthy, plant-ready foundation.
Key Takeaways
- Clear weeds, rocks, sticks, and litter from the bed; pull weeds by the roots and remove any seed-bearing plants.
- Test soil pH and nutrient levels using a kit or lab, sampling several spots to guide amendments.
- Loosen moist, workable soil 8 to 10 inches deep with a garden fork, turning it gently without crushing its structure.
- Add finished compost and apply lime, sulfur, or nutrients only as recommended by your soil test.
- Rake the bed smooth, remove remaining debris, and avoid walking on or working soil that is wet and muddy.
Clear Weeds and Debris From the Garden Bed
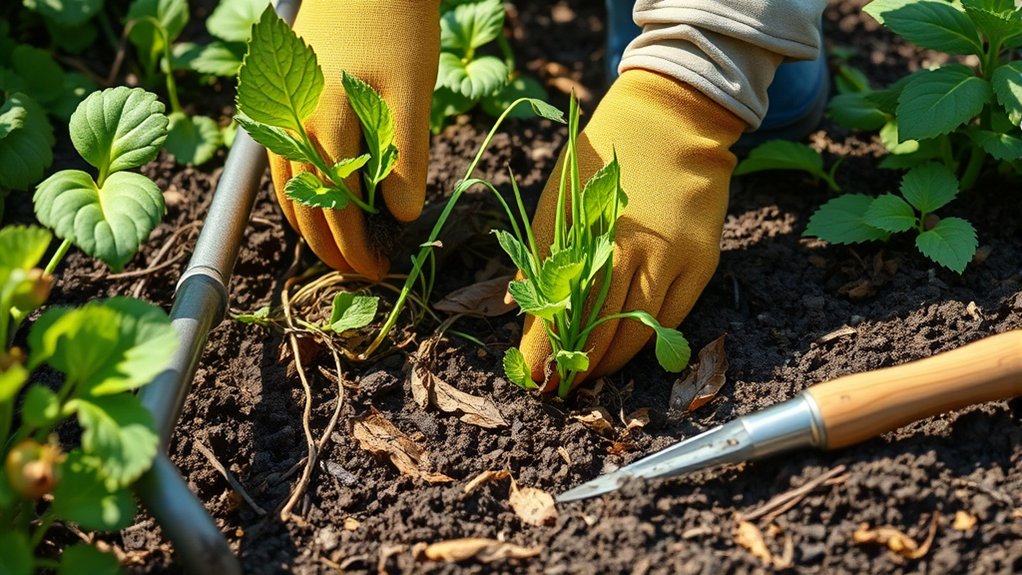
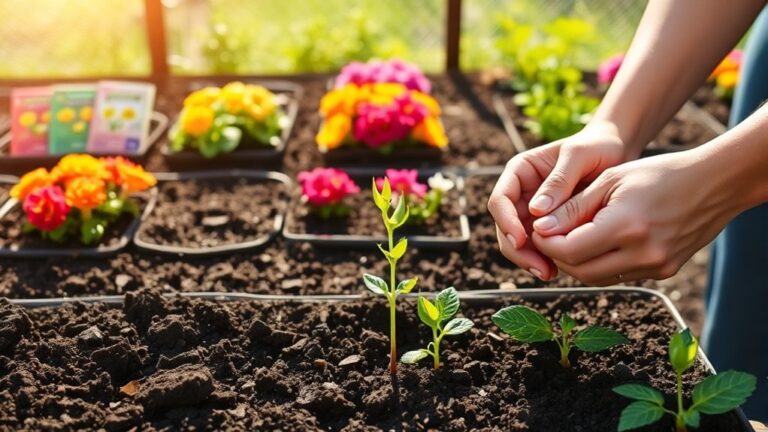
Start by clearing the garden bed of weeds, rocks, sticks, and other debris. Removing these obstacles gives you a clean workspace and helps prevent unwanted plants from competing with your garden crops. Put on gloves, then pull weeds by hand, gripping each plant near its base to remove as much of the root as possible.
> Clear weeds, rocks, sticks, and debris to create a clean bed where garden crops can thrive.
For deep-rooted weeds, loosen the soil around the root with a hand fork before pulling. Don’t leave pulled weeds in the bed, especially if they’ve formed seeds; bag them for disposal or add only seed-free plants to your compost.
Next, handle debris removal by picking up stones, branches, old labels, and litter. Use a rake to gather smaller pieces, taking care not to disturb the soil more than necessary. Check the bed’s edges and corners, where weeds and debris often hide.
Consistent weed management now makes ongoing care easier and gives you a tidy area for the next preparation step.
Test Your Garden Soil’s pH and Nutrients
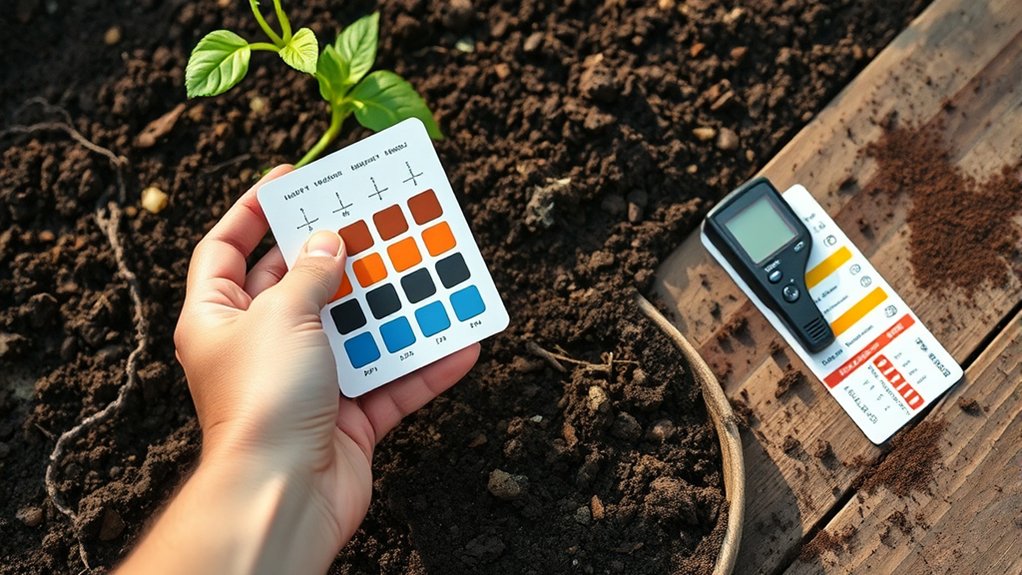
With the bed clear, test your soil’s pH and nutrient levels to find out what your plants will need. A soil testing kit can give you a quick reading, while a lab test offers more detailed results. Follow the kit’s directions, or collect a sample as your local lab instructs.
Take small amounts from several spots in the bed and mix them in a clean container for a representative sample.
Check the report for pH balance and levels of key nutrients, such as nitrogen, phosphorus, and potassium. Most vegetables grow well in slightly acidic soil, but your crops may have different needs.
Use the results to choose amendments, rather than guessing or adding fertilizer unnecessarily. Your local extension office can help you interpret lab findings and recommend the right products and amounts.
Keep the report handy as you plan the bed, and retest periodically to track changes and avoid overcorrecting the soil.
Loosen Soil Without Overworking the Bed
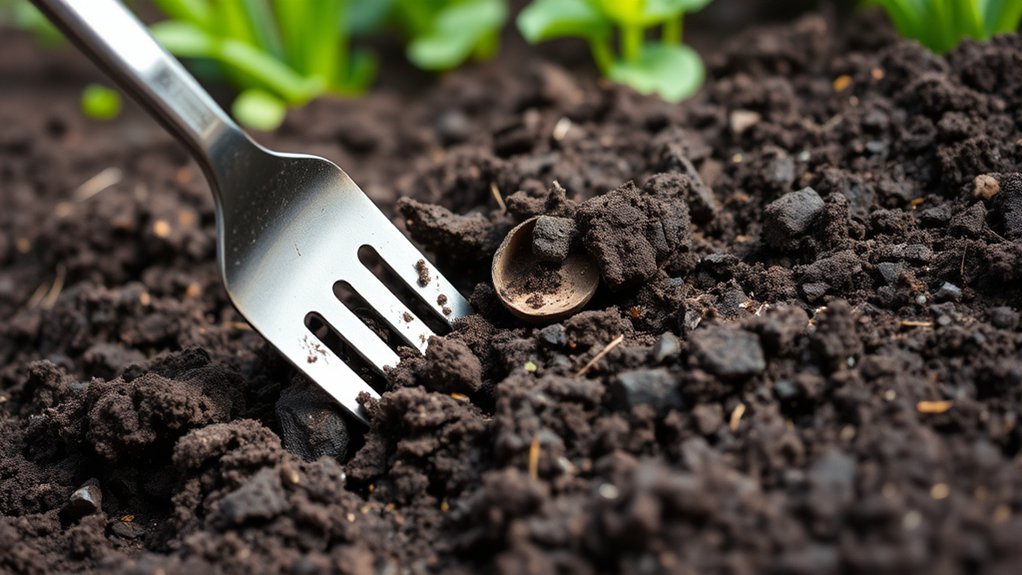
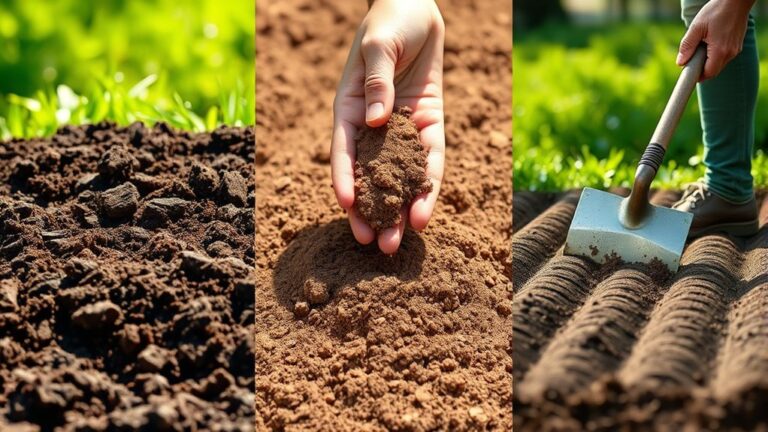
Once you’ve checked the soil, loosen it to help roots spread and water drain. Wait until the ground is moist but not soggy; working wet soil can compact it and damage its structure. Squeeze a handful: if it crumbles when you open your hand, it’s ready.
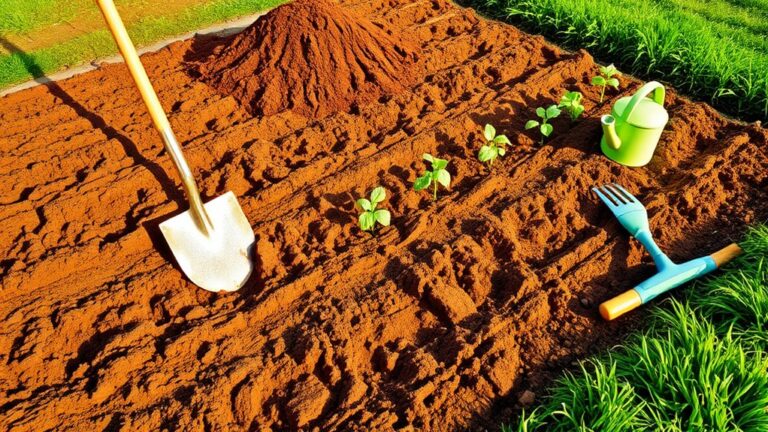
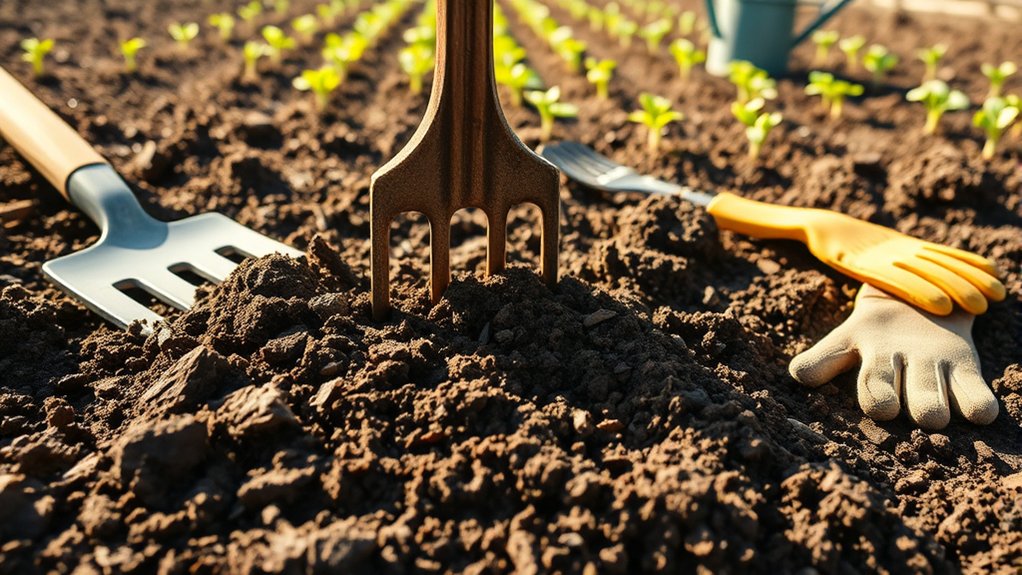
Use a garden fork to loosen soil about 8 to 10 inches deep, lifting and gently turning the earth without pulverizing it. Work from a path or board so you don’t step on the bed.
If the soil’s already loose, disturb only the planting spots. This helps you avoid overworking the bed and preserves the channels that let air and water move.
Try experimental methods on a small patch first, such as broadforking or shallow cultivation, then compare the results before treating the whole garden. For a no-dig approach, use mulch layering to protect the surface and reduce compaction.
Keep beds covered, and loosen only where roots need room.
Add Compost and Amendments Based on Test Results
Now use your soil test to choose what to add: spread a thin layer of finished compost to improve soil structure, then apply any lime, sulfur, or nutrients the results recommend at the stated rates. Your compost application should match your garden’s needs; more isn’t always better.
Excess compost can raise phosphorus or salt levels, so follow local guidance and use a measured amount. Choose mature compost that smells earthy and contains no recognizable food scraps.
For mineral amendments, weigh the recommended quantity rather than estimating by eye. Wear gloves, and avoid breathing dust when handling lime or other dry products.
Check each product label for safe handling instructions and whether you should water it in. Soil amendment timing matters: apply materials early enough for them to begin working before planting, especially lime, which may take months to change pH.
Don’t add unneeded fertilizers or amendments; they can harm plants and disrupt soil balance. Keep a record of what you apply so you can compare results with future soil tests.
Rake the Planting Bed Smooth and Ready to Plant
Rake the bed when amendments are incorporated and the soil is workable, not soggy. Start by removing stones, roots, and leftover plant debris. Break up large clods with a rake, but avoid working the soil when it sticks to your tools or forms muddy clumps. Compacted, wet soil can lose its structure.
Use even strokes to spread soil across the planting area. These raking techniques help distribute amendments and create a consistent surface without packing the bed down. For effective bed leveling, pull soil from high spots into low areas, then check the surface from several angles. Keep the bed slightly crowned if your garden needs improved drainage; otherwise, aim for a level planting surface.
Finish with light strokes to smooth the top layer. Don’t press or walk on the prepared bed, since that can compact it again. Your soil is ready when it feels loose, drains well, and has a smooth, even surface for planting seeds or setting out seedlings.
Frequently Asked Questions
When Is the Best Time of Year to Prepare Garden Soil?
The best time to prepare garden soil is fall or early spring, depending on your climate and planting plans. For best planting timing, work the soil in fall when it’s dry enough to crumble, then let winter weather break it down.
In spring, prepare beds several weeks before planting, once the ground has thawed and isn’t soggy. Check seasonal soil readiness by squeezing a handful; wait if it forms a sticky ball.
How Deep Should Garden Soil Be for Different Plants?
You don’t need deep soil for every plant: soil depth depends on what you grow. Give shallow-rooted lettuce, herbs, and radishes 6–12 inches; tomatoes, peppers, and most vegetables need 12–18 inches; and deep-rooted crops like carrots or parsnips need 18–24 inches or more.
For shrubs and perennials, check mature root needs. These two word discussion ideas, root depth and plant type, help you choose the right soil depth and avoid wasting effort.
Can I Reuse Soil From Last Year’s Containers?
Yes, you can reuse last year’s container soil if your plants stayed healthy and the mix still drains well. Remove old roots and debris, then blend it with fresh potting mix and compost to restore nutrients.
Don’t reuse soil from pots with diseased plants or persistent pests. Instead of harsh treatments, try solarizing the mix or replacing it.
Refresh containers before planting, and water thoroughly.
How Can I Improve Drainage in a Waterlogged Garden?
Improve drainage by directing excess water away from the garden and loosening compacted soil. For effective drainage improvement, mix compost into heavy clay, but avoid adding sand alone, which can make soil denser.
Create raised beds if water continues to pool, and shape shallow channels to guide runoff toward a safe outlet. These waterlogged solutions help roots breathe. Don’t work saturated soil; wait until it’s moist, not soggy, to prevent compaction.
Should I Sterilize Garden Soil Before Planting?
You usually shouldn’t sterilize garden soil before planting: beneficial microbes help your plants thrive. Sterilization needs depend on your situation, since heating soil can also kill helpful organisms. One teaspoon of healthy soil may contain billions of microbes, highlighting how much life you’d disrupt.
Consider sterilizing only small amounts of potting mix if you’re reusing containers or facing serious disease risk. For garden beds, remove infected plants, rotate crops, and improve drainage instead.
Conclusion
With weeds cleared, soil tested, and compost mixed in, your garden bed is ready for planting. You’ve loosened the earth without overworking it, added only the amendments your soil needs, and raked the surface smooth.
What could be more satisfying than giving your plants a healthy start? Keep the soil lightly moist, follow spacing and planting-depth instructions, and watch for changes as your garden grows.
A little preparation now can make your growing season easier and more rewarding. These steps show you how to prepare dirt for a garden and give your plants a healthy start.