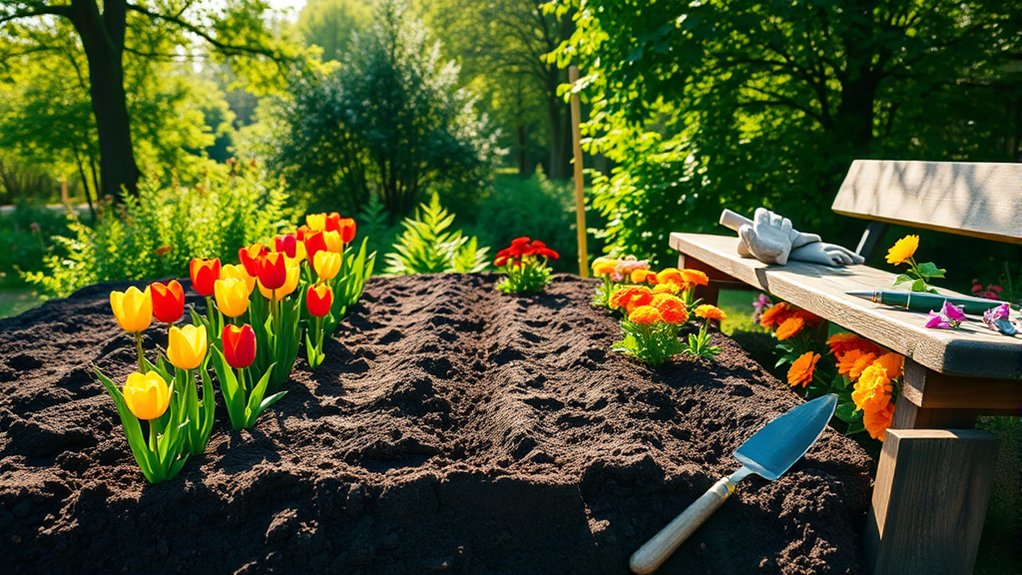
How to Do a Flower Bed in 10 Easy Steps
Starting a flower bed can feel overwhelming when you’re unsure where to begin or which tools will make the job easier. You’re not alone—many people want a beautiful garden but struggle to turn that idea into a simple plan. This guide to how to do a flower bed in 10 easy steps will help you get started.
To make a flower bed in 10 easy steps, choose a sunny, well-drained spot, then measure and mark the shape. Gather your tools, clear away grass, weeds, rocks, and debris, and test drainage. Mix compost into the soil and choose flowers suited to your climate and light. Plan colors, heights, spacing, and bloom times. Plant at the recommended depth, water slowly, and add two to three inches of mulch. Weed, trim, and remove spent blooms, and discover how to keep flowers thriving.
Key Takeaways
- Choose a well-drained site with sunlight suited to your flowers, checking how shade changes throughout the day.
- Mark and measure a simple bed shape, leaving access space and room for plants to reach their mature spread.
- Remove grass, weeds, rocks, and debris, then loosen the soil and mix in compost.
- Select flowers suited to your hardiness zone and light conditions; plan colors, heights, spacing, and bloom times.
- Plant at the recommended depth, water deeply, add two to three inches of mulch, and maintain by weeding and deadheading.
Choose a Sunny Spot for Your Flower Bed
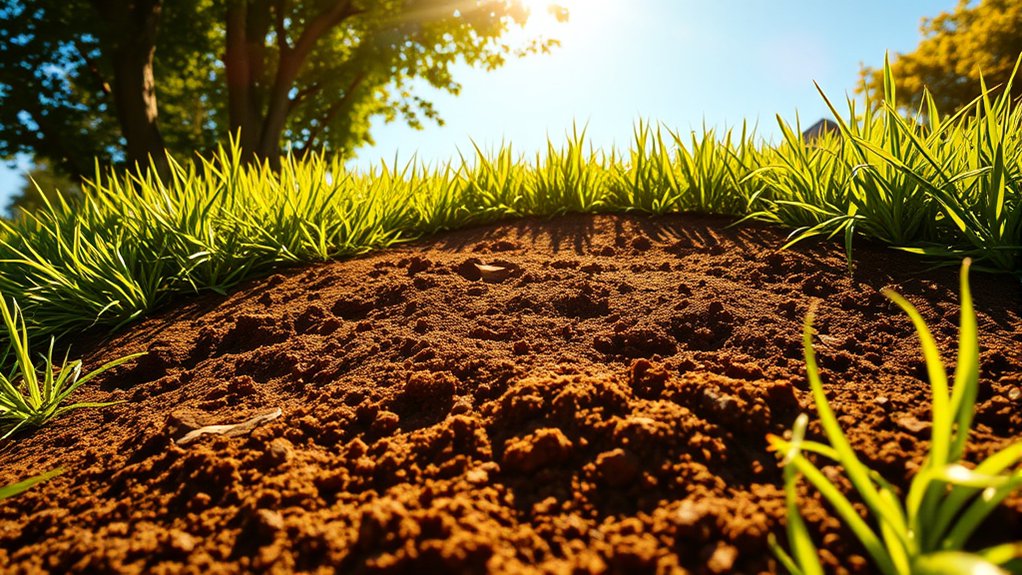
Where should you place your flower bed? Choose a spot that gets enough sunlight for the flowers you want to grow. Most flowering plants thrive with at least six hours of direct sun each day, but some prefer partial shade. Check plant labels or reliable growing guides before settling on a location.
Notice how sunlight shifts across your yard, and consider shade from trees, fences, and buildings throughout the day.
Good soil drainage matters, too. After rain, watch where water collects and how quickly it disappears. Avoid low areas that stay soggy, since waterlogged soil can damage roots and encourage disease.
A gently sloped or naturally well-drained spot often works better. If you’re unsure, dig a small test hole, fill it with water, and see whether it drains within a few hours.
Match the location’s sunny exposure and drainage to your chosen plants. You’ll give them a healthier start and reduce future problems.
Measure and Mark Your Flower Bed
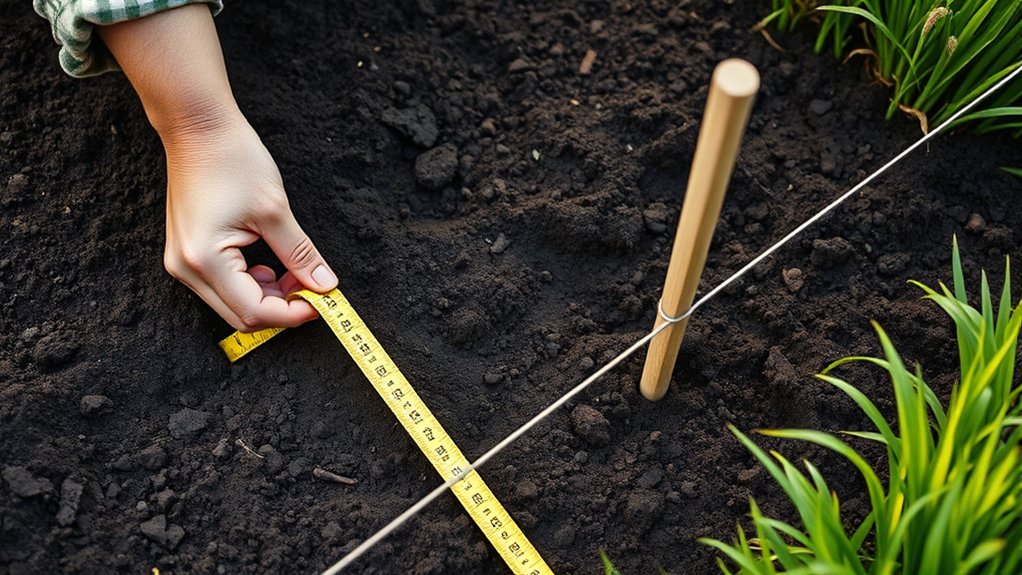
Before digging, decide how large you want the flower bed to be and mark its outline. Consider the space available and how the bed will fit beside your lawn, path, or house. A simple shape, such as a rectangle or gentle curve, is easier to lay out and maintain.
Keep enough room to reach every part of the bed without stepping on plants.
Measure the planned length and width with a tape measure, and note the dimensions. Take measurements precision seriously: even small errors can make the finished bed look uneven or crowd nearby features.
For a curved edge, use a garden hose or rope to sketch the line, adjusting it until the shape looks balanced from several angles.
Place marking stakes at the corners or along the curve to hold your outline. Tie string between stakes for straight edges, then check the dimensions once more. Make any adjustments now, before you begin the next step.
Gather Tools and Clear the Area
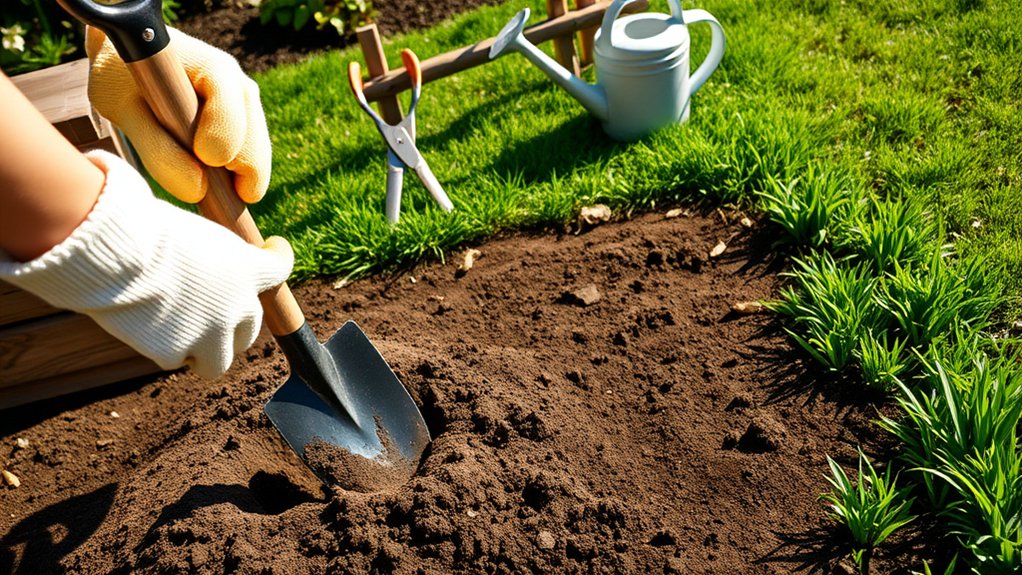
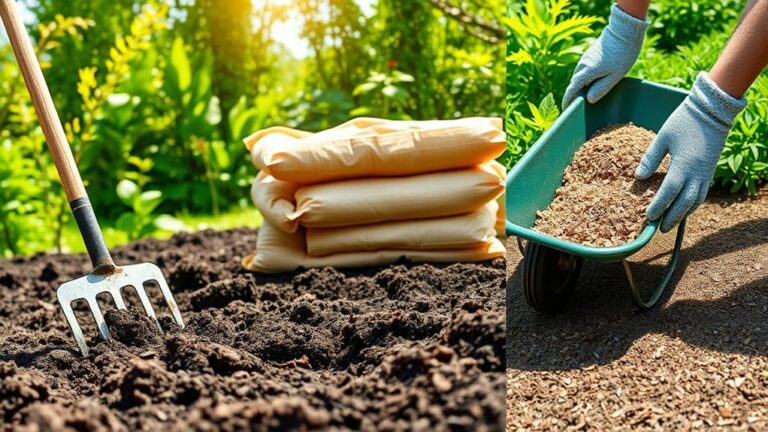
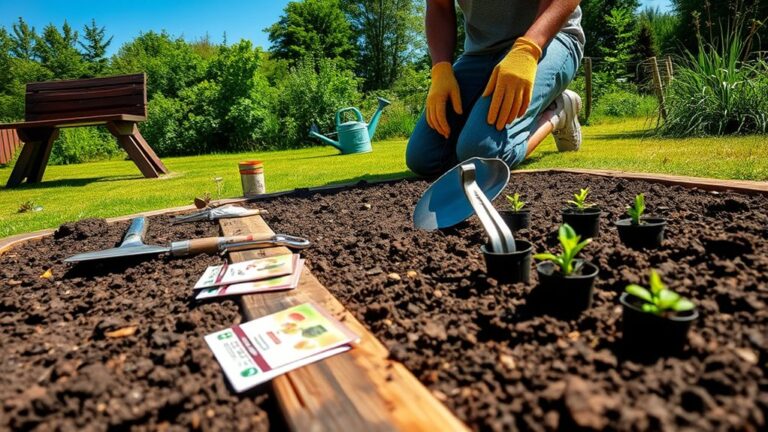
Gather your essentials: gloves, a spade, a rake, and a wheelbarrow. Then remove the grass and weeds from the marked bed. Clear away any rocks and debris, and you’ll have a clean space ready for planting.
Gather Essential Tools
Start with a clear work area and the right tools to make planting easier. Check your space for furniture, hoses, and other movable items, then set them aside.
Use this proper tool list to gather what you’ll need before you begin. Keep tools nearby so you won’t interrupt your work to search for them.
| Tool | Purpose |
|---|---|
| Garden gloves | Protect your hands |
| Spade | Shape bed edges |
| Rake | Level loose soil |
| Wheelbarrow | Move tools and materials |
Add a tape measure and garden line if you want a defined layout. Choose sturdy tools that fit your hands, and check that handles and blades are secure.
For useful soil preparation tips, keep a hand trowel and a bucket close by. Clear only movable clutter now; you’ll handle plants and ground cover in the next step.
Remove Grass and Weeds
With your tools ready, clear the marked bed of grass and weeds. Use a spade to cut around the bed’s edge, then slice beneath the turf in manageable sections. Lift each piece carefully, removing as much of the root layer as you can.
For smaller patches, loosen the soil with a hoe and pull weeds by their roots. Don’t leave fragments behind; some grasses and weeds can regrow from tiny pieces.
If the ground’s dry, water it lightly first to make digging easier, but avoid working wet soil, which can compact. For effective grass eradication, check the area again after a few days and remove any new shoots.
You’ll also support ongoing weed control by clearing roots now, before planting. Keep the cleared soil in place, ready for the next step.
Clear Rocks and Debris
Once you’ve cleared the grass and weeds, remove rocks, sticks, and other debris from the bed. Gather sturdy gloves, a bucket or wheelbarrow, and a garden rake before you begin. Gloves protect your hands from sharp edges, while a rake helps you find smaller pieces hidden in the soil.
Walk over the area and pick up branches, litter, and stones you can lift safely. Use the rake to loosen leaves and expose anything buried near the surface. For larger rocks, use a shovel or pry bar, and avoid straining your back; ask for help if needed.
Place reusable stones aside for edging or decoration, and dispose of the rest responsibly. Thorough debris removal gives roots room to grow and makes planting easier. Finish by leveling the soil lightly with your rake.
Remove Grass, Weeds, and Debris
Clear all grass and weeds from the bed so they won’t compete with your flowers. Remove rocks, sticks, and other debris, and pull out the roots to help prevent unwanted growth.
Clear Grass and Weeds
Before planting, remove the grass, weeds, and debris from the marked bed so they won’t compete with your flowers for water and nutrients. Start by watering the area lightly if the soil’s hard; moist ground makes pulling easier. Use a spade to slice beneath the turf, then lift it in manageable sections. For a smaller bed, hand-pull weeds, gripping each near its base to remove as much of the plant as possible.
- Work outward from one edge so you don’t miss patches.
- Use a hoe to cut shallow-rooted weeds at soil level.
- Pull weeds before they flower and spread seeds.
- Bag unwanted plants rather than leaving them on the bed.
Clear grasses thoroughly, and keep up weed control as new growth appears. Check the area again before planting to catch anything you missed.
Remove Debris and Roots
After removing the grass and weeds, rake away leaves, stones, and other debris, then pull out any exposed roots that could resprout or interfere with planting. Collect everything in a tarp or wheelbarrow so you can dispose of it easily.
Check the soil for buried roots, especially near the edges of the bed, and loosen them with a garden fork. Remove persistent roots completely; even small pieces can grow into new weeds.
For thick roots, use pruning shears or a spade, and avoid damaging nearby plants you plan to keep. Clear away sticks and litter, too, since they can obstruct planting and hide pests.
A clean bed gives flowers room to establish and helps you spot remaining weeds. Don’t add diseased plant material to your compost.
Enrich the Soil and Check Drainage
Healthy flowers start with soil that holds nutrients while draining excess water. Before you plant, check how well your bed drains. Dig a hole about 12 inches deep, fill it with water, and let it drain. Refill it, then check again after an hour.
If water remains, loosen compacted soil or raise the bed to prevent soggy roots.
Improve the soil with organic matter, which feeds soil biology and gives roots room to grow. Choose composting strategies that suit your space, such as using finished homemade compost or buying a well-aged blend.
Work a layer into the top several inches, taking care not to overwork wet soil.
- Mix in compost to add nutrients and improve texture.
- Break up hard clumps with a garden fork.
- Add leaf mold to help sandy soil retain moisture.
- Rake the surface smooth, then water lightly to settle amendments.
Your bed’s ready when the soil feels crumbly, not sticky, and drains without pooling.
Choose Flowers for Your Climate and Sunlight
Check your climate zone before choosing flowers. Local temperatures and frost dates can affect which ones thrive. Then, note how many hours of sun your bed gets each day. Choose flowers suited to both conditions, and you’ll enjoy healthy blooms that last.
Know Your Climate Zone
Before choosing flowers, find your USDA hardiness zone, which indicates the average coldest winter temperatures in your area. Your climate zone helps you select perennials that can survive local winters and return next year. Check the USDA zone map online, or ask a nearby garden center if you’re unsure. Then read each flower’s label or catalog listing to confirm it suits your zone.
Keep these practical tips in mind:
- Compare your zone with the plant’s listed hardiness range.
- Choose flowers rated for your zone or colder conditions.
- Check local frost dates to guide planting timing.
- Ask neighbors which varieties thrive in your area.
Your zone is a useful guide, not a guarantee. Soil, wind, and unusual weather can affect results, so follow care instructions and protect tender plants when needed. You’ll make more confident choices and avoid flowers unlikely to last.
Match Flowers to Sunlight
Once you know which flowers suit your climate zone, match them to the sunlight in your flower bed. Watch the area throughout the day to see how many hours of direct sun it receives. Note where trees, fences, or buildings cast shade, and check conditions in different seasons if possible.
Read plant labels or catalog descriptions to compare each flower’s sunlight requirements with your bed’s conditions. Full-sun plants generally need six or more hours of direct light, while partial-sun varieties prefer fewer hours. For a dimmer spot, choose flowers with strong shade tolerance rather than forcing sun-loving plants to struggle.
Group flowers with similar light needs together. This makes care easier and helps each plant thrive. If sunlight varies across the bed, place sun lovers in brighter sections and shade-tolerant flowers where shadows linger.
Plan Flower Colors, Heights, and Spacing
Plan your flower bed’s colors, heights, and spacing together to create a balanced display. Start by choosing a simple palette. Planning colors around two or three main shades keeps the bed cohesive, while a contrasting accent adds energy. You can repeat a favorite color to help the design feel connected.
Next, arrange flowers by mature height and width, not by their size at planting time. Use these practical cues:
- Place tall varieties toward the back of beds viewed from one side, or in the center of island beds.
- Set medium-height blooms in front of taller plants to create a gradual transition.
- Edge the bed with low-growing flowers so they don’t hide taller neighbors.
- Check plant labels for spacing guidelines, then leave room for each variety’s mature spread.
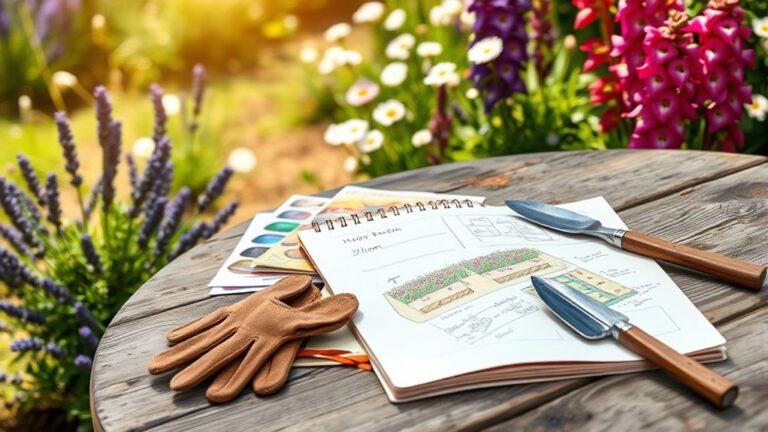
Consider bloom times, too. Pair early, midseason, and late flowers so your display changes gracefully rather than fading all at once. Sketch the layout before shopping, and adjust crowded or empty areas while changes are easy. This plan helps every flower get noticed.
Plant Flowers at the Right Depth
With your layout set, plant each flower at the depth it grew in its pot. Check the label, too, since some varieties need special placement. Good soil preparation gives roots room to settle, but the right flower depth helps stems stay healthy and blooms thrive.
| What you see | What to do |
|---|---|
| Roots sit near the surface | Set the plant slightly deeper |
| Crown rests at soil level | Keep it level with the bed |
| Stem looks buried in its pot | Don’t cover extra stem |
Ease each flower from its container, supporting the root ball rather than tugging the stem. Set it into a hole wide enough to avoid bending roots. Backfill around the sides, then gently firm the soil with your fingertips so the plant stands upright.
Keep the crown, the point where stems meet roots, at the recommended level. If a plant sits too high or low, lift it and adjust before moving on. Take a moment to admire the arrangement; careful placement now helps your flowers settle in and gives your new bed a confident, welcoming look.
Water Well and Add Mulch
After planting, water the bed slowly and deeply so moisture reaches each root ball and settles the soil around the roots. You’ll help new plants recover from transplanting and give them a firm start. Let the water soak in rather than run off; pause if it begins to pool, then continue once it drains.
Next, spread mulch over the soil to conserve moisture and create a neat finish. Choose from these mulch options:
- Shredded bark gives beds a natural, tidy look.
- Straw offers a light covering for informal gardens.
- Compost adds organic matter as it breaks down.
- Leaf mulch makes use of fallen leaves from your yard.
Keep the layer about two to three inches deep, and leave a small gap around each stem or crown. Mulch shouldn’t touch plant bases, where trapped moisture can encourage rot. With a thorough first watering and an even covering, you’ll protect the soil and help your flower bed settle in.
Maintain Your Flower Bed for More Blooms
Once your flower bed is watered and mulched, keep it thriving with regular care. Check your plants often for drooping leaves, pests, or signs of disease.
Remove weeds before they compete with flowers for water and nutrients, and pull spent blooms to encourage many varieties to produce more flowers. Use clean pruners to trim damaged stems, and follow each plant’s needs rather than cutting everything back at once.
Build simple maintenance routines into your week. Water when the soil feels dry, especially during hot spells, and avoid soaking foliage late in the day.
Check mulch depth and replenish it when needed, keeping it away from stems. Feed plants only as recommended for their type; excess fertilizer can encourage leafy growth at the expense of blooms.
Keep notes on what flowers well and what struggles. These observations give you useful discussion ideas if you consult a local gardener, and help you adjust next season’s planting, spacing, and care.
With steady attention, your bed can stay healthy and colorful.
Frequently Asked Questions
How Can I Protect My Flower Bed From Rabbits and Deer?
Protect your flower bed with layered rabbit proofing and deer deterrence. Install a sturdy fence with small mesh; bury its bottom several inches to stop rabbits, and make it at least eight feet tall to discourage deer.
Add motion-activated sprinklers, and rotate scent-based repellents after rain. Choose plants both animals tend to avoid, such as lavender or daffodils.
Check barriers regularly, repair gaps promptly, and keep nearby brush trimmed so pests have fewer hiding places.
When Is the Best Time of Year to Start a Flower Bed?
Start your flower bed in early spring, plant after frost dates pass, and prepare when the soil temperature suits your chosen flowers. You’ll get the best results by matching timing to your climate and plant types.
Begin soil preparation as soon as the ground is workable, not soggy. Clear weeds, loosen the soil, and add compost.
If you’re planting perennials, fall can also work, giving roots time to settle before winter arrives.
Can I Create a Flower Bed in a Container or Raised Planter?
Yes, you can create a flower bed in a container or raised planter. Container gardening lets you grow flowers on patios, balconies, or other small spaces, while raised planters make planting and maintenance easier.
Choose a container with drainage holes and enough room for roots. Fill it with quality potting mix, then select flowers suited to your sunlight and climate. Water regularly, and feed your plants as needed to keep them blooming.
How Much Does It Typically Cost to Install a Flower Bed?
You’ll typically pay $500–$3,000 for flower bed installation, though a small, simple bed may cost just $100–$500. Your garden pricing depends on the bed’s size, soil preparation, edging, plants, and local labor rates.
If you choose premium plants, stone borders, or extensive digging, expect a higher bill. You can save by preparing the area yourself, selecting affordable plants, and comparing several local quotes before hiring a landscaper.
How Can I Make a Flower Bed Accessible for People With Mobility Limitations?
Make your flower bed a welcoming doorway to gardening: install firm, level accessible pathways wide enough for mobility devices, with gentle slopes and clear turning space. Raise beds to a comfortable height so you can reach plants without bending or kneeling, and leave room underneath for a seated gardener’s knees. Choose ergonomic tools, lightweight containers, and easy-grip handles. Add stable seating, nearby water access, and clear edges so you can move around safely and garden independently.
Conclusion
Your flower bed may look like a small patch of earth, but it’s now a stage for color, fragrance, and the occasional weed trying to steal the spotlight. Keep watering, pruning, and checking for pests, and your flowers will reward you with fresh blooms.
Ironically, the more carefully you tend this “low-maintenance” garden, the less you’ll notice the time passing. Soon, you’ll be admiring your handiwork and wondering how one little flower bed became the star of your yard.