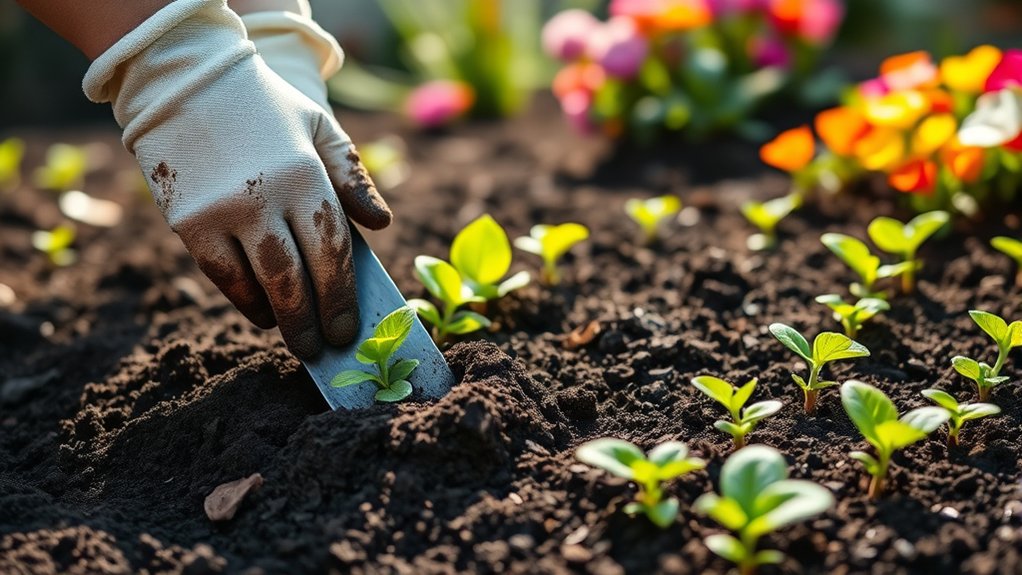
How to Prepare a Flower Bed in 5 Simple Steps
Starting a flower bed can feel overwhelming when you’re unsure where to begin or what supplies you need. You’re not alone—many gardeners struggle to choose the right spot, prepare the soil, and plan plants that will thrive. This guide walks you through how to prepare a flower bed in five simple steps, with practical tips to help you get started.
To prepare a flower bed in five simple steps, choose a sunny, well-drained spot with hose access, then mark the bed’s shape. Cut grass short, lift it with a spade, and remove weeds, including their roots. Test your soil and add only the compost or fertilizer it needs. Arrange plants by mature height, width, light needs, and bloom time, leaving room to grow. Finally, level the soil and water it gently. Keep going for practical tips on getting each step right.
Key Takeaways
- Choose a sunny, well-drained spot with at least six hours of direct sunlight, and make sure it suits your flowers and watering routine.
- Mark the bed’s outline, cut grass short, then lift it and remove weeds and roots.
- Test soil using a home kit or local extension service, then add only the amendments the results recommend.
- Work amendments into the top few inches of soil according to product directions.
- Arrange plants by mature height, width, sunlight, and bloom time, leaving room to grow and leveling the bed.
Choose a Sunny, Well-Drained Flower-Bed Spot
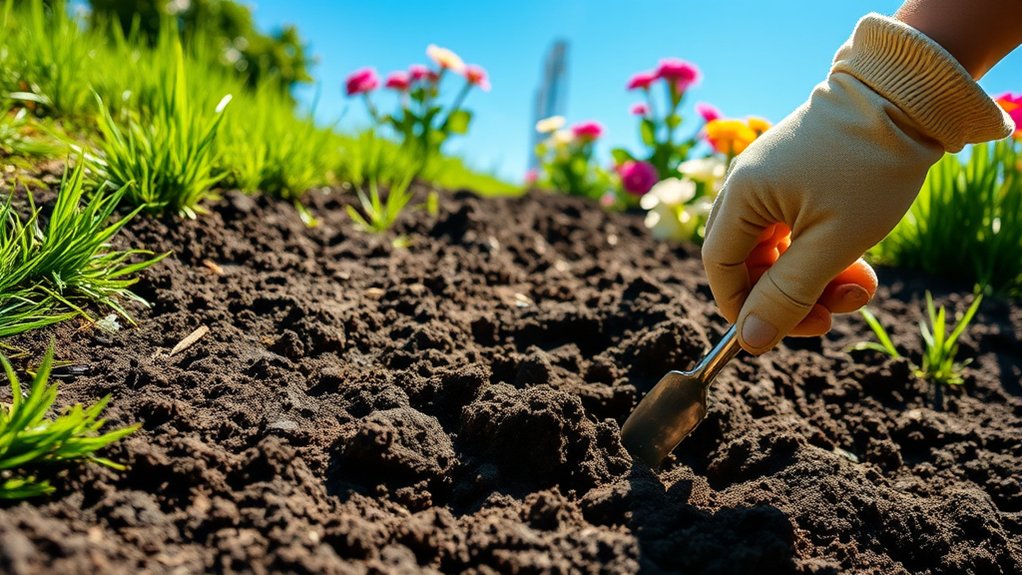
Where you place a flower bed can make a big difference in how well your plants grow. Choose a spot that gets at least six hours of direct sunlight daily, unless you’re planning shade-loving flowers. Watch the area throughout the day, since nearby trees, fences, and buildings can cast shifting shadows. Match your plant choices to the light you actually have.
Check drainage before you commit. After rain, look for puddles that linger; standing water can suffocate roots and encourage disease. If the ground stays soggy, choose another location or plan to improve the soil’s drainage. A gentle slope can help water move away, but avoid places where runoff washes soil downhill.
Consider access to a hose, too, so watering won’t become a chore. In hot, dry areas, include drought tolerant options suited to your climate. Your compost selection and soil amendments can support healthy growth, but they can’t make a poorly lit or waterlogged site ideal. Pick a location that fits your flowers’ needs and your routine.
Clear Grass and Weeds From the Flower Bed
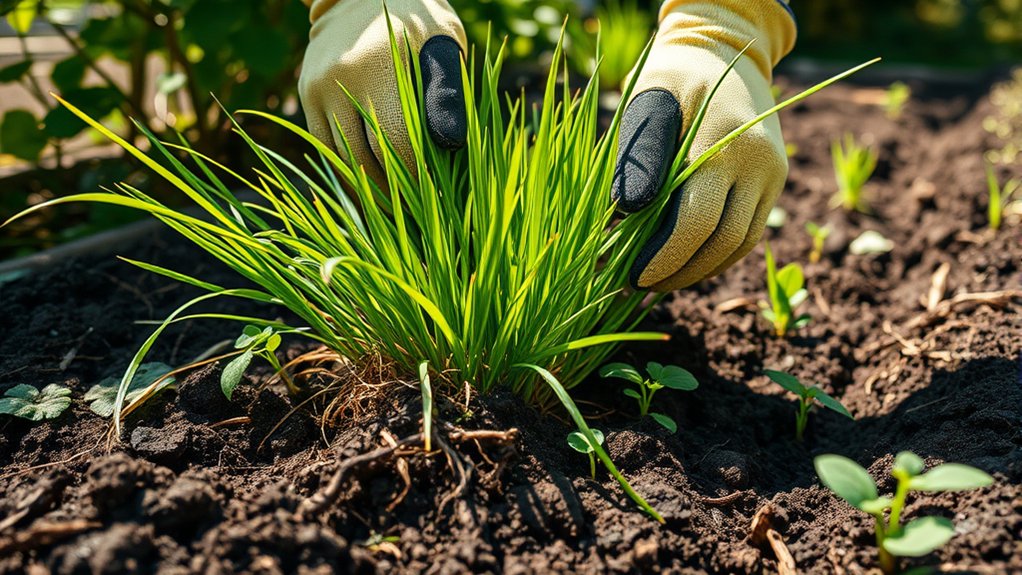
Clearing grass and weeds gives flowers room to grow and keeps unwanted plants from competing for water and nutrients. Start by marking the bed’s edges with a hose or string. Cut the grass short, then use a spade to slice beneath its roots and lift it out in manageable sections. Shake loose soil back into the bed, and compost healthy grass or dispose of invasive runners.
Next, remove weeds by hand, digging out their roots with a weeding fork. Work when the ground is slightly moist, so roots come free more easily. Don’t leave seed heads or root fragments behind; they can lead to new growth.
For a larger area, smother vegetation with cardboard or several layers of newspaper, overlapping the edges and wetting the sheets. Add a mulch cover to hold them in place. You can also install a weed barrier, but leave room for planting and water to reach the soil.
Test Flower-Bed Soil and Add Amendments
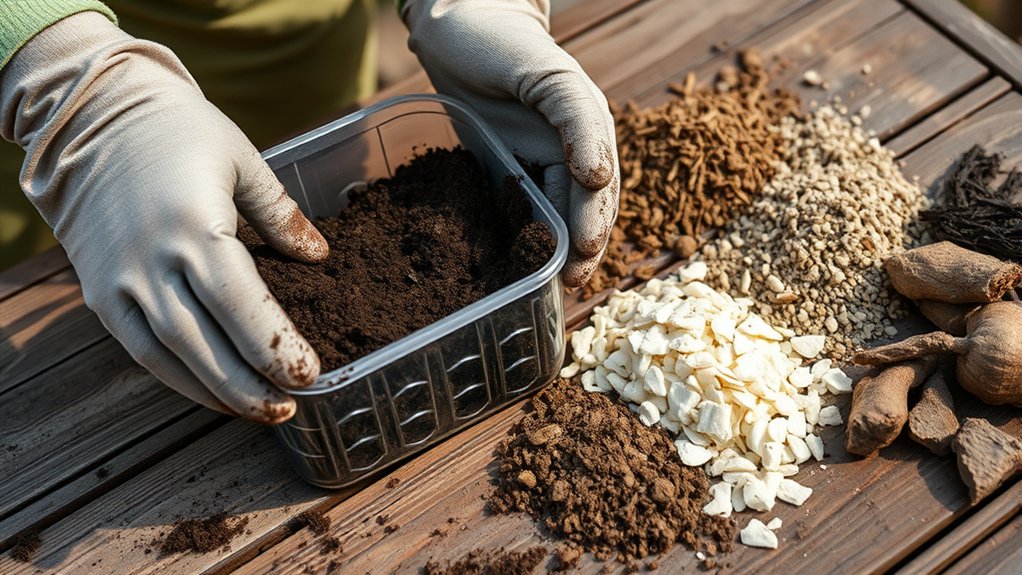
Before planting, test your soil to learn its pH and nutrient levels. Collect samples from several spots in the bed, mix them in a clean container, and follow a soil-test kit’s directions. For more precise results, send a sample to your local extension service.
Test soil before planting to check pH and nutrient levels, using a kit or your local extension service for precise results.
The report will show whether your soil lacks key nutrients and how to adjust pH for the flowers you plan to grow.
Next, test drainage by digging a small hole, filling it with water, and checking how quickly it empties. If water remains for hours, improve drainage with organic matter or choose plants that tolerate wet soil.
If the soil dries too quickly, compost can help it retain moisture.
Use your test results to add amendments, such as compost or a recommended fertilizer. Work them into the top few inches of soil, following product directions.
Don’t add lime, sulfur, or nutrients without a clear need; too much can harm plants. Retest later if needed.
Shape the Flower Bed and Space Your Plants
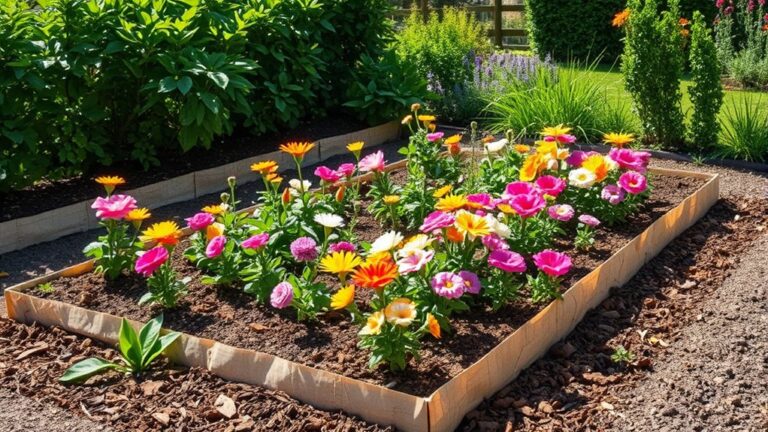
Once you’ve amended the soil, outline the bed with a garden hose or string. Adjust the curves until the shape suits your space and is easy to mow around. This helps you avoid awkward corners and keep access practical. Check the outline from several angles, then mark its edge with pegs or a light line.
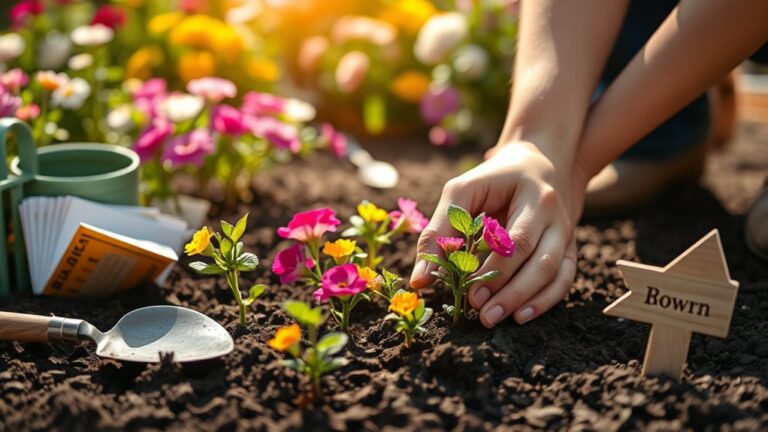
Before planting, group flowers by mature height, width, sunlight needs, and bloom time. Use plant labels or reliable references to estimate each variety’s spread. Leave room for growth while creating a full, balanced display. Place taller plants toward the back of beds viewed from one side, or near the center of island beds.
| Plant type | Placement guide |
|---|---|
| Tall | Back or center |
| Medium | Middle layer |
| Short | Front edge |
| Spreading | Allow full width |
| Focal plants | Repeat in groups |
Arrange pots within the outline, then refine their positions until the composition feels cohesive. Keep pathways and nearby plants in mind.
Level and Water the Bed Before Planting
How do you prepare the bed for planting? After shaping your flower bed and spacing your plants, smooth the soil so roots have an even place to grow. Use a rake to break up clumps and spread soil across low spots. Check the surface from several angles; you want it mostly level, not perfectly flat. A slight slope helps excess water drain away from your plants.
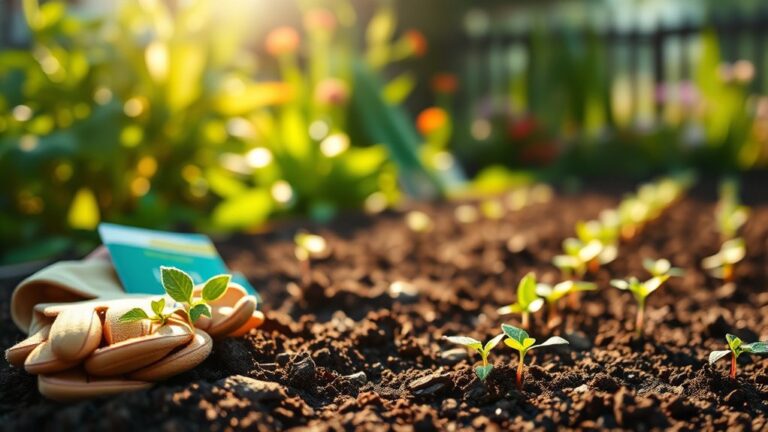
Next, water the bed before planting. Apply a gentle spray so you moisten the soil without washing it out or creating puddles. This step settles loose soil and reveals any dips that need more filling. Let the water soak in, then rake the surface lightly if it’s crusted or uneven.
Good bed prep gives your flowers a stable start. If the soil feels soggy, wait until it drains before planting. If it’s dry below the surface, water again. Aim for evenly moist soil that crumbles easily in your hand.
Frequently Asked Questions
When Is the Best Time of Year to Prepare a Flower Bed?
The best time to prepare a flower bed is early spring, as soon as the soil is workable and no longer waterlogged. You can also prepare in fall, giving amendments time to settle before spring planting.
For early season soil prep, clear debris, loosen the ground, and add compost several weeks before your area’s optimal planting window. Check local frost dates, then plant when conditions suit your chosen flowers. Don’t work soil that’s soggy.
Which Flowers Are Easiest for Beginner Gardeners to Grow?
For easy flowers, start with marigolds, zinnias, and sunflowers; choose coneflowers or black-eyed Susans if you want beginner friendly perennials. Marigolds bloom for about eight weeks, giving you plenty of color with little fuss.
These easy care annuals thrive in sunny spots, and you can grow them from seed. Water when the soil feels dry, follow seed-packet spacing, and remove spent blooms to encourage more flowers. You’ll build confidence quickly.
How Can I Keep Pests Out of My Flower Bed?
You can keep pests out of your flower bed by combining simple pest proofing strategies. Check leaves regularly, remove pests by hand, and trim damaged growth before problems spread.
Cover young plants with lightweight row fabric, and use barriers such as copper tape to deter slugs. Invite beneficial insects by planting nectar-rich flowers, and avoid broad-spectrum pesticides that harm helpful species.
Water at the soil level, rotate plantings, and remove weeds and fallen leaves.
Should I Mulch a Flower Bed After Planting?
Yes, you should mulch a flower bed after planting. Mulching after planting helps your flowers retain moisture, suppresses weeds, and keeps soil temperatures steady. For good post plant mulch timing, water your plants first, then spread mulch once the soil has warmed and drained.
Apply a layer about two to three inches deep, keeping it a few inches away from stems and crowns. You’ll protect roots without encouraging rot or hiding pests.
How Often Should I Fertilize Flowers Throughout the Growing Season?
You’ll usually fertilize flowers every four to six weeks during the growing season, but check your product label and plant needs first. For steady blooms, use a balanced, slow-release fertilizer at planting, then follow the label’s fertilizer timing for repeat applications.
Seasonal fertilization may differ: feed actively growing flowers in spring and summer, and stop as growth slows in fall. Don’t overfertilize; excess nutrients can produce leafy growth at the expense of flowers.
Conclusion
Your flower bed is ready to welcome its first blooms. You’ve chosen a sunny, well-drained spot, cleared away grass and weeds, and given the soil the care it needs. With a graceful shape, thoughtful spacing, and a level, watered surface, your plants can settle in comfortably.
Now comes the lovely part: planting and watching your garden take shape. A little patience and regular care will help your new flower bed flourish, turning an ordinary patch into a cheerful retreat you’ll enjoy season after season.