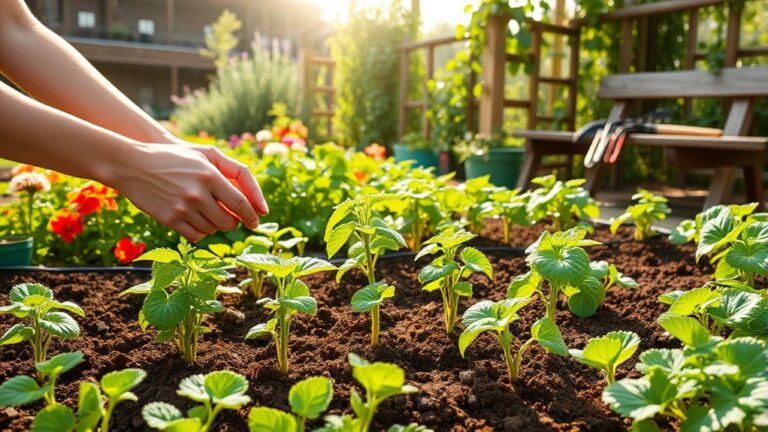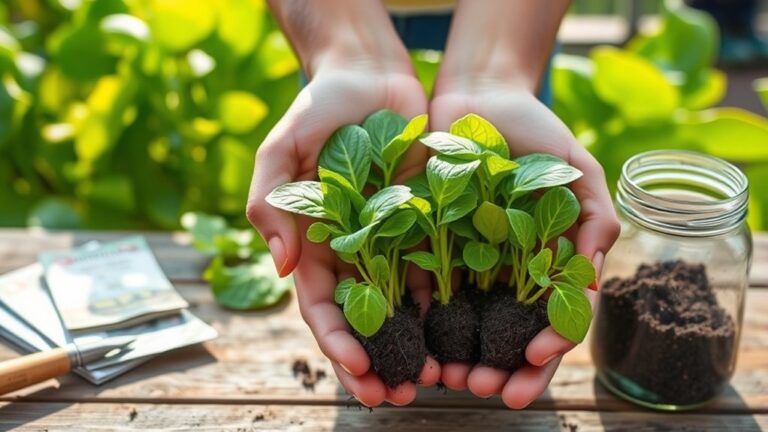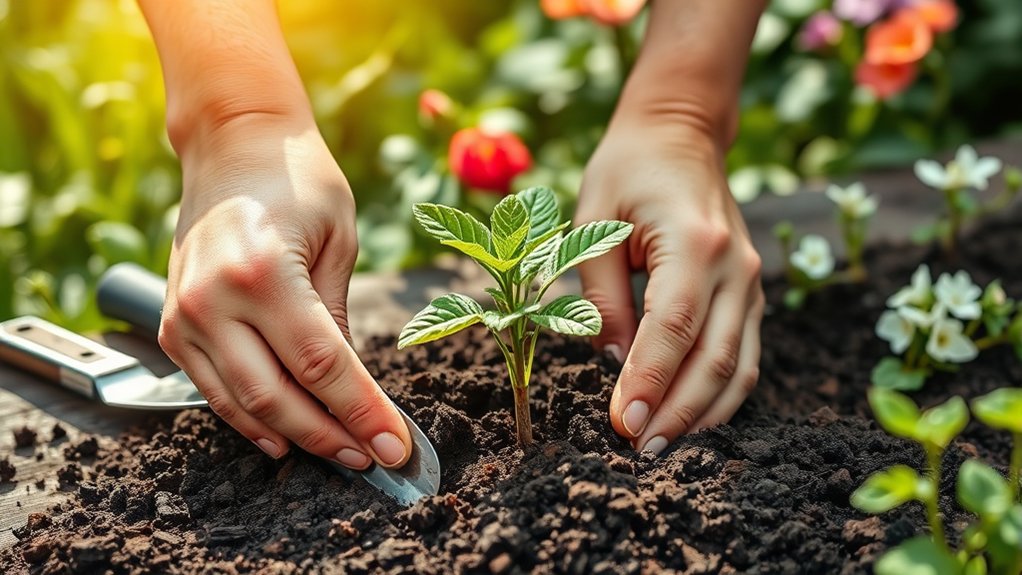
How to Plant a Perennial in 7 Easy Steps
Choosing the right perennial and planting it successfully can feel overwhelming, especially when you’re unsure where to start. You’re not alone—many gardeners struggle to find plants that suit their space and get them off to a healthy start. This guide to how to plant a perennial in 7 easy steps makes the process simple.
To plant a perennial in seven easy steps, choose one suited to your climate, sunlight, soil, and available space. Pick a well-drained spot, then gather your tools and clear away weeds and debris. Loosen the soil and blend in compost.
Water the plant if its potting mix feels dry, then gently loosen its roots. Dig a hole, set the root ball, and backfill loosely. Water deeply, add mulch, and keep it clear of stems. A few simple care tips can help your perennial thrive.
Key Takeaways
- Choose a perennial suited to your climate, sunlight, soil, mature size, and desired bloom.
- Select a well-drained spot with enough room, then mark it for planting.
- Remove weeds and debris, loosen the soil, and mix in two to three inches of compost.
- Water the plant if its potting mix is dry, gently loosen its roots, and set the root ball in the hole.
- Backfill loosely, water to settle the soil, add more if roots are exposed, and apply mulch away from stems.
Choose a Perennial for Your Garden
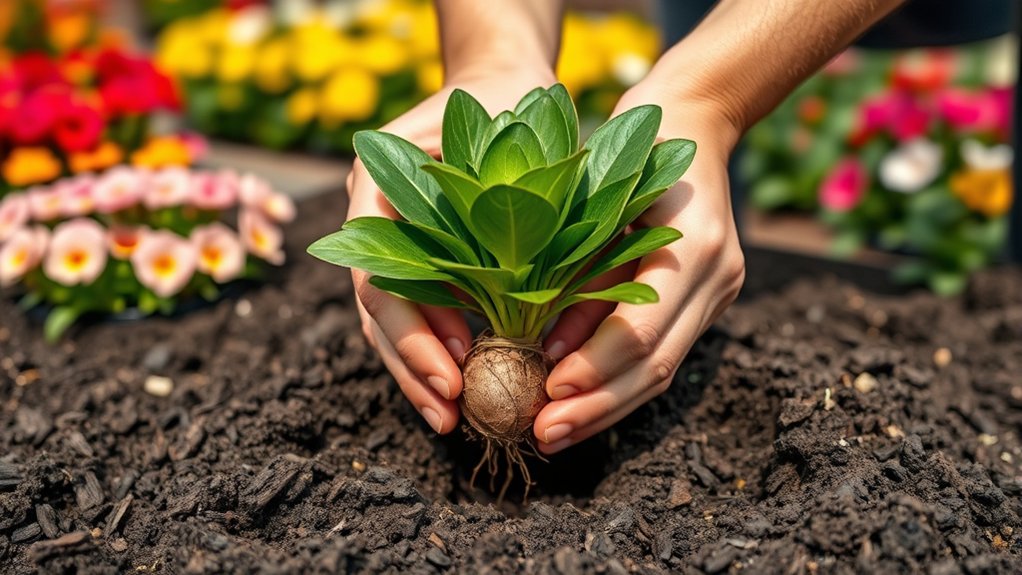
Choose a perennial that suits your garden’s sunlight, soil, and climate. Before you buy, consider how much care you can provide and what you want the plant to contribute. A compact flower may fit a small border, while a taller variety can add height and structure. Check the mature size on the plant label so you can choose a variety that matches your preferences.
Think about bloom color, flowering season, foliage, and whether you want to attract pollinators. For reliable results, choose plants suited to your region, and look for disease resistance if common problems affect local gardens.
If you’re growing from seed, compare varieties during seed selection and check the packet for germination time, mature height, and bloom details. Consider drought tolerance if you’d rather water less once plants establish. You can also choose a perennial with edible leaves or flowers, provided it’s safe for your intended use. Read labels carefully, then select a healthy plant or quality seed that meets your needs.
Pick the Right Spot for Your Perennial
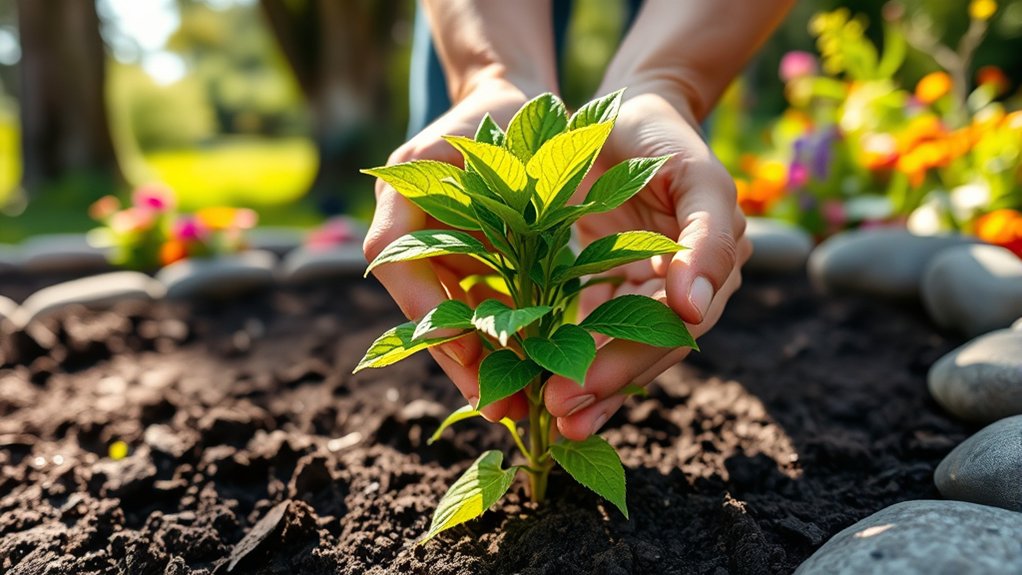
Where you plant a perennial affects how well it grows and blooms. Before choosing a spot, check your plant’s label for its preferred light and moisture conditions. Good perennial placement helps you meet those needs and gives the plant room to thrive.
Watch the area at different times of day to judge its sun exposure. Note whether nearby trees or buildings cast shade, and consider how conditions may change as the seasons shift. Use this quick guide:
| Garden spot | What to consider |
|---|---|
| Full sun | Choose for plants needing six or more hours of direct light. |
| Partial shade | Look for a mix of sun and shade during the day. |
Also check the space around the spot. Keep mature plant size in mind so your perennial won’t crowd paths or nearby plants. Avoid low areas where water tends to collect, and choose a location you can enjoy from a window or seating area. Once you’ve found a suitable place, mark it so you can return to it when you’re ready to plant.
Gather Tools and Prepare the Soil
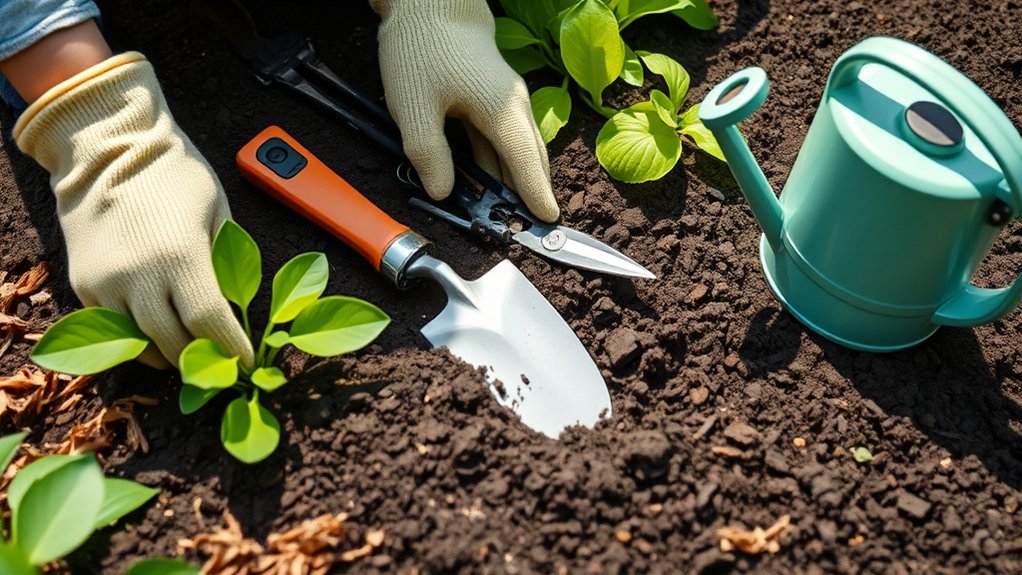
Gather your trowel, gloves, and compost before you begin. Then pull any weeds and clear debris from the planting area. Once it’s clear, loosen the soil and mix in compost to help your perennial thrive.
Gather Essential Tools
Before you begin, set out a spade, gardening gloves, compost, and a watering can. Add a hand trowel for digging a planting hole and a fork for loosening compacted soil. Keep a bucket nearby to carry compost, plus a measuring tape if you want to space several perennials evenly. Choose sturdy gardening gear that feels comfortable to hold; clean tools help you work efficiently and reduce the chance of spreading plant problems.
Check that your spade and trowel have secure handles and sharp edges. Your gloves should fit well enough for careful handling while protecting your hands. Use plant diagnostics before planting: inspect the perennial for signs of stress, pests, or disease, and confirm its label matches your garden’s light and space. With everything within reach, you can prepare the soil without interrupting your work.
Remove Weeds And Debris
Clear the planting area of weeds, fallen leaves, and other debris so your perennial won’t compete for nutrients or space. Choose a dry day for debris cleanup; damp soil can cling to roots and make weeds harder to remove.
For effective weeding timing, clear the spot before planting, then check it again just before you set the plant in place.
- Pull young weeds by hand, removing their roots to limit regrowth.
- Use a hand fork for stubborn weeds, taking care not to scatter seeds.
- Collect leaves, twigs, stones, and litter from the planting area.
- Bag weeds with seed heads instead of leaving them nearby.
- Dispose of diseased plant material separately to reduce spread.
Keep the area tidy as you work, and don’t leave pulled weeds where they can take root again. You’ll give your perennial a cleaner start.
Loosen And Enrich Soil
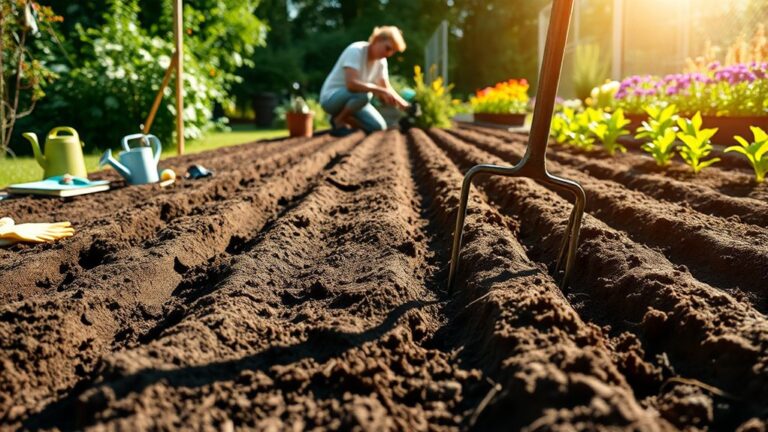
Loosen the soil with a garden fork or hand cultivator, then mix in compost to improve its texture and add nutrients. Work across the planting area, breaking up compacted clumps without turning the soil too deeply. This helps roots spread easily while protecting beneficial organisms near the surface.
Before you begin, gather gloves, a fork or cultivator, finished compost, and a rake. Remove any stones or remaining debris you uncover.
Spread a two- to three-inch layer of compost over the bed, then blend it into the top several inches of soil. Compost supports soil microbiology and nutrient cycling, creating healthier conditions for your perennial.
Rake the surface level, but don’t pack it down. Loose, crumbly soil lets water drain while retaining enough moisture for new roots.
Water and Loosen the Root Ball
Give the perennial a thorough drink. If its potting mix feels dry, water the plant before you remove it from its container. Moist soil holds together better, so you can handle the roots without scattering the mix. Let excess water drain while you prepare to loosen the root ball.
Slide the plant out gently, supporting the base rather than pulling its stems. Check the roots, then use your fingers to tease them apart.
- Massage the root ball’s sides to loosen compacted roots.
- Untangle circling roots so they can spread into the surrounding soil.
- If roots form a dense mat, make a few shallow cuts with clean pruners.
- Keep the crown and stems intact; rough handling can stress the plant.
- Treat idea one and idea two as reminders to balance moisture with gentle handling.
Don’t force stubborn roots apart. A little care now encourages outward growth and helps your perennial settle in after planting. Keep the root ball moist, not waterlogged, as you work.
Dig a Hole and Set the Perennial
Dig a hole about twice as wide as the root ball and just as deep, loosening the soil around its sides so new roots can spread. Keep the excavated soil nearby for the next step.
Check the hole’s depth by placing your perennial, still in its container, inside. The top of the root ball should sit level with the surrounding ground. If it’s too low, add a little soil beneath it; if it’s too high, deepen the hole. Avoid planting too deeply, since buried stems may struggle or rot.
Gently remove the perennial from its container, supporting the root ball rather than pulling on the stems. Set it upright in the center of the hole, with its healthiest side facing the direction you want it to grow.
Look around the plant to confirm it stands straight and the root ball remains level. These simple checks make perennial care easier and can inspire topic ideas for planning a balanced garden. Next, you’ll return the soil to the hole without shifting the plant.
Backfill the Hole and Water Deeply
Backfill the hole with the native soil you removed, gently firming it around the roots. Don’t add fertilizer or pack the soil tightly. Then water slowly and deeply to settle the soil and hydrate the root ball.
Backfill With Native Soil
Once the perennial sits at the right depth, return the native soil to the hole, gently firming it around the roots to remove large air pockets without packing it down. When you backfill native soil, preserve its familiar texture so roots can adjust to the surrounding bed.
Break up clods by hand, and remove stones or weeds that could obstruct growth. Don’t add rich amendments directly to the hole; sharp differences in soil can discourage roots from spreading outward.
- Use the excavated soil unless it’s contaminated or severely compacted.
- Blend in compost across the broader planting area when soil improvement is needed.
- Keep the crown at the same level as the surrounding ground.
- Fill in gradually, checking that roots stay covered.
- Leave a shallow rim of soil around the plant to help guide later watering.
You’ll create a stable, natural transition for new roots.
Water Deeply and Slowly
After you finish backfilling, water slowly at the base of the plant until the soil is moist throughout the root zone. This helps settle the soil around the roots and removes air pockets that can dry them out.
Keep the flow gentle so you don’t wash soil away or expose the root ball. If water begins pooling, pause briefly, then continue slowly watering as it drains.
Check moisture by pressing a finger into the soil near the plant; it should feel damp, not soggy. Your goal is to water deeply, encouraging roots to grow downward rather than staying near the surface.
Once the water has soaked in, add more soil if settling leaves the root ball exposed. Avoid packing the soil tightly, which can restrict airflow and root growth.
Mulch and Care for Your New Perennial
Spread a 2- to 3-inch layer of mulch around your perennial to retain moisture and suppress weeds, keeping it a few inches away from the stems to prevent rot. This mulch depth supports moisture retention while allowing air to reach the crown.
Choose shredded bark, leaf mold, or another suitable organic mulch, and refresh it as it breaks down.
For strong establishment, keep an eye on your plant’s needs:
- Check the soil regularly; water when the top inch feels dry.
- Pull weeds by hand before they compete for water and nutrients.
- Look beneath leaves for pests or signs of disease, and act early.
- Trim damaged foliage with clean shears, but avoid unnecessary pruning.
- Follow your perennial’s light and feeding requirements instead of applying fertilizer automatically.
As the plant settles in, adjust care for rainfall and temperature. Don’t let the soil stay soggy, and don’t allow the root zone to dry out completely.
A brief weekly check helps you spot problems before they slow growth. Keep mulch loose, and replenish only enough to maintain the recommended layer.
Frequently Asked Questions
When Is the Best Season to Plant Perennials?
Spring and early fall are usually the best planting season for perennials. You’ll give roots time to establish before summer heat or winter cold arrives. In spring, plant after the ground thaws and frost risk passes; in fall, aim for several weeks before the first hard freeze.
Your local climate matters, so check regional guidance. The ideal timing for perennials can vary by species, and you’ll help plants thrive by following their specific planting recommendations.
How Far Apart Should Perennials Be Planted?
Like giving each guest room to breathe, you should space perennials according to their mature width. For how far apart, check the plant label: many need 12–24 inches, while larger varieties require more. These spacing guidelines prevent crowding and improve airflow.
If you’re choosing pollinator friendly perennial choices, such as coneflowers or salvia, leave enough room for growth. Healthy plants will reward you with abundant blooms, attracting bees to your garden.
Can Perennials Grow Well in Containers?
Yes, you can grow perennials well in containers when you choose suitable plants and provide enough room for their roots. Select a pot with drainage holes, and use a high-quality potting mix for container perennials rather than garden soil. Match each plant’s light and water needs, then water regularly because containers dry out faster. For a cohesive perennial container design, combine plants with compatible growing requirements and protect pots from harsh winter conditions.
How Do I Divide an Established Perennial?
Divide an established perennial in early spring or fall, when temperatures are mild. Water it the day before, then dig around the plant and lift the root ball gently. Use a sharp spade or knife to separate it into healthy sections, each with roots and shoots. These dividing techniques protect root health care: discard damaged parts, replant divisions promptly at their original depth, and water thoroughly. Keep the soil consistently moist as they settle in.
Which Perennials Attract Pollinators?
Pollinator-friendly choices include coneflowers, bee balm, asters, salvia, lavender, and black-eyed Susans. These perennials offer nectar-rich blooms that attract bees, butterflies, and other beneficial visitors.
Choose several varieties with different flowering times, so your garden provides food from spring through fall. You’ll attract more pollinators by planting flowers in sunny spots, grouping each variety together, and avoiding pesticides.
Include native plants suited to your region for the best results.
Conclusion
Planting a perennial is a small act of faith: you give it a home today and trust it to return season after season. Choose the right plant and spot, prepare the soil, loosen its roots, and settle it into the ground with care.
Water deeply, add mulch, and keep an eye on its needs as it takes hold. Like a quiet promise renewed each spring, your garden’s beauty will grow. Follow these steps for planting a perennial, and you’ll enjoy the rewards for years to come.