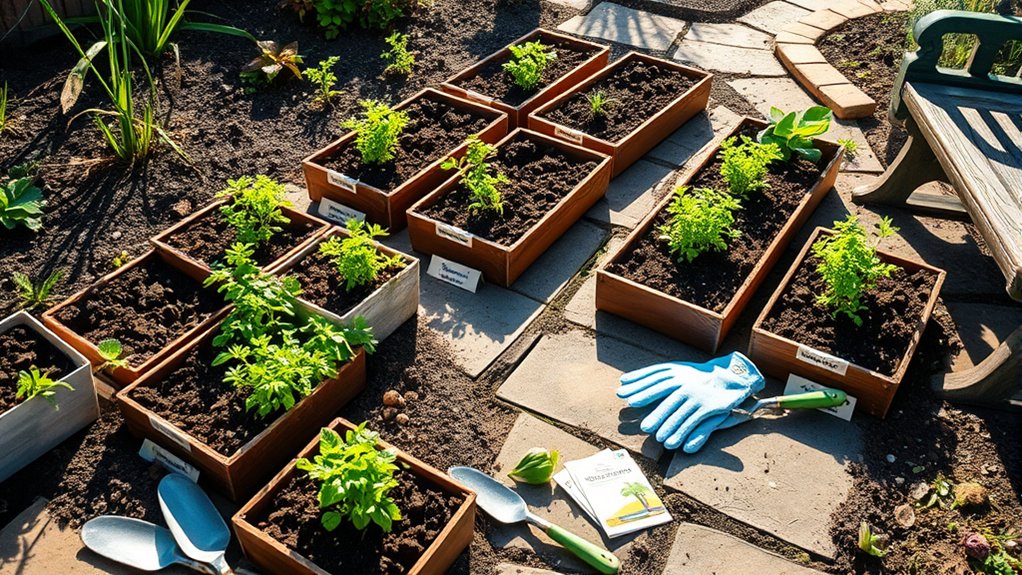
10 Steps to Make a Herb Garden
Growing fresh herbs at home sounds simple, but choosing the right plants, finding a sunny spot, and keeping everything healthy can feel overwhelming. You’re not alone—many people struggle to know where to begin. These 10 steps to make a herb garden will help you get started with confidence.
To make a herb garden, choose a sunny spot with at least six hours of direct light, then select herbs you enjoy and group those with similar needs. Pick a garden bed or containers with good drainage, and fill them with loose, fertile soil. Plant seeds or healthy seedlings, allowing enough space for airflow. Water when the top inch feels dry, and prune regularly. Watch for pests or stress, then harvest carefully to encourage fresh growth. The steps below help you get started.
Key Takeaways
- Choose a sunny, accessible spot that gets at least six hours of direct sunlight and drains well.
- Select herbs suited to your space, meals, and growing conditions; group plants with similar sunlight and watering needs.
- Choose an in-ground bed, raised bed, or containers with drainage holes, based on your space and soil.
- Fill the garden with loose, well-draining soil or quality potting mix, amended as needed with compost or perlite.
- Plant seeds or healthy seedlings at the recommended spacing and depth, then water consistently and harvest carefully.
Choose a Sunny Spot for Your Herb Garden
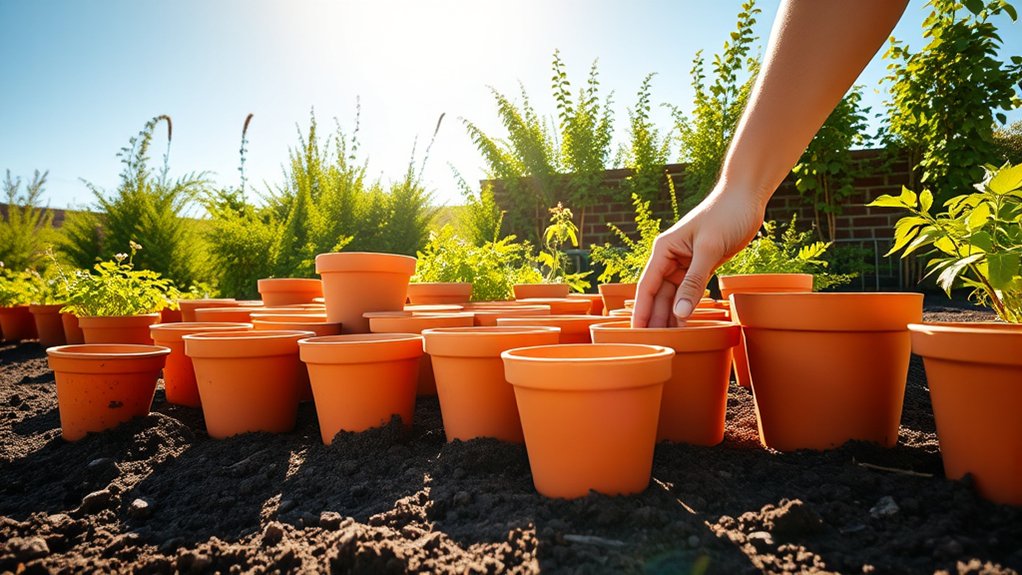
Choose a sunny spot that gives your herbs at least six hours of direct sunlight each day. Before you settle on a location, watch how light moves across your yard, balcony, or windowsill. Notice nearby walls, trees, and fences that may cast shade, especially in the afternoon. Good sun exposure helps herbs grow sturdy stems and develop flavorful leaves.
Choose a spot with at least six hours of sun, and watch for afternoon shade from nearby walls, trees, or fences.
Check the ground after rain, too. Your chosen spot should drain well rather than hold puddles, which can leave roots waterlogged. If you’re planting in a container, make sure it has drainage holes and a stable place to sit.
Test the soil’s texture and consider a basic soil test to learn whether it needs adjustments. Healthy soil nutrients support steady growth, but you don’t need to overfeed your plants. A little compost can improve poor soil before planting.
Pick a place you can reach easily for watering and care, and keep it clear of foot traffic so your garden stays undisturbed.
Pick Herbs for Your Space and Meals
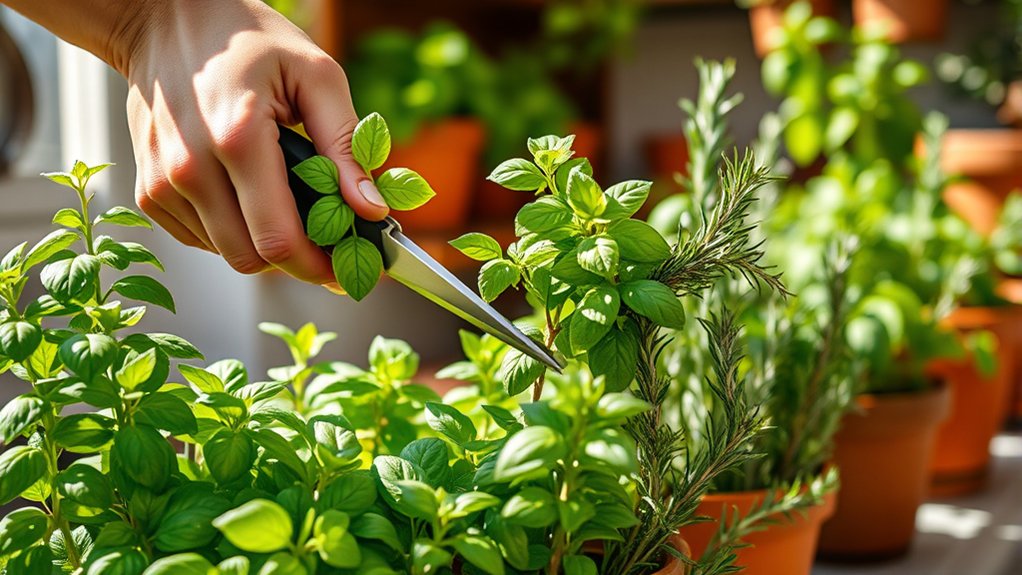
Start with herbs you enjoy cooking with and can grow in the space you have. Match your choices to the sunlight you’ve identified, then consider how often you’ll use each herb. Basil suits sauces and salads, while rosemary adds flavor to roasted vegetables. Pick a few reliable favorites before adding less familiar varieties.
| Herb | Meal use | Growing trait |
|---|---|---|
| Basil | Pasta, salads | Likes regular water |
| Thyme | Soups, vegetables | Offers drought tolerance |
| Parsley | Sauces, garnishes | Adapts to many dishes |
Group herbs with similar watering needs to simplify care. Thyme and rosemary tolerate drier conditions, while basil prefers consistently moist soil.
Companion planting can help you pair compatible herbs, but check each plant’s growth habits so vigorous varieties don’t crowd slower ones. You might combine herbs that share light and water preferences, or keep aggressive spreaders separate.
Choose a manageable mix that fits your cooking routine, and leave room to try another favorite later. Consider flavor combinations, too: parsley and thyme complement many savory meals, while basil pairs well with tomatoes. Your best selection is one you’ll harvest often and enjoy tending.
Choose a Garden Bed or Containers
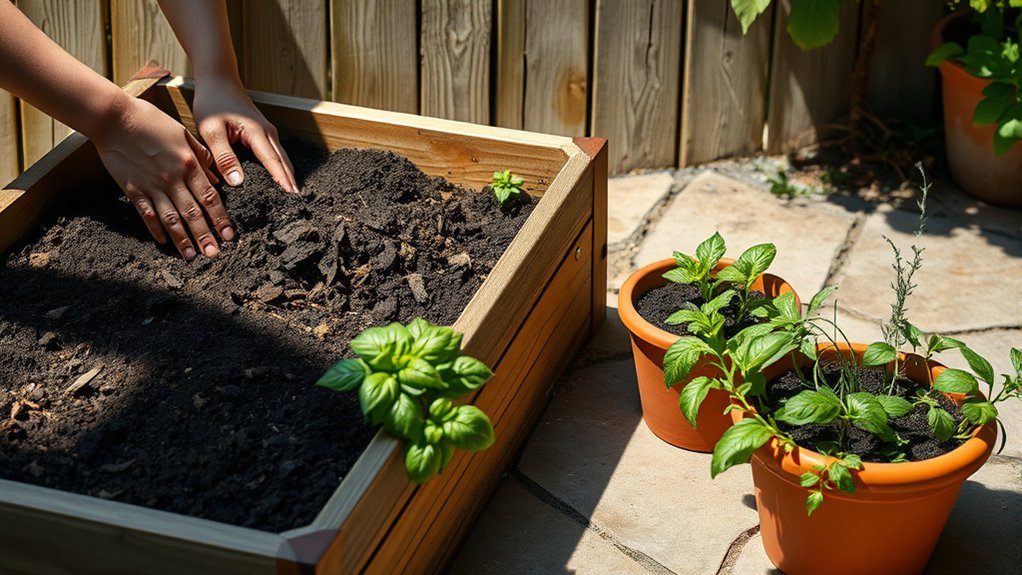
Choose a garden bed if you have room for a larger herb garden. If space is limited, containers are a great option—just choose ones that suit your herbs and growing area. Either way, make sure your plants have enough room to grow.
Choose a Garden Bed
Where your herbs grow depends on the space and sunlight you have. Choose a garden bed if you’ve got a sunny patch with well-drained soil. Most herbs need six or more hours of sunlight daily, so watch the spot before planting.
Clear weeds, loosen the soil, and mix in finished compost to improve its texture and nutrients.
| Bed choice | Best for | Key check |
|---|---|---|
| In-ground | Spacious yards | Drainage |
| Raised bed | Poor soil | Sunlight |
| Narrow bed | Small spaces | Easy access |
| Shared bed | Several herbs | Room to grow |
Keep taller plants from shading shorter ones, and leave paths so you can reach every plant. Water at soil level, and use compost tea sparingly. Regular checks support pest prevention and help you spot problems early.
Select Suitable Containers
Containers make herb gardening possible on patios, balconies, and sunny windowsills. Choose pots that fit your space and the herbs you plan to grow. Small, shallow containers suit compact herbs such as thyme, while parsley and basil need deeper pots for healthy roots. Check seed varieties or plant labels for mature size before choosing.
Make sure every container has drainage holes so excess water can escape. Set pots on saucers to protect surfaces, but empty standing water after watering. Use lightweight containers if you’ll move plants to follow the sun or shelter them from cold weather. Group pots with similar watering needs to simplify care.
Consider pest management, too: leave room between containers for airflow and inspection. Clean used pots before planting, and choose durable materials that won’t crack easily. With suitable containers, you can grow herbs efficiently wherever sunlight reaches.
Fill Your Herb Garden With Well-Draining Soil
Before planting, fill your herb garden with loose, well-draining soil to prevent waterlogged roots. Choose a quality potting mix rather than dense garden soil, which can compact in containers and restrict airflow. Your herbs need a balance of moisture and drainage, so check that each container has open drainage holes.
Improve the mix with suitable amendments:
- Add perlite or pumice to help excess water drain.
- Blend in compost for nutrients and organic matter.
- Use coco coir to support moisture retention without making soil heavy.
- Avoid adding too much sand, which may compact rather than loosen the mix.
- Leave a little space below each rim to make watering easier.
Don’t pack the soil tightly; settle it gently so roots can access air. Soil moisture management starts with a free-draining mix, but you’ll still need to monitor how quickly containers dry. Keep the soil consistent throughout, and consider how pruning techniques may affect each herb’s water needs as it grows. A suitable mix gives your garden a healthy foundation.
Plant Herb Seeds or Seedlings
Choose seeds or seedlings based on your experience and how quickly you want your herbs to grow. If you’re planting seeds, sow them at the depth listed on the packet—planting them too deep can slow germination. If you’re using seedlings, transplant them carefully to protect their roots.
Choose Seeds Or Seedlings
Decide whether seeds or seedlings suit your herb garden by weighing time, cost, and variety. Seeds usually cost less and offer more choices, while seedlings give you a head start. Consider your schedule, growing experience, and the herbs you want before making your seed selection.
- Choose seeds when you want a wider range of varieties.
- Pick seedlings if you’d like quicker harvests.
- Start with seedlings if you’re new to gardening.
- Compare packet prices with local nursery costs.
- Check each herb’s growing needs before you buy.
You can also mix both options: grow familiar herbs from seedlings and try something new from seed. Inspect seedlings for healthy leaves and sturdy stems, and avoid wilted or crowded plants. With attentive seedling care, you’ll help young herbs settle into your garden.
Choose what fits your budget and patience, then gather the supplies you’ll need for planting.
Sow Seeds At The Right Depth
Plant herb seeds at the depth listed on the packet, since sowing too deep can keep them from sprouting. Check each variety’s instructions because seed depth differs by seed size and type. Tiny seeds often need light to germinate, so you may only need to press them gently onto the soil surface. Larger seeds usually need a shallow covering of potting mix. If you’re sowing several varieties, label each row or container so you can track what you planted.
Use your fingertip or a pencil to make evenly spaced holes, then drop in the recommended number of seeds. Cover them lightly and firm the soil without packing it down. Water with a gentle spray to keep seeds in place and maintain steady moisture. Follow packet guidance for warmth and light, and avoid letting the soil dry out. Proper planting can improve your germination rate and help seedlings emerge evenly.
Transplant Seedlings Carefully
When seedlings have several sets of true leaves and the weather suits their herb variety, they’re ready to move into the garden or larger pots. Harden them off first by setting them outdoors for a few hours daily, gradually increasing their exposure over a week.
- Water seedlings before transplanting to keep root balls intact.
- Choose a cloudy day or work in the late afternoon.
- Space each herb according to its mature size.
- Set seedlings at the same depth they grew in their containers.
- Firm soil gently around roots, then water thoroughly.
Handle stems and leaves carefully; lift each seedling by its root ball, not its delicate stem. Keep soil evenly moist while plants settle in, but don’t let roots sit in water. Skip any irrelevant topic or random tangent, and focus on helping your herbs establish strong roots.
Water Herbs When the Soil Feels Dry
Check the soil before watering your herbs: if the top inch feels dry, water slowly until moisture reaches the roots. Use your finger to test the soil near each plant, since containers and garden beds can dry at different rates.
When the soil still feels damp, wait and check again later. Your watering frequency depends on the weather, soil, container size, and each herb’s needs, so don’t follow a rigid schedule.
Pour water at the base of each plant, aiming to moisten the root zone without washing soil away. Water deeply enough to encourage root health, but don’t leave herbs sitting in soggy soil.
Make sure containers have drainage holes, and empty saucers after excess water drains. In hot, dry weather, check the soil more often; after rain or during cool spells, you may need to water less.
Watch your herbs for clues, but let the soil, not drooping leaves alone, guide your next watering.
Space Herbs for Sunlight and Airflow
Once your herbs get the right amount of water, give each plant enough room for sunlight and airflow. Check the spacing instructions on seed packets or plant labels, since mature herbs vary in size.
When you space herbs thoughtfully, each plant can receive light and fresh air instead of competing with crowded neighbors.
Use these simple guidelines as you arrange your garden:
- Place tall herbs where they won’t shade shorter plants.
- Group herbs with similar light needs together.
- Leave room between pots so air can move freely.
- Keep spreading herbs, such as mint, in separate containers.
- Turn pots occasionally if sunlight reaches them unevenly.
For an in-ground bed, picture each herb at its full size before planting. In containers, avoid squeezing extra plants into limited space; crowded leaves can block light and hold moisture.
Watch how shadows shift during the day, then adjust pot positions to improve sunlight airflow. A little planning now helps your herbs grow evenly and keeps the garden easier to navigate. If you’re unsure, give plants more space rather than less.
Prune and Feed Herbs as They Grow
Pinch herb stems regularly to encourage bushier growth. As flowers appear, remove them to keep the leaves productive. Feed your herbs lightly, too, so they grow well without excess fertilizer.
Prune for Bushier Growth
Regular pruning encourages herbs to grow bushier and produce more tender leaves. To prune growth effectively, pinch or snip stems just above a pair of leaves. This encourages new shoots to emerge from the cut point, giving your plants a fuller shape. Use clean, sharp scissors, and don’t remove too much at once; taking no more than one-third of a plant helps it recover.
- Pinch soft stem tips with your fingers.
- Cut woody stems with sharp pruning shears.
- Trim basil and mint regularly to encourage branching.
- Shape leggy herbs gradually over several sessions.
- Water plants after bushier pruning if the soil feels dry.
Check each herb’s growth habit before cutting, since some varieties respond better to light pinching than heavy trimming. Harvest usable leaves as you prune, and keep your cuts neat to limit stress. Regular, gentle attention helps herbs stay compact and productive.
Remove Flowers Regularly
After shaping herbs for bushier growth, watch for flower buds and remove them promptly if you want to keep leaves tender and flavorful. Pinch each bud between your fingers or snip it just above a leaf pair with clean scissors.
Check plants every few days during warm weather, since flowers can open quickly. Regular removal encourages many leafy herbs, such as basil and mint, to keep producing foliage instead of setting seed.
However, let flowering herbs bloom when you want to attract pollinators or collect seeds. Some herbs, including lavender, also offer useful flowers and fragrance balance, so choose what suits your garden.
Keep observing your plants for stress, too; irrigation mistakes can weaken growth and make leaves less appealing. Removing buds won’t correct poor watering, but careful attention helps you respond promptly.
Feed Herbs Lightly
A light touch keeps herbs growing without overwhelming them. Feed your plants only when active growth begins, and choose a balanced, diluted fertilizer. Too much nitrogen can produce lush leaves with weaker flavor, so follow the label and use less rather than more.
- Water the soil first to protect roots from fertilizer burn.
- Apply half-strength liquid feed every four to six weeks.
- Skip feeding woody herbs like rosemary unless growth stalls.
- Give leafy annuals such as basil modest, regular nourishment.
- Stop feeding dormant herbs during winter.
How to nuance your routine? Watch leaf color and growth: pale, slow plants may need nutrients, while vigorous herbs usually don’t. Common mistakes include fertilizing dry soil, feeding too often, and treating every herb alike.
Keep pruning tips as needed, then harvest regularly; both practices encourage fresh growth without demanding heavy feeding. Check containers more often, since watering can wash nutrients away. (124 words)
Spot and Solve Common Herb-Growing Problems
When herbs wilt, yellow, or grow slowly, look for clues in their leaves, stems, and soil. Check conditions before changing your care routine; several problems can look alike.
| Clue | Likely cause | What you can do |
|---|---|---|
| Yellow leaves | Too much water | Let soil dry; improve drainage |
| Crispy edges | Dry soil or heat | Water deeply; offer afternoon shade |
| Sticky leaves | Aphids | Rinse plants; use pest management |
| Pale, leggy stems | Too little light | Move pots to a sunnier spot |
Feel the soil before watering. If it’s soggy, stop muddy irrigation and make sure containers have drainage holes. If it’s bone-dry, water slowly until moisture reaches the roots.
Inspect leaf undersides for insects and fine webbing, then respond promptly with a gentle rinse or suitable treatment. Remove diseased foliage, clean your tools, and space plants so air can circulate.
Change one condition at a time, then watch for improvement over several days. If symptoms persist, check that your herb’s light and watering needs match its location.
Harvest Herbs to Encourage New Growth
Regular harvesting keeps herbs compact and encourages fresh growth. Choose harvest timing based on each plant’s growth and your cooking needs. Pick in the morning, after dew dries but before midday heat, when leaves hold their best aroma. Use clean, sharp scissors to avoid bruising stems, and never remove more than one-third of a plant at once.
- Snip basil just above a pair of leaves to prompt branching.
- Pinch mint tips often, and remove flower buds before they open.
- Cut parsley’s outer stems near the base, leaving the center intact.
- Gather chives by trimming leaves a few inches above the soil.
- Take rosemary sprigs from several stems rather than stripping one branch.
Harvest leafy herbs before flowering for tender leaves; let seed herbs bloom if you want seeds. For flavor preservation, use fresh cuttings promptly, or dry or freeze extras. Check plants regularly, and adjust your cuts as they recover. Consistent, careful picking gives you a steady supply without weakening your garden.
Frequently Asked Questions
Can I Grow Herbs Indoors Year-Round?
Yes, you can grow herbs indoors year-round with the right setup. For successful indoor year-round cultivation, choose compact varieties such as basil, parsley, chives, and mint, and use pots with drainage holes and quality potting mix. Meet their optimal light requirements by placing them in a bright, sunny window or providing a grow light for 12–16 hours daily. Water when the soil feels dry, and harvest regularly to encourage fresh growth.
Which Herbs Grow Well Together?
You don’t need identical watering needs for every herb; group plants with similar light and moisture preferences, and you’ll get better results. For Herb companion planting, pair basil with parsley, or grow rosemary, thyme, and sage together in sunny, well-drained soil.
Mint grows vigorously, so keep it in its own pot. Try Seasonal herb pairings like cilantro and dill in cooler weather, then basil and oregano when it’s warm. Check each plant’s space needs, too.
Are Homegrown Herbs Safe for Pets?
Yes, many homegrown herbs are safe for pets, but you should check each plant before letting your dog or cat nibble it. Basil, rosemary, and thyme are generally considered pet-safe in small amounts; avoid toxic plants such as chives and garlic.
For homegrown herbs safety, identify every plant and keep pesticides away. Follow pet friendly herb care by placing pots out of reach and contacting your veterinarian if your pet eats an unknown herb.
How Should I Preserve Herbs After Harvesting?
You can preserve harvested herbs for what feels like a thousand meals by drying or freezing them. For drying methods, tie small bundles and hang them in a cool, airy spot, or spread leaves on a screen until crisp. Store fully dried herbs in airtight jars away from light. For freezing herbs, chop them, pack them into ice-cube trays, cover with water or oil, and freeze; add a cube directly to soups or sauces.
Can Perennial Herbs Survive Winter Outdoors?
Yes, many perennial herbs can survive winter outdoors, but their success depends on your climate and each plant’s hardiness. Choose perennial herbs winter hardy for your region, such as thyme, sage, or chives, and check local growing guidance.
For outdoor winter care, water plants before the ground freezes, add mulch around roots, and protect tender varieties from harsh wind. You can also grow less-hardy herbs in containers and move them to a sheltered spot.
Conclusion
Your herb garden doesn’t need to be perfect to thrive. Give your plants sun, well-draining soil, room to breathe, and regular care. Choose herbs you’ll enjoy using, watch for pests or signs of stress, and harvest often to encourage fresh growth.
Think of each small task as adding a note to a recipe: together, they create a garden that’s useful, satisfying, and uniquely yours. Start with what you have, learn as you go, and enjoy the flavors you grow. With these 10 steps to make a herb garden, you can create a space that’s both rewarding and delicious.