7 Simple Steps to Plant Bushes in Front of Your House
Choosing the right bushes for your front yard can feel overwhelming when you’re balancing curb appeal, limited space, and ongoing care. You’re not alone—many homeowners struggle to find plants that fit their yard and thrive with the time they have.
These simple steps for planting bushes in front of your house can help you choose suitable varieties, prepare the soil, and give your new plants a strong start.
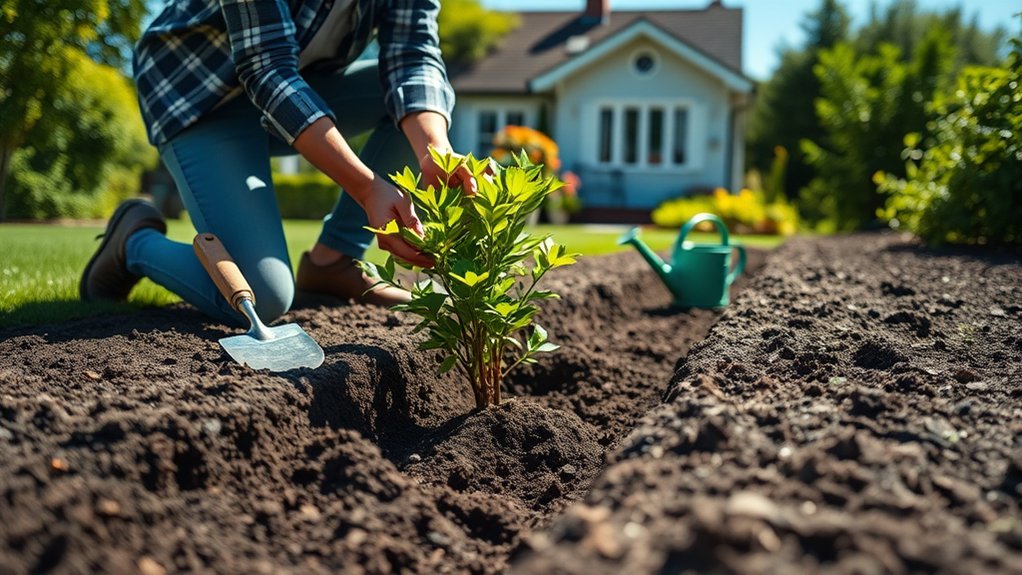
To plant bushes in front of your house, first choose varieties suited to your light, climate, space, and care routine. Check mature size, then mark spacing that leaves room for growth and clear paths. Gather tools, clear the area, and mix compost into suitable soil. Dig a hole twice as wide as the root ball, set the root flare at ground level, then backfill and water gently. Add mulch, keep it from stems, and monitor moisture as roots establish. These steps help your new bushes settle in well.
Key Takeaways
- Choose bushes suited to your home’s style, local climate, sunlight, water needs, and available maintenance.
- Observe sunlight and plan spacing around each shrub’s mature size, keeping paths, doors, windows, and foundations clear.
- Prepare tools and soil, remove weeds and debris, and dig a hole twice as wide as the root ball and no deeper.
- Set the root flare at or slightly above ground level, backfill gently, water to settle soil, and add mulch away from stems.
- Check soil moisture and plant health regularly; water when the top few inches are dry and prune only dead or broken growth.
Choose Bushes for Your Front Yard
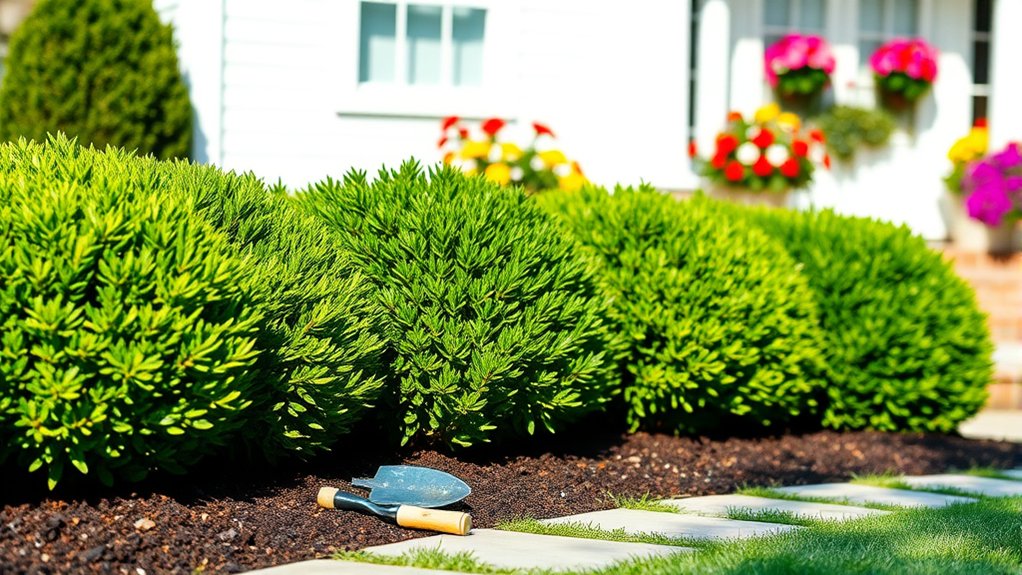
Before choosing bushes for your front yard, consider how much sunlight, space, and maintenance each spot allows. Then match each plant to your home’s style and your gardening habits. If you want a tidy look, choose shrubs with naturally compact shapes or slow growth. For a softer, layered effect, combine plants with different heights, leaf textures, and seasonal colors.
Check each candidate’s mature size, hardiness, and water needs before you buy. A bush that looks small at the nursery may outgrow its role, while a plant unsuited to your climate may struggle. Consider whether you prefer evergreen foliage, spring flowers, colorful berries, or autumn leaves. You can also use fragrance or wildlife value to guide your plant selection.
Read labels carefully, and ask a local nursery about varieties that thrive in your region. Choosing plants that fit your preferences and care routine helps you create an attractive entryway without taking on more upkeep than you can manage.
Pick a Sunny Spot and Plan Spacing
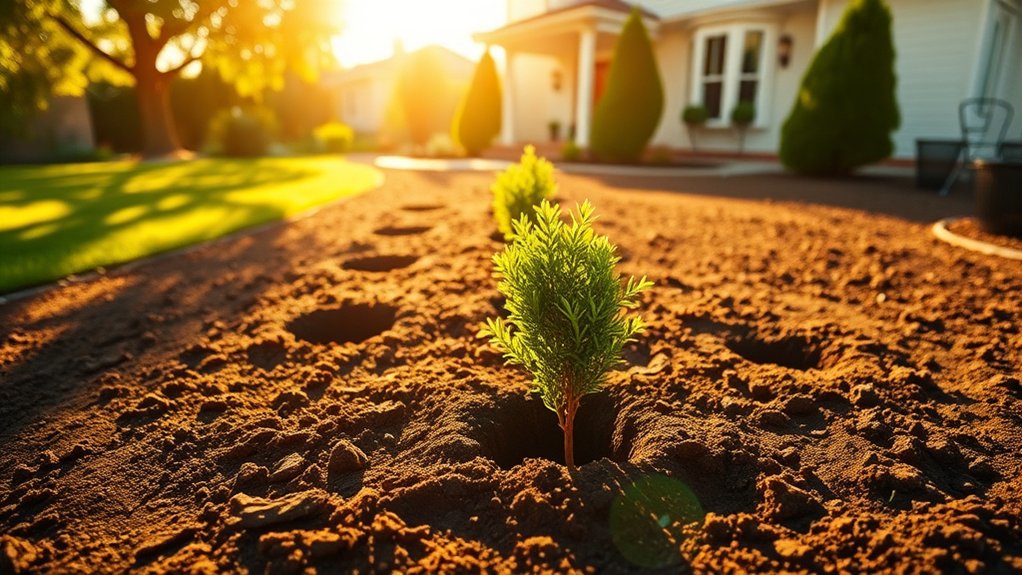
Where will your bushes get the light they need and have room to grow? Watch your yard throughout the day before choosing a sunny spot. Note where sunlight falls and where buildings, fences, or trees cast shade. Match each bush’s light needs to the conditions you observe; don’t assume the brightest-looking corner stays sunny all day.
Next, plan spacing around each plant’s mature width, not its size at purchase. Give branches room to spread, preserve clear paths, and keep shrubs from blocking windows or walkways. Check soil compatibility, too: a location’s drainage and soil conditions should suit the bushes you selected.
Use these quick checks to map your layout:
- Measure the planting area and mark its boundaries.
- Check sunlight in the morning and afternoon.
- Leave room for each bush’s expected width.
- Consider root spread near foundations and paved areas.
- Keep mature shrubs clear of doors, windows, and paths.
A simple sketch helps you visualize the arrangement and adjust spacing before you plant. Don’t crowd bushes for instant fullness; they’ll fill in as they grow.
Prepare Tools and Soil for Planting
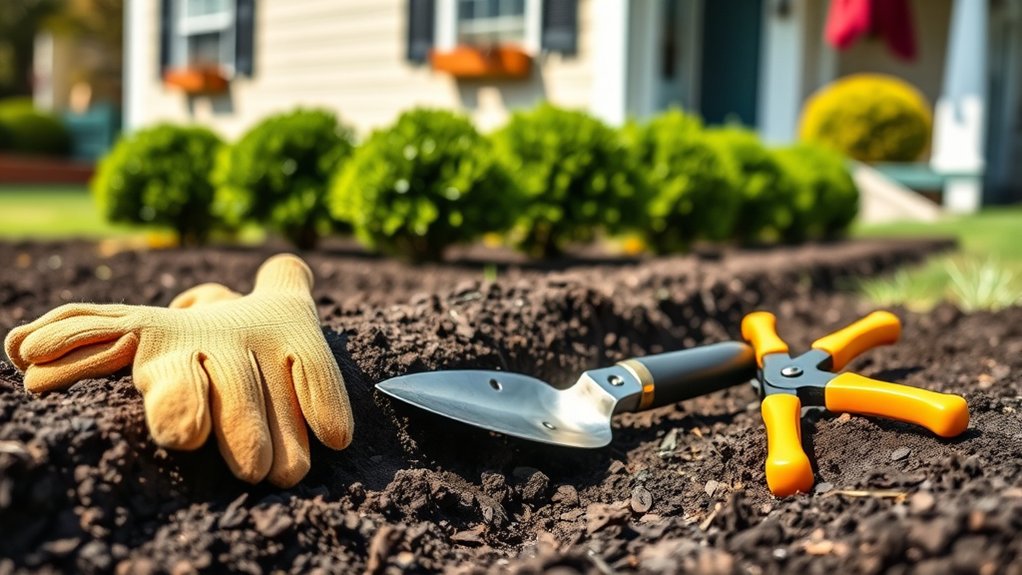
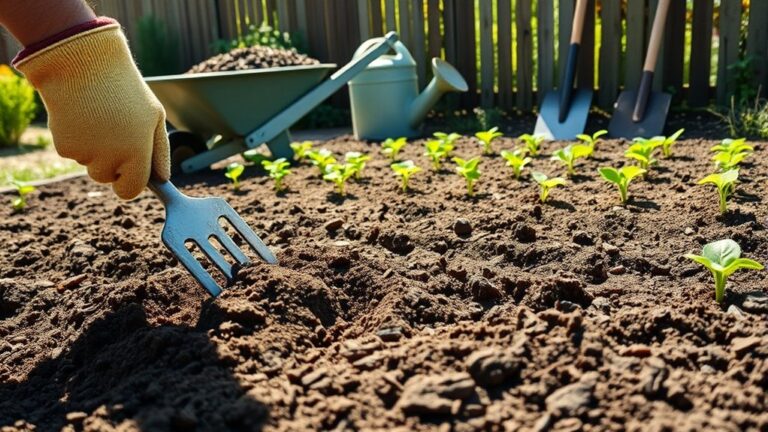
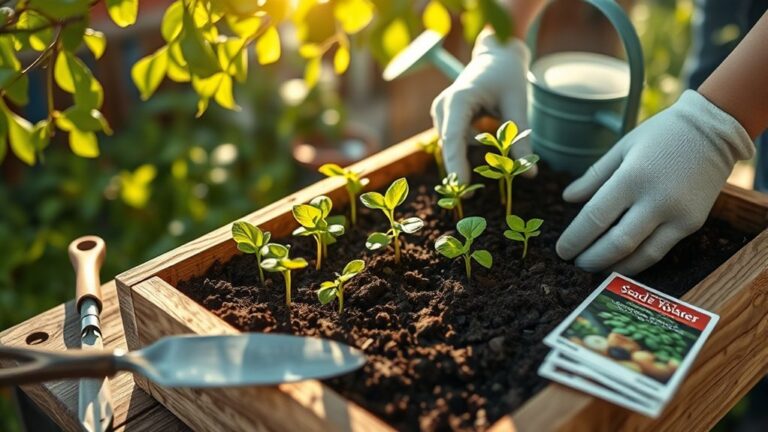
Gather a spade, gloves, a tape measure, and compost before you begin. Check that your spade is clean and sharp, and inspect your gloves for tears. Good tool maintenance keeps your work efficient and helps prevent damage to plants. Set your supplies near the planting area so you can reach them easily.
| Item | Purpose | Quick check |
|---|---|---|
| Spade | Move and loosen soil | Clean, sharp edge |
| Gloves | Protect your hands | No holes or tears |
| Tape measure | Confirm planned spacing | Readable markings |
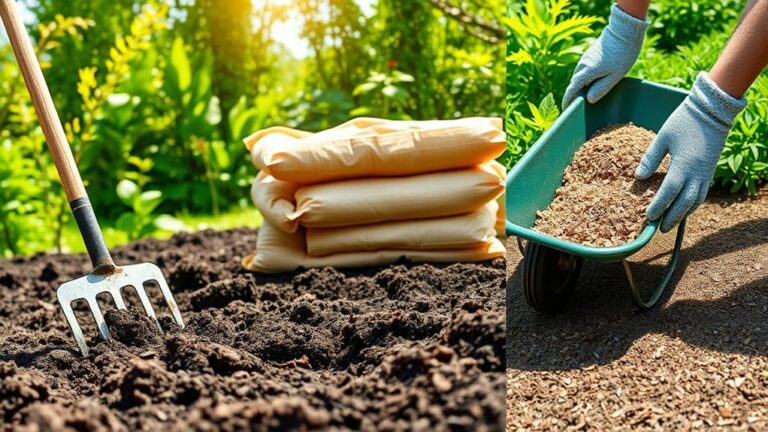
Assess your soil before adding soil amendments. A handful should feel crumbly, not waterlogged or hard-packed. Mix compost into the existing soil to improve its texture and add organic matter. Don’t overdo it, since too much can disrupt the soil’s balance. If you’re unsure what your soil needs, use a simple soil test before adding other amendments.
Clear away weeds, stones, and loose debris from the planting area, then keep your tools and compost ready for the next step. You’ll be prepared to work neatly without rushing or searching for supplies.
Dig a Hole for the Root Ball
Start by measuring the root ball’s height and width, then dig a hole twice as wide and no deeper than the root ball. Accurate root ball sizing gives your bush room to establish roots while keeping the planting depth appropriate. Check the measurements again before you begin, especially if the root ball’s shape is uneven.
Use your shovel to loosen the soil across the hole’s base and sides. Keep the bottom firm enough to support the root ball, and avoid digging deeper than needed. If you’ve made the hole too deep, add soil back and tamp it lightly.
- Match the hole’s depth to the root ball’s height.
- Make the hole about twice the root ball’s width.
- Keep the sides gently sloped, not smooth and compacted.
- Remove rocks, roots, and debris as you dig.
- Consider your Plants selection; larger bushes may need wider holes.
Set the excavated soil nearby for backfilling, and keep the opening clear until you’re ready to place the bush.
Set the Root Flare at Soil Level
Before placing the bush, find the root flare—the point where the trunk widens into the roots. Check the root ball for excess soil or wrapping that hides this transition. If you can’t see the flare, gently brush away loose material from the top until the trunk begins to broaden. This root flare inspection helps you set the plant at the right depth.
Place the bush in the center of the hole, then lay a straight board across the surrounding ground and over the root ball. Use it as a guide for soil level alignment: the flare should sit even with, or slightly above, the finished ground surface. Don’t bury the flare, since covered bark can stay damp and encourage decay. If the plant sits too low, lift it out and adjust the hole beneath the root ball. Recheck the height from several sides before moving on, keeping the trunk upright and the flare visible.
Backfill, Water, and Mulch Your Bush
Once the bush sits at the right height, backfill the hole with the soil you removed, breaking up large clumps as you go. Use simple backfill strategies: add soil in layers, gently firm each layer, and keep the root flare visible.
Backfill in layers with loosened soil, gently firming each one while keeping the root flare visible.
Don’t pack the soil tightly; roots need air and water. When the hole is nearly full, water slowly to settle the soil and close air pockets. Add more soil if settling exposes roots, but don’t cover the flare.
Spread mulch over the planting area to conserve moisture and moderate soil temperature. Keep it away from the stems to prevent rot and pest problems. Aim for a mulch depth of two to three inches, forming a broad, even ring rather than a mound.
- Use the original soil unless it’s unsuitable.
- Break up clods before adding them.
- Firm soil gently with your hands.
- Water as you backfill to settle layers.
- Leave a clear gap around the stems.
Water and Care for Newly Planted Bushes
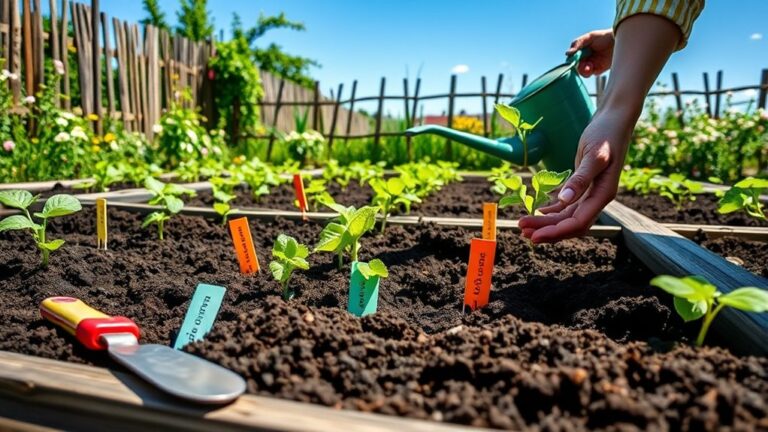
Water your new bushes regularly, and adjust your watering schedule as the weather and soil conditions change. Keep the mulch in place to help retain moisture, but leave a little space around each stem. Check your bushes often for signs of stress, pests, or disease.
Watering Schedule
Newly planted bushes need consistent moisture while their roots settle in, but soggy soil can cause problems. Set a watering schedule based on rainfall, soil type, and your shrub’s needs. Check the soil a few inches down before watering; if it feels dry, water slowly at the base until the root zone is moist.
Adjust for drought considerations, heat, and wind, which can dry soil faster. Follow these practical steps:
- Water deeply after planting to settle soil around the roots.
- Check moisture every day during the first week.
- Water every few days during the first growing season, as needed.
- Reduce watering after rain or when the soil stays damp.
- Watch for wilting, yellowing leaves, or persistently wet soil.
Your bushes may need more frequent checks in hot weather, but don’t follow a rigid calendar. Let soil conditions guide each watering.
Mulch and Moisture
Mulch helps newly planted bushes retain moisture, regulate soil temperature, and limit weeds. Spread a two- to three-inch layer around each bush, keeping it a few inches away from stems. This gap helps prevent rot and discourages pests from settling against the bark.
After watering, check the soil beneath the mulch. If it feels dry an inch or two down, water slowly and deeply so moisture reaches the root ball. Don’t let the soil stay soggy; poor drainage and wrong soil types can deprive roots of air. Adjust your watering based on rainfall, heat, and how quickly the ground dries.
Refresh mulch as it breaks down, but don’t pile it against stems. A clean, even layer supports moisture retention and pest prevention while giving new roots a steadier start.
Monitor Bush Health
Watch your bushes closely during their first few weeks in the ground. Regular monitoring helps you spot problems early and adjust care before a small issue worsens. Check the soil with your finger; water when the top few inches feel dry, keeping roots moist but not waterlogged. Your bushes may droop briefly after planting, but persistent changes deserve attention.
- Look for yellowing, browning, or curled leaves.
- Check stems for damage, pests, or unusual spots.
- Feel the soil before watering, and avoid soaking it daily.
- Note whether leaves recover after watering or cooler weather.
- Remove weeds competing for water and nutrients.
Identifying stress means comparing changes over time, not reacting to every fallen leaf. If symptoms persist, review sunlight, drainage, and watering habits. Prune only dead or broken growth, and give roots time to establish. With steady care, you’ll help your new bushes settle in and grow strong.
Frequently Asked Questions
When Is the Best Season to Plant Bushes in Front of a House?
Fall is usually the best season to plant bushes because cooler temperatures and regular rainfall help roots establish before summer heat. You can also plant in early spring, once the ground thaws and before intense heat arrives.
For successful seasonal planting, choose a mild, overcast day and avoid frozen or waterlogged soil. Start soil preparation by loosening the ground and mixing in compost. Water newly planted bushes deeply, and follow local guidance for your climate.
How Can I Check Whether Local Rules Restrict Front-Yard Shrubs?
Check your city or county website for landscaping ordinances, permits, and visibility rules, or call the planning department. Ask whether height limits, sight lines, easements, or protected areas affect your front yard.
For Checking permits, HOA covenants, and zoning rules, review your HOA documents and contact the board before planting. Follow Local permitting steps and HOA process by submitting required plans, paying fees, and waiting for written approval. Keep copies of decisions and approvals.
Which Bushes Are Safe Around Children and Pets?
Better safe than sorry: choose non-toxic safe plants such as camellia, rose, or blueberry bushes, but verify each species with the ASPCA and your pediatrician or veterinarian.
For pet safe varieties, avoid plants with toxic leaves, berries, or thorns, and supervise children and pets around any new planting. Ask your local nursery about deer proofing options that won’t harm wildlife.
Follow recommended pruning timelines, and remove fallen berries or branches promptly to reduce risks.
How Do I Protect Front-Yard Bushes From Deer?
Protect your front-yard bushes with layered deer deterrent strategies. Surround vulnerable plants with sturdy fencing at least eight feet tall, or use individual wire cages around young shrubs.
Apply a labeled deer repellent after rain, and rotate products so deer don’t get used to one scent. Remove fallen fruit and other food sources nearby.
Choose drought-tolerant varieties that deer often avoid, such as lavender or rosemary, but remember no plant is completely deer-proof.
When Should I Prune Newly Planted Bushes?
Treat your newly planted bushes like guests who need time to settle in: wait until they’re established before major pruning. Remove broken, dead, or diseased branches anytime, but avoid heavy cuts during the first growing season. After that, follow a pruning schedule suited to each shrub’s flowering cycle—prune spring bloomers after flowering and summer bloomers in late winter or early spring. This approach supports growth management without stressing young plants.
Conclusion
Planting bushes in front of your house doesn’t have to be complicated. Choose plants suited to your yard, give them enough sun and room, and prepare the soil before you dig.
Set each root flare at soil level, then backfill, water, and mulch. Keep checking moisture as your new bushes settle in.
With a little care, planting bushes in front of your house can create a welcoming green frame around your home and add beauty and curb appeal season after season.