10 Easy Steps to Start a Vegetable Garden for Beginners
Starting a vegetable garden can feel overwhelming when you’re unsure what to plant, where to begin, or which tools you need. You’re not alone—many beginners struggle to pull all the pieces together. This roundup makes it easier to take your first steps toward a thriving garden.
To start a vegetable garden, choose a spot with six to eight hours of sunlight, then select a garden bed or well-drained container. Grow easy crops such as lettuce, radishes, bush beans, or cherry tomatoes. Test and improve your soil, gather suitable seeds and basic tools, and follow packet instructions. Water consistently, thin crowded seedlings, add mulch, and remove weeds. Check plants for pests and disease, then harvest vegetables when they’re ripe. The steps ahead can help you get started with confidence.
Key Takeaways
- Choose a spot with six to eight hours of direct sunlight, and observe its light throughout the day.
- Decide between a garden bed and containers; ensure either has suitable soil, drainage, and room for roots.
- Start with easy crops like lettuce, radishes, bush beans, or cherry tomatoes, following seed-packet instructions.
- Test soil texture, drainage, pH, and nutrients; improve poor soil gradually with finished compost.
- Space plants properly, mulch, weed regularly, water at the soil base, and harvest at peak ripeness.
Choose a Sunny Spot for Your Vegetable Garden
Choose a sunny spot where your vegetables will get at least six to eight hours of direct sunlight each day. Good sunny exposure helps most crops grow strong, produce healthy leaves, and set more fruit.
Before you settle on a location, watch how sunlight moves across your yard. Check the area in the morning, around midday, and in the afternoon, since nearby trees, fences, or buildings may cast changing shadows.
Match the light to the vegetables you want to grow. Tomatoes, peppers, cucumbers, and squash generally need full sun, while leafy greens such as lettuce and spinach can manage with less.
Check each plant’s shade tolerance before choosing what to grow. Even a little afternoon shade can help some greens during hot weather. Don’t assume a spot stays sunny just because it looks bright at one moment.
Track its light over a full day, then choose the location that gives your preferred crops the best conditions throughout the growing season.
Choose a Garden Bed or Patio Container
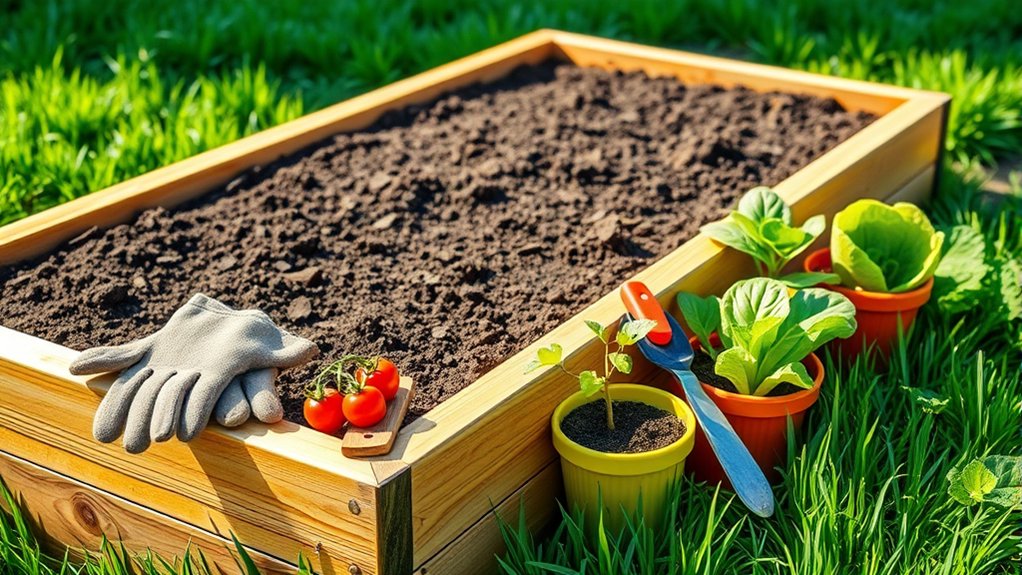
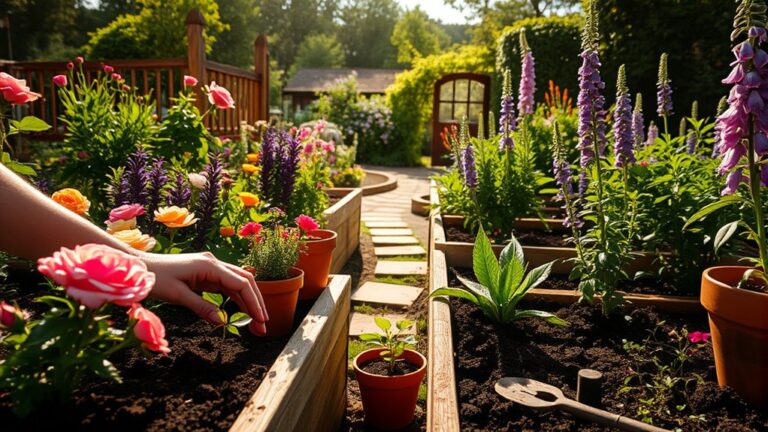
Once you’ve found a sunny spot, decide whether to grow your vegetables in a garden bed or patio containers. A garden bed gives you room to work and lets roots spread through the soil. If your yard has poor soil, you can build a raised bed and fill it with a suitable growing mix. Keep the bed narrow enough to reach the center without stepping on the soil.
Containers work well when you have limited space or want to move plants as needed. Compare container options such as pots, window boxes, and grow bags. Choose sturdy vessels with drainage holes, and make sure each one is deep and wide enough for healthy root growth. You’ll also need potting mix, since garden soil can compact in a container.
Think about watering and upkeep before you choose. Containers may dry out faster, while beds need more initial preparation. You can use either setup for starting seeds or transplanting seedlings.
Pick Easy Vegetables to Grow
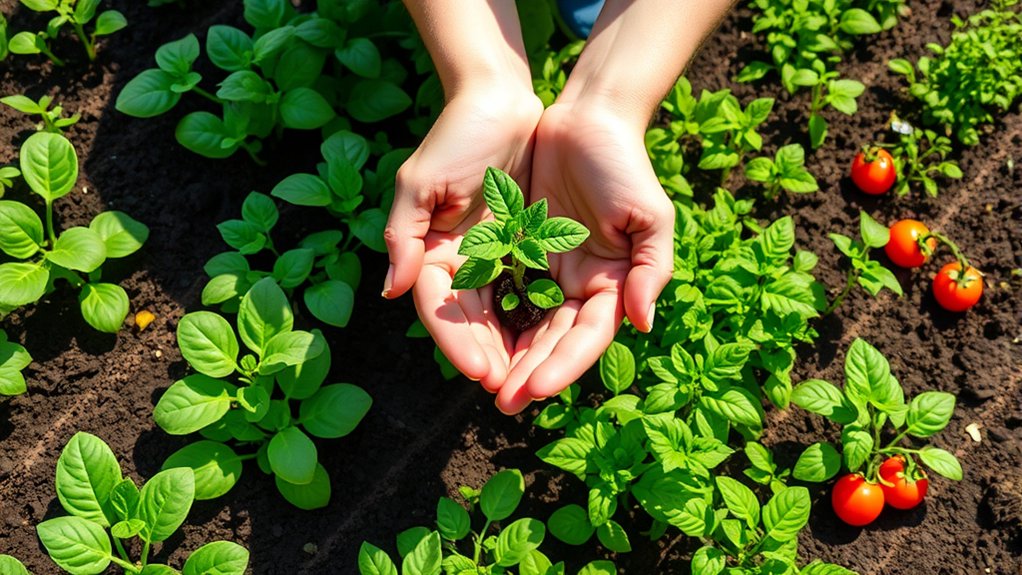
Start with a few easy vegetables that suit your space and growing conditions. If you’re new to gardening, try lettuce, radishes, bush beans, or cherry tomatoes. Lettuce grows quickly and thrives in cool weather, while radishes often mature in just a few weeks.
Start with easy crops like lettuce, radishes, bush beans, or cherry tomatoes to suit your space and growing conditions.
Bush beans produce generously without needing a trellis, and cherry tomatoes offer a rewarding harvest in sunny spots.
Choose vegetables you enjoy eating, then check how much room and sunlight each needs. Leafy greens can grow in small containers, but sprawling squash needs more space.
Follow the seed packet’s directions for seed spacing and planting depth so seedlings have room to develop. You’ll also find guidance on days to maturity, which helps you plan harvests and choose varieties suited to your growing season.
Consider soil pH when comparing crop preferences, but save testing or adjusting it for your soil-preparation step. For now, start with just two or three crops. A manageable selection makes it easier to learn, care for plants, and enjoy your first harvest.
Check and Improve Your Garden Soil
Before planting, check your soil’s texture, drainage, and pH to see what your vegetables need. Rub a little damp soil between your fingers: sandy soil feels gritty, while clay feels sticky. Loam crumbles easily and suits many crops. After watering, notice whether puddles linger; poor drainage can leave roots waterlogged.
Use a soil testing kit or send a sample to your local extension service to learn your soil’s pH and nutrient levels. Most vegetables grow well in slightly acidic soil, but needs vary. Testing helps you avoid adding amendments your garden doesn’t need and supports a healthy nutrient balance.
Improve compacted or heavy soil by mixing in finished compost. It adds organic matter, helps soil hold moisture, and improves its structure. If your test shows a pH problem or a specific deficiency, follow its recommendations and adjust gradually. Retest later to check your progress. Good soil gives your vegetables a stronger start and makes watering and root growth easier throughout the season.
Gather Seeds and Essential Garden Supplies
Choose beginner-friendly seeds like lettuce, radishes, or bush beans to make your first garden easier to manage. Before you buy, check your planting season and how much space you have.
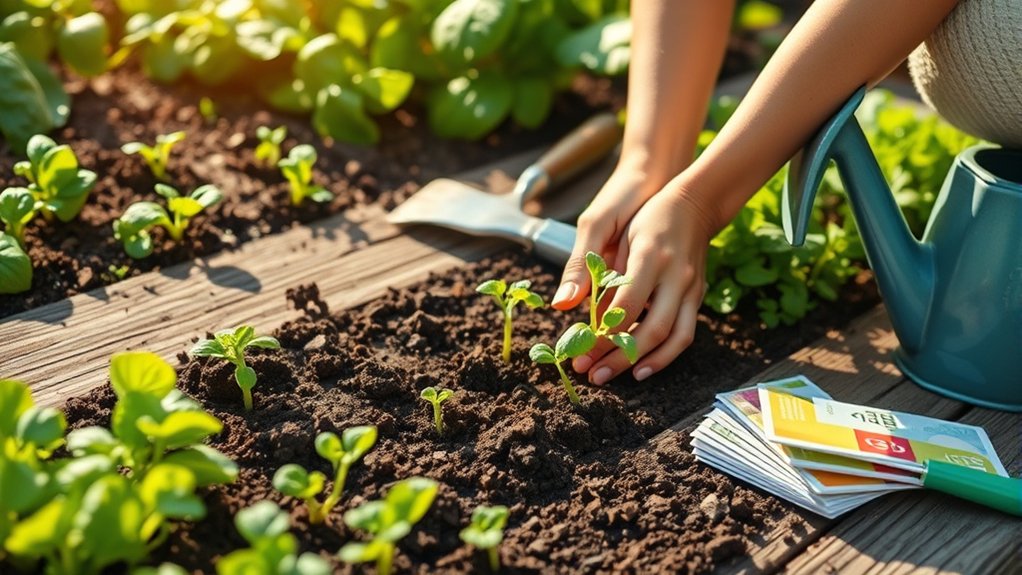
You’ll also need a few basic supplies, including a trowel, gloves, and a watering can.
Choose Beginner-Friendly Seeds
A few easy-to-grow vegetables can make your first garden more rewarding. Choose seeds suited to your climate and the season you plan to plant. Leaf lettuce grows quickly and lets you harvest leaves as needed.
Radishes mature in just a few weeks, while bush beans offer a dependable crop without complicated care. If you have a sunny spot and room for vines, try zucchini or cucumbers.
Check each seed packet for days to maturity, sunlight needs, and planting depth so you can match varieties to your space and schedule.
You can also explore companion planting to pair crops that grow well near one another. Buy only what you’re likely to plant, and check packet dates for freshness.
Store leftover seeds in a labeled, sealed container in a cool, dry place. Proper seed storage helps preserve their viability for next season.
Gather Essential Garden Supplies
With your seeds selected, gather a few basic supplies to make planting and care easier: a trowel, gloves, a watering can or hose, and plant labels. Use labels to mark each crop and its planting date, so you can track growth and avoid mix-ups.
Keep your seed packets in a cool, dry, dark place; proper seed storage helps protect them from moisture and heat. Check whether you’ll need stakes, cages, or netting for the vegetables you chose.
A small bucket can carry tools and weeds, while a ruler helps you space seeds correctly. For healthier soil, review compost basics and set aside finished compost to mix into your beds.
You don’t need expensive equipment to begin. Start with these essentials, then add supplies as your garden’s needs become clear.
Plant Vegetable Seeds at the Right Time and Depth
Planting seeds at the right time and depth gives them the best chance to sprout and thrive. Check each seed packet for your region’s planting dates, spacing, and seed depth. Some vegetables handle cool spring soil, while others need warmer weather. For better germination timing, use your area’s last frost date as a guide, and check the forecast before you sow.
- Sow peas, spinach, and radishes early, when the soil is workable.
- Wait until frost danger passes to plant warm-season crops like beans, squash, and cucumbers.
- Follow packet directions for depth; tiny seeds often need only a light covering, while larger seeds go deeper.
If you’re unsure when to plant, start with a few quick-growing crops suited to your season. Make a shallow furrow or individual holes, place seeds at the recommended depth, then cover them gently with soil. Label each row with the crop name and planting date so you can track what you’ve sown. Keep the packet handy for reference.
Water and Thin Your Vegetable Plants
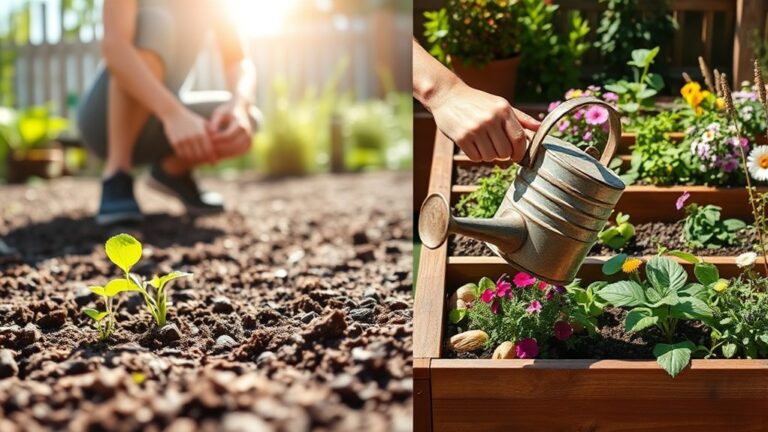
Once seedlings emerge, steady watering and timely thinning help them develop strong roots and healthy leaves. Check your garden’s soil regularly; when the top inch feels dry, water slowly at the base of each plant. This water management encourages roots to grow deeper and helps prevent leaves from staying wet, which can invite disease. Water in the morning when possible, giving plants time to absorb moisture before the day’s heat.
Crowded seedlings compete for light, water, and nutrients, so thin them to the spacing recommended on the seed packet. Use thinning techniques that suit each crop: snip extra seedlings at soil level to avoid disturbing the roots of those you’re keeping. For larger seedlings, gently pull extras only when the soil is moist and roots separate easily. Choose the strongest, healthiest plants, and leave enough room for mature leaves and roots. Though removing seedlings may feel wasteful, proper spacing gives your remaining vegetables a better chance to thrive.
Mulch Your Garden and Pull Weeds
Choose a mulch that works well for your vegetables and local conditions. Spread it evenly to help keep the soil moist and block weeds. Then, pull any weeds you spot regularly so they don’t compete with your plants.
Choose the Right Mulch
A layer of mulch helps your vegetable garden hold moisture, suppress weeds, and protect the soil. To choose the right kind, consider your crops, budget, and what’s available nearby.
Organic options break down over time, adding nutrients and improving soil. Inorganic choices last longer but won’t enrich your garden.
- Straw: Lightweight and affordable, it lets water reach roots and suits many vegetables.
- Shredded leaves: Often free, they support healthy soil, though you’ll want to check that they’re free of disease.
- Compost: Nutrient-rich and easy to find, it can feed plants while helping with mulch moisture.
Check mulch texture, too. Coarse materials allow airflow, while fine ones can compact or form a crust.
Pick a material that fits your garden’s needs and your maintenance routine.
Apply Mulch Properly
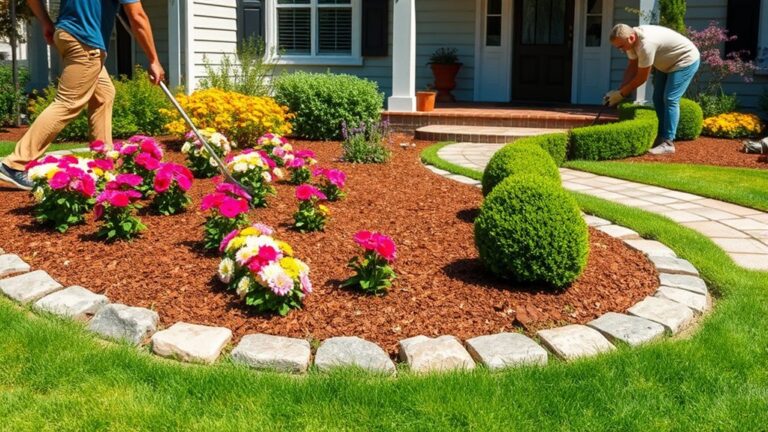
Before spreading mulch, pull weeds and water the soil so your vegetables won’t compete for moisture or nutrients. Choose mulch timing after seedlings emerge and the soil warms; a cold, wet bed can slow growth.
Spread your mulch material in an even layer, keeping it a few inches from stems to prevent rot. Aim for two to three inches deep, and leave space around young plants.
| Garden spot | Mulch placement |
|---|---|
| Around tomatoes | Leave a stem-free ring |
| Between rows | Cover soil evenly |
| Near seedlings | Keep mulch back |
| Along bed edges | Stop before paths |
Check the layer after rain or wind, then gently restore thin spots. Don’t pile mulch against plant crowns, where trapped moisture can invite disease.
A neat, airy layer helps conserve water, soften temperature swings, and give your vegetables room to thrive.
Pull Weeds Regularly
Pull weeds regularly while they’re small, when their roots come out easily and they’re less likely to compete with your vegetables for water, light, and nutrients.
Set a simple weeding schedule, such as checking beds every few days after watering or rain. Damp soil makes removal easier, but avoid stepping on wet beds and compacting the soil.
Use these hand pulling strategies to protect your crops:
- Grip weeds near the soil line and pull slowly to remove the roots.
- Loosen stubborn roots with a hand fork, taking care around vegetable stems.
- Drop pulled weeds in a bucket, not back onto the bed, where they may regrow.
Check beneath leaves and along bed edges, where young weeds can hide. Keep mulch in place to block new growth, and remove weeds before they flower or spread seeds.
A few minutes of regular attention saves you tougher work later.
Prevent Pests and Disease in Your Vegetable Garden
Healthy plants are better equipped to resist pests and disease, so prevention starts with good growing conditions. Give your vegetables enough sunlight, water, and space for air to circulate. Check leaves and stems often so you can spot trouble early. This simple routine supports pest prevention and disease management before problems spread.
Look beneath leaves for eggs or insects, and remove pests by hand when practical. If you find damaged or diseased foliage, trim it with clean tools and discard it away from your garden. Don’t compost infected plant material, since some pathogens may survive.
Water the soil near each plant’s base rather than soaking the leaves, especially in the evening. Rotate vegetable families to different beds each year to reduce soilborne diseases, and choose varieties suited to your local conditions. Keep garden tools clean, and wash your hands after handling affected plants. Avoid using pesticides unless necessary; if you do, follow the label and protect beneficial insects. Regular attention helps you act quickly and keep your garden healthy.
Harvest Vegetables at the Right Time
Once your plants are growing well, harvest each vegetable when it’s ripe for the best flavor and texture. Check your seed packets for expected harvest dates, but use your plants’ appearance as the final guide. Good harvesting timing helps you enjoy peak ripeness and encourages some crops to keep producing.
- Pick leafy greens when leaves look tender and reach a useful size. Harvest outer leaves first, leaving the center to grow.
- Gather tomatoes when they’re fully colored and slightly soft. If pests threaten, pick mature green fruit and let it ripen indoors.
- Pull carrots and beets when their shoulders reach the size you prefer. Check one before harvesting the whole row.
Use clean scissors or garden shears for delicate stems, and handle produce gently to prevent bruising. Harvest in the cool morning when possible, then bring vegetables inside promptly.
Check your garden every day or two during productive weeks; zucchini and beans can grow surprisingly fast. If you wait too long, vegetables may turn tough, bitter, or seedy, so pick often and enjoy your harvest fresh.
Frequently Asked Questions
How Much Does It Cost to Start a Vegetable Garden?
You can start a vegetable garden for about $25–$100 in containers or a small bed, while larger raised beds may cost $150–$500 or more. Your total depends on soil, seeds, tools, and materials. For an Inexpensive setup, reuse containers and buy seeds instead of seedlings. DIY irrigation with a hose or recycled bottles can keep watering costs low. You’ll spend more if you need new tools or premium soil.
Can I Grow Vegetables Indoors Without a Yard?
Yes, you can grow vegetables indoors without a yard. Choose compact varieties, such as lettuce, spinach, herbs, or cherry tomatoes, and use pots with drainage holes.
Place them near a sunny window or provide indoor lighting for about 12–16 hours daily. With container gardening, you can grow fresh produce on a windowsill, shelf, or countertop.
Water when the soil feels dry, and make sure your plants have enough room to grow.
How Much Time Does a Beginner Vegetable Garden Require Each Week?
You’ll typically spend two to four hours a week on a beginner vegetable garden, though a small container garden may take less. As the saying goes, “a stitch in time saves nine”: a few minutes of regular care can prevent bigger problems.
Your time commitment depends on garden size, weather, and crops. Use weekly planning to set aside time for watering, weeding, checking for pests, and harvesting. During hot, dry spells, you may need to water more often.
Should I Rotate Crops From Year to Year?
Yes, you should rotate crops from year to year. Moving plant families to different beds helps prevent pests and diseases from building up and supports soil health by varying nutrient demands. Include crop planning in your yearly routine: group vegetables by family, then shift each group to a new spot when possible. If your garden’s small, rotate crops between containers or refresh the growing mix to reduce recurring problems and keep plants thriving.
How Can I Preserve Extra Vegetables After Harvesting?
You can preserve extra vegetables by freezing, canning, pickling, drying, or fermenting them. Choose preservation methods based on each vegetable and your available equipment; follow tested canning recipes to keep food safe.
For short-term storage, remove damaged produce, keep vegetables dry, and separate items that release ripening gas. These storage tips help maintain freshness: refrigerate leafy greens, store potatoes in a cool, dark place, and check stored vegetables regularly for spoilage.
Conclusion
Your first vegetable garden doesn’t have to be perfect to thrive. Give it sunlight, healthy soil, steady water, and a little attention, and you’ll soon see small efforts bear fruit. Choose easy crops, keep weeds and pests in check, and harvest when vegetables are ready.
If a plant has an off day, consider it a gentle reminder that gardening is a learning process. With each season, you’ll grow more confident and enjoy the fresh rewards of tending your own patch. These 10 easy steps to start a vegetable garden for beginners can help you get growing.