How Do You Plant in a Container in 5 Easy Steps?
Choosing the right container and getting plants to thrive can feel harder than it should. If you’ve struggled with drainage, soil, or where to start, you’re not alone. This guide to how to plant in a container walks you through five easy steps.
First, choose a pot with clear drainage holes and a size just larger than the root ball. Next, match plants to the spot’s sunlight and available space. Fill the pot with lightweight container mix, not garden soil.
Set each plant at its nursery depth, loosen circling roots, and leave room for mature growth. Finally, water thoroughly and feed as needed. These simple choices help your plants thrive, and you’ll find more tips below.
Key Takeaways
- Choose a container with open drainage holes and enough room for the plant’s roots.
- Match plants to the container’s sunlight, available space, and mature size.
- Fill the pot with a light, well-draining potting mix suited to your plants.
- Loosen circling roots, set each plant at its nursery-pot depth, and space plants for mature growth.
- Fill gaps with mix, press lightly, and water thoroughly until excess drains out.
Choose a Container With Drainage

Choose a container with drainage holes so excess water can escape and roots don’t sit in soggy soil. Check the bottom before you buy, and make sure the openings aren’t blocked or too small. If you’ve found a pot you love without holes, use it as a decorative outer cover and place a planted pot with drainage inside.
Consider the material, too. Terracotta dries quickly and can crack in freezing weather, while plastic holds moisture longer and weighs less. Glazed ceramic offers a sturdy, attractive option, but it can be heavy. Whatever you choose, keep drainage material out of the pot’s bottom; gravel or stones won’t improve drainage and can leave roots sitting in water.
Use pot size planning to choose a container that gives roots room without overwhelming the plant. A pot that’s only slightly larger than the root ball is easier to manage and helps soil dry at a steady pace. Make sure you can move and water it comfortably.
Match Plants to Your Sunlight and Space

Before selecting plants, note how many hours of direct sunlight your spot gets and whether that light falls in the morning or afternoon. This sunlight mapping helps you choose plants that will thrive in your location.
Track your spot’s direct sunlight, noting how many hours it gets and whether the light comes in the morning or afternoon.
Check each plant’s light needs, then match them to your observations: full-sun varieties need several hours of direct light, while shade-tolerant choices suit dimmer spots. Remember that afternoon sun often feels hotter and harsher than morning light.
Next, measure your container and consider how much room you have around it. Choose plants that fit the pot’s mature size, not just their size at purchase.
Compact varieties work well on narrow balconies, while trailing plants can soften edges without taking up extra floor space. For space optimization, combine plants with similar light needs and growth habits, leaving enough room for each to spread.
Check plant labels for mature height and width, and avoid overcrowding. A well-matched selection makes care simpler and keeps your container balanced as plants grow.
Choose Potting Mix for Container Plants
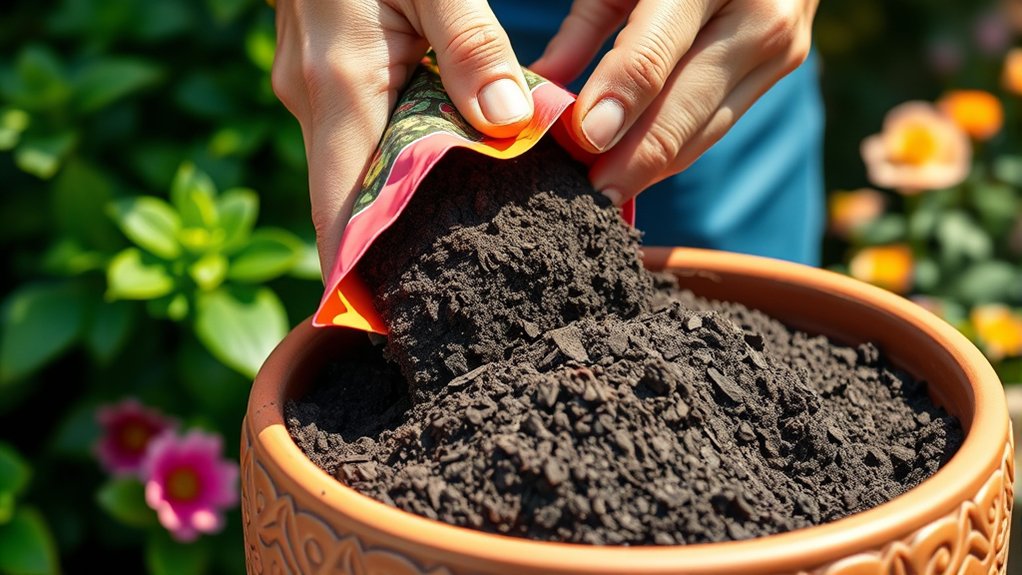
The right potting mix helps container plants get the air, moisture, and nutrients they need. Don’t fill a pot with ordinary garden soil: it can compact, restrict airflow, and hold too much water. Instead, choose potting mix made for containers, which stays lighter and supports healthy roots.
Check the label before you buy. A quality blend often includes materials such as coir, peat moss, or compost, plus perlite or bark to improve airflow and container drainage. Match the mix to your plant’s needs; succulents, for example, prefer a faster-draining blend than moisture-loving plants.
Consider soil texture, too. The mix should feel loose and crumbly, not dense or muddy, so water can move through while roots still access moisture. Look for nutrient balance on the package, and note whether the blend includes fertilizer. If it doesn’t, you can add an appropriate plant food later. Fresh, purpose-made mix gives your container garden a strong start.
Plant at the Right Depth and Spacing
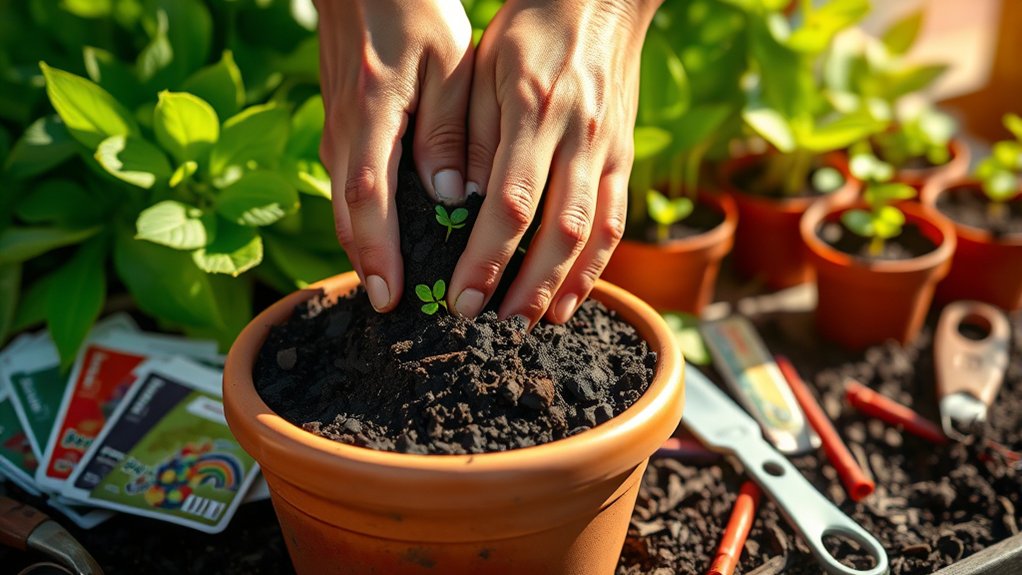
Plant each seedling at the depth it grew in its nursery pot, keeping the stem base level with the soil surface. If you bury the stem too deeply, it may rot; if you leave roots exposed, they can dry out.
Gently loosen circling roots before placing the plant in its hole, then fill around them with potting mix. Press the mix lightly to remove large air pockets without compacting it.
Check the plant label for mature width, and leave enough room for each plant to reach that size. You can arrange seedlings closer for a temporarily full display, but crowded roots and leaves compete for space and airflow.
For a mixed container, use companion planting by grouping varieties with similar light and growth needs. Position taller plants toward the center or back, and place trailing varieties near the rim.
Keep room to reach each plant for pruning and deadheading techniques, so you can maintain the arrangement as it grows.
Water and Feed Your Container Garden
Water container plants when the top inch of potting mix feels dry, since pots can dry out faster than garden beds. Check moisture with your finger, then water slowly until excess drains through the holes.
Check the top inch of potting mix before watering, then soak slowly until excess water drains from the pot.
This thorough soak reaches the roots and helps flush out built-up salts. Empty saucers so roots don’t sit in standing water.
Your watering schedule depends on the container’s size, material, plant type, weather, and sunlight. Check pots daily during hot or windy spells, and adjust as conditions change.
Small pots may need water more often than large ones, while thirsty plants can dry quickly in full sun.
Feed plants with a balanced, water-soluble fertilizer or a slow-release product labeled for containers. Follow the package directions, since too much fertilizer can damage roots or encourage weak growth.
Consider fertilizer timing, too: begin feeding after plants establish, then continue at the recommended interval during active growth. Reduce or stop feeding when growth slows in cooler weather.
Don’t fertilize dry soil; water first to protect roots from stress.
Frequently Asked Questions
When Should I Repot Container Plants?
Repot container plants when roots circle the pot, emerge from drainage holes, or water runs through too quickly—signs of root congestion. For good repot timing, choose spring or early summer, when active growth helps plants recover.
Move your plant into a container one or two inches wider, with fresh potting mix and drainage holes. Don’t wait until roots form a dense mass; check your plants regularly and repot sooner if growth stalls.
How Do I Protect Container Plants From Frost?
Protect your container plants from frost by moving them indoors or against a sheltered wall before temperatures drop. Watch frost timing in your local forecast, and act before sunset when possible.
If you can’t move pots, group them together and wrap containers with burlap or blankets to insulate roots. Drape a protective covering, such as frost cloth, over foliage, securing it loosely and removing it in the morning. Water soil beforehand if it’s dry.
Can I Reuse Potting Mix From Last Season?
Yes, you can reuse potting mix from last season, but check it first. Remove old roots, debris, and any pests, then loosen the mix. Reusing soil works best when last year’s plants stayed healthy; discard mix from pots with disease or persistent pests.
Refresh the remaining mix with fresh potting soil and compost, paying attention to compost quality. Don’t reuse mix that’s compacted, foul-smelling, or drained poorly, since it may hinder healthy growth.
How Do I Prevent Pests in Container Gardens?
You can prevent pests in container gardens by checking plants often and acting early. Choose pest resistant varieties, give each plant enough space, and water the soil rather than the leaves. Remove damaged foliage and handpick visible pests.
Keep containers clean, clear away fallen leaves, and avoid overwatering. Encourage beneficial insects by planting flowers nearby, and use row covers when needed. If pests persist, identify them before choosing a targeted treatment that won’t harm helpful wildlife.
Which Containers Are Safest for Growing Edible Plants?
Which containers offer the best edible safety? Choose food-grade plastic labeled for food contact, stainless steel, glazed ceramic, or untreated wood.
For material choices, avoid containers that held chemicals, and skip old painted or galvanized pots unless you’ve confirmed they’re food-safe. Check that ceramic glazes don’t contain lead, and use a liner if needed.
Ensure every pot has drainage holes. These steps support food safety and help you grow edible plants with confidence.
Conclusion
You’ve chosen a draining container, matched plants to your space, added potting mix, planted at the right depth, and watered thoughtfully. Now your tiny garden is ready to take off.
Keep an eye on moisture and feed as needed, and you’ll give your plants what they need to thrive. With a little care, even one pot can burst into a jungle so lush and colorful, your neighbors might think you’ve unearthed a secret growing superpower. That’s how you plant in a container and help your garden flourish.