10 Essential Steps to Prep Soil for Planting
Getting a garden bed ready can feel overwhelming, especially when plants struggle in soil that seems perfectly fine. You’re not alone—many gardeners face the same challenge. These 10 essential steps to prep soil for planting can help you build a healthier foundation for your garden.
To prep soil for planting, choose a mild, dry day when the ground is moist and crumbly. Clear weeds, roots, and old plant debris, then test soil pH and nutrients. Check drainage and address compacted or waterlogged areas based on your soil type. Spread two to three inches of finished compost, add only needed amendments, and mix them into the top six to eight inches. Shape accessible beds, water lightly, and check that soil’s moist, not soggy. The steps below can help you prepare with confidence.
Key Takeaways
- Choose a mild, dry day and work only when soil is moist and crumbly—not soggy or baked hard.
- Remove weeds by the roots, then clear plant debris, stones, and other material from the bed and nearby paths.
- Test soil pH and nutrients using samples from several spots, and assess drainage after rain or watering.
- Spread two to three inches of finished compost and mix it into the top six to eight inches; add other amendments only as needed.
- Shape and level beds for easy access and drainage, then water lightly and check for pooling, runoff, or soggy soil.
Choose the Right Time to Prepare Soil
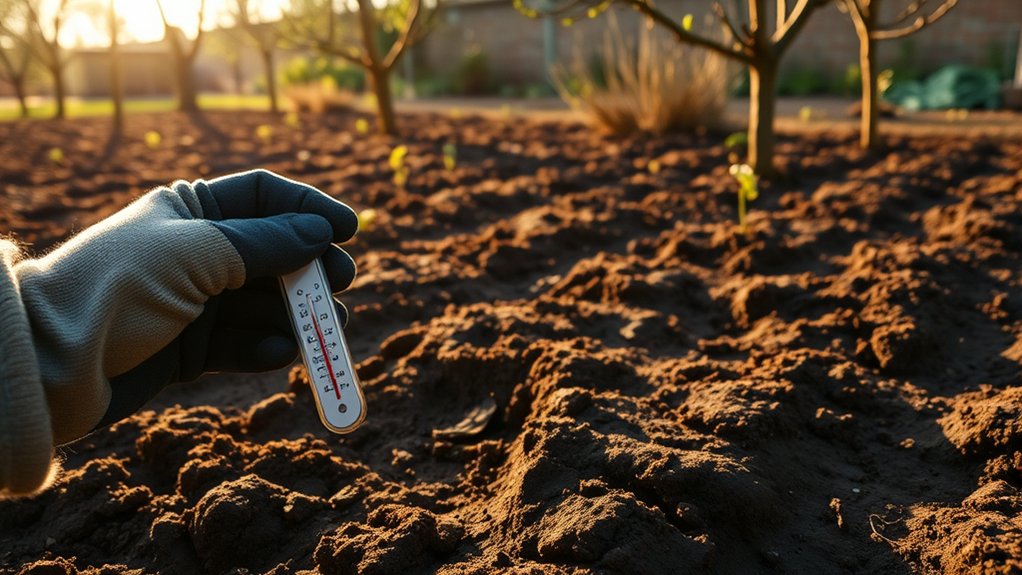
Choose a time when the soil is moist but not wet. You’ll get the best results when the ground crumbles easily in your hand instead of sticking together or turning to dust. Check soil moisture by squeezing a small handful. If it forms a tight, sticky ball, wait a few days for the soil to dry. If it falls apart immediately, water lightly and check again later.
Plan your work around the weather, too. Pick a stretch of mild, dry days so you can prepare the bed without compacting soggy ground or battling hard, baked soil. In spring, wait until the soil has thawed and warmed enough to work comfortably. In fall, prepare after summer heat eases, leaving time for the ground to settle before planting.
Keep weed awareness in mind as you choose your timing. Preparing at the right moment makes the work easier and helps you create a suitable planting bed without disturbing soil when it’s too wet.
Clear Weeds and Old Plant Debris
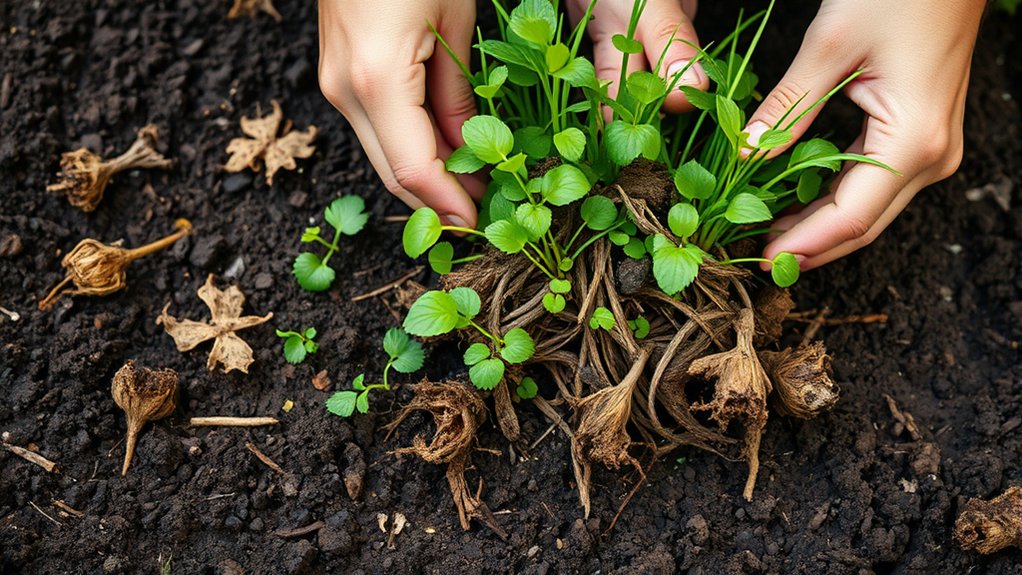
Pull weeds out by the roots so they don’t compete with your plants. Then clear away old plant debris, which can harbor pests or disease. Dispose of garden waste responsibly, and don’t compost anything that’s diseased.
Remove Weeds Thoroughly
Clear weeds and old plant debris before preparing the soil so they don’t compete with new plants for water, nutrients, and space. Focus on removing weeds thoroughly, including their roots, to prevent regrowth after planting.
Pull young weeds by hand when the soil is moist, gripping each plant near its base and easing out the entire root system. For deep-rooted or established weeds, use a weeding tool to loosen the roots without excessive soil disturbance.
Avoid chopping weeds into pieces, since some can regrow from fragments left in the ground. If you’re clearing a large area, work in manageable sections and check each one for missed shoots.
Consistent weed control now reduces competition later and gives your plants a cleaner start. Dispose of pulled weeds appropriately, especially if they carry seeds.
Clear Old Plant Debris
After removing weeds, gather old leaves, stems, fallen fruit, and other plant debris from the bed. As you work, check beneath foliage and along bed edges, where scraps can hide.
Clearing debris gives you a clearer view of the soil and helps you spot remaining weeds, damaged plants, or signs of pests and disease. Remove tangled roots and dead plant parts carefully so you don’t disturb healthy plants nearby.
If you’ve already completed weed removal, inspect the area once more for small seedlings or fragments you may have missed. Pay special attention to fallen fruit and diseased foliage, which can harbor pests or pathogens.
Clear the entire planting area, including paths beside the bed, to keep unwanted material from spreading back into freshly prepared soil.
Dispose of Garden Waste
Once you’ve gathered weeds and old plant debris, sort it for disposal. Separate healthy, disease-free plant material from anything infected, pest-ridden, or treated with herbicides. You can add suitable scraps to your compost pile, where they’ll break down into useful soil amendment. Check local guidance before choosing among composting options, since some weeds spread through seeds or roots and may survive a home compost heap.
Bag diseased plants and invasive weeds, then place them in your municipal yard-waste collection or trash as directed. Don’t burn garden debris unless local rules permit it. Keep piles off paths and away from drains while you work, and wear gloves to protect your hands. By disposing garden waste responsibly, you’ll reduce pests and disease risks and leave your planting area cleaner and safer for preparing soil.
Test Your Soil Before Planting
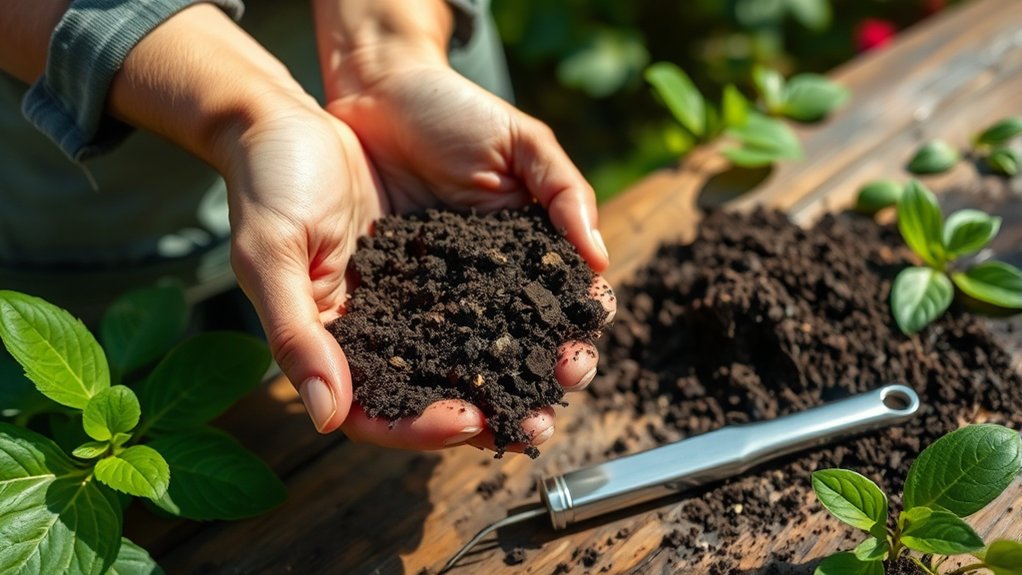
Before you plant, collect soil samples from a few spots in your garden. Then check the pH to see if it’s right for your plants.
Review the nutrient levels, too, so you’ll know what amendments to add.
Collect a Soil Sample
A soil test gives you a clear starting point for preparing your garden. Careful soil sampling helps you collect a sample that represents the planting area, so your nutrient analysis can guide soil preparation. Use a clean trowel and bucket to avoid introducing material that could affect the results.
Take small scoops from several spots across the bed, sampling the same depth each time. Avoid areas near compost piles, fences, or recently fertilized patches unless you plan to test them separately. Mix the scoops thoroughly in the bucket, then remove stones, roots, and plant debris.
Let the soil air-dry if the lab’s instructions require it. Place the recommended amount in the provided container, label it, and submit it with the requested details. Keep samples from distinct garden areas separate for useful results.
Check Soil pH
Check your soil’s pH to find out whether it’s too acidic or alkaline for the plants you plan to grow. Most plants thrive within a particular range, so testing helps you choose varieties suited to your garden or decide whether to adjust the soil.
Use a home test kit or a digital meter, following the instructions carefully. For a reliable reading, collect soil from several spots in the planting area, mix the samples, and test the combined soil.
Avoid testing immediately after adding amendments, since they can affect the result. Your local extension service may offer professional testing and explain how to interpret your results.
Compare the reading with the preferred range for each plant, then plan any pH adjustments before planting. Retest after changes to confirm the soil pH has moved toward the target.
Review Nutrient Levels
Once you’ve considered soil pH, test nutrient levels to see whether your soil has enough nitrogen, phosphorus, and potassium for the plants you plan to grow. Use a home test kit or send a sample to a local extension lab; follow its instructions for collecting soil from several spots.
Read the results before adding fertilizer, since excess nutrients can harm plants and pollute waterways. Your soil texture and crop needs also affect how you interpret recommendations.
- Add only the nutrients your test shows are lacking.
- Choose a fertilizer suited to your plants and apply the recommended amount.
- Retest periodically to track changes and guide future feeding.
Plan weed removal before spreading amendments, and consider pest suppression when choosing organic materials. Check mulching timing, too: mulch after preparing and feeding the soil, when conditions suit your plants.
Improve Drainage Based on Soil Type
Because different soils hold water differently, you’ll need to tailor drainage improvements to your soil type. Start with a drainage assessment after rain or watering: note puddles, soggy patches, and how quickly the ground dries. Use soil texture insights to guide your next steps.
Assess soil drainage after rain or watering, then tailor improvements to your soil’s texture and how quickly it dries.
If you have heavy clay, water may linger because the fine particles pack tightly. Loosen compacted areas with a garden fork, working carefully so you don’t turn wet clay into clods. Raised beds can help when the site stays waterlogged, and shallow channels can direct excess water away from plants and foundations.
Sandy soil drains quickly, so avoid measures that speed water loss. Shape beds to slow runoff, and water deeply but less often to encourage roots to grow downward. For loam, check for compacted layers or low spots; gently loosen the soil and level areas where water collects.
Retest drainage before planting. If water still pools, consider a different planting location or a raised bed suited to your crops.
Add Compost to Improve Garden Soil
Choose quality compost that’s mature, crumbly, and free of debris. Spread it over your garden bed, then mix it into the top few inches of soil. This adds organic matter and creates a better environment for plant roots.
Choose Quality Compost
Quality compost adds organic matter, nutrients, and beneficial microbes to garden soil. Choosing compost carefully helps you give plants a healthy start. Look for a finished product that smells earthy, feels crumbly, and has a uniform, dark appearance.
It shouldn’t smell sour or contain recognizable food scraps, which can signal incomplete decomposition.
Before you buy, check the label or ask the supplier about ingredients and maturity. Choose compost suited to your garden’s needs, and avoid products with unknown additives or excessive salts.
- Pick compost made from varied, well-decomposed organic materials.
- Check for a quality seal or clear sourcing information.
- Match the product to your plants; some crops need gentler, low-salt compost.
Quality compost supports soil life and moisture retention. Select a reliable source, and you’ll know what you’re bringing into your garden.
Mix Compost Into Soil
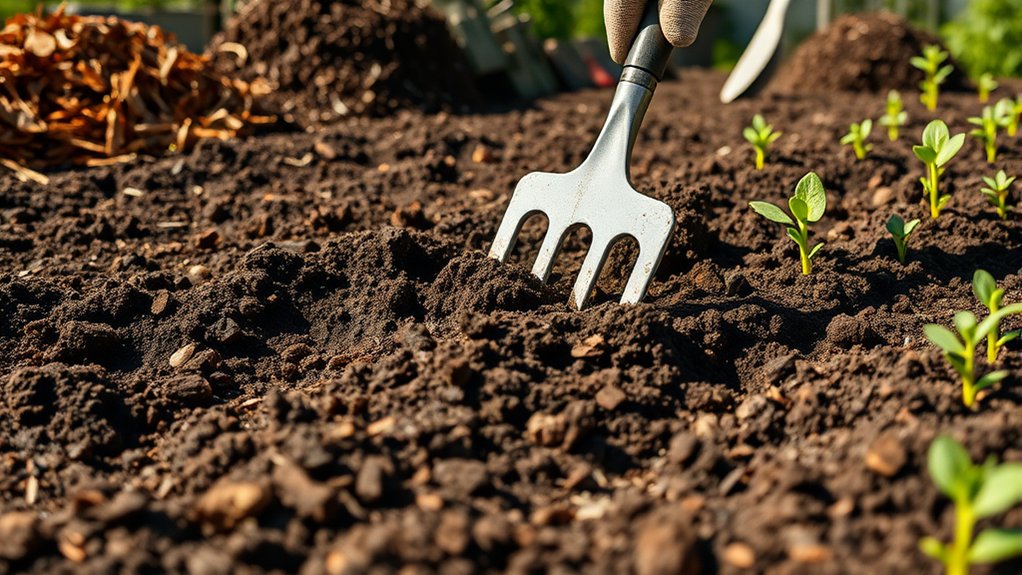
Once you’ve chosen quality compost, mix it into the soil to improve its structure, add organic matter, and help plants access nutrients. Spread a layer about two to three inches thick over your garden bed, then work it into the top six to eight inches of soil with a fork or spade.
Break up large clumps as you go, but avoid turning the soil when it’s wet. Working damp soil can compact it and harm soil structure.
For established beds, add a thinner layer around plants, keeping compost away from stems. Water the area lightly to settle the material and support microbial activity.
Compost improves drainage in heavy soil and helps sandy soil retain moisture. Don’t overapply: too much can upset nutrient balance. Follow soil test recommendations, and let the bed rest briefly before planting.
Adjust Soil pH for Your Plants
Before adjusting your soil’s pH, find out what your plants need and test the soil to see where it stands. Use a reliable kit or send a sample to a local extension service. The results reveal your soil chemistry and help you choose a measured response; don’t guess based on plant appearance alone.
Most plants thrive in slightly acidic to neutral soil, but some prefer different conditions. Follow your test report and the needs of the plants you’ll grow. If the reading falls outside their preferred range, select an appropriate amendment and follow its label. Changes take time, so retest before making further adjustments.
- To raise pH, apply garden lime only when testing shows it’s needed.
- To lower pH, use a recommended acidifying product at the labeled rate.
- Keep records of pH testing and amendments so you can track results.
Avoid dramatic corrections: gradual adjustments help you protect roots and beneficial soil life. Recheck pH periodically, especially if your water or growing conditions may affect it.
Mix Amendments Into the Planting Area
After correcting pH as needed, spread suitable amendments across the planting area and mix them evenly into the soil. Choose materials based on your soil test and plant needs; compost can add organic matter, while aged manure supplies nutrients. Don’t add fertilizer or sand without a clear reason, since excess nutrients or poor mixing can harm plants.
| Amendment | What you’ll notice |
|---|---|
| Finished compost | Dark, crumbly soil |
| Leaf mold | Soft, springy texture |
| Aged manure | Rich, earthy material |
| Fine bark | Coarse, woody flecks |
Measure amendments carefully, then distribute them in a thin, even layer. Work them into the upper soil with a fork or spade, breaking clumps as you go. Aim for a consistent soil texture rather than pockets of concentrated material.
Remove stones, roots, and visible weeds as you mix; this supports weed management before planting. Keep the soil workable, not wet or sticky, to prevent compaction. Follow product labels, and wear gloves when handling manure or other amendments. After mixing, check that the material looks evenly blended throughout the planting area.
Shape Beds for Easier Planting
Shape the bed to match your plants and make planting easier. Good bed shaping gives you a clear layout, helps you use space well, and makes each planting task more manageable.
Choose a shape that fits your garden and the crops you’ll grow. Keep beds narrow enough to reach the center from either side without stepping on the soil. This protects the prepared ground from compaction and gives you room to work.
For planting ease, mark the bed’s edges with string or a garden hose before forming them. Use a rake to level the surface, then create a slight crown if your site needs better drainage. Keep the top broad and smooth so you can space seeds or transplants accurately. Make paths wide enough to carry tools and move comfortably.
- Match bed width to your reach.
- Leave consistent paths between beds.
- Shape straight or curved edges to suit your garden.
A tidy outline helps you see where each row belongs and keeps planting organized.
Water the Soil and Let It Settle
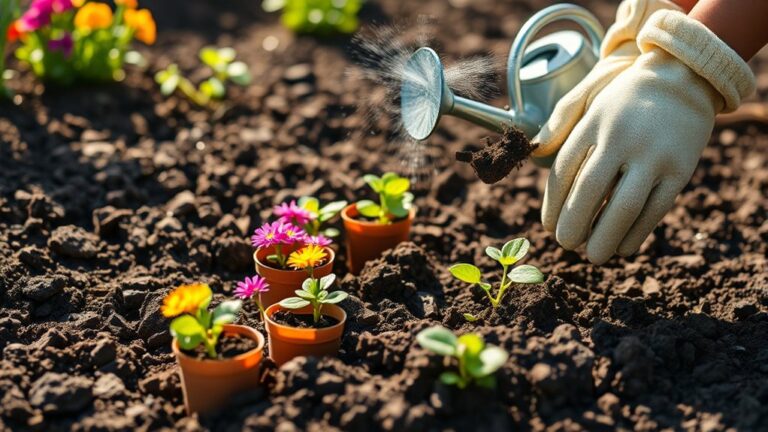
Water the bed lightly to settle loose soil and reveal any low spots. Use a gentle spray or watering wand so you don’t wash away fine particles or flatten the surface. Apply water evenly across the bed, paying attention to edges and raised areas that may dry faster.
Pause and watch how the water moves. If it pools, loosen compacted spots or adjust the bed’s shape so water can spread more evenly. If it runs off, slow your watering and let each pass soak in before adding more. This gradual approach helps preserve soil texture and supports a steady moisture balance without creating soggy patches.
After watering, give the bed time to settle naturally. Add a little more soil where settling leaves shallow dips, then water those areas gently. Avoid walking on the bed, since pressure can compact damp soil and undo your preparation. Keep the surface lightly moist while it settles, but don’t saturate it. A calm, even bed will be easier to work with when you continue preparing your planting space.
Check Soil Readiness Before Planting
Before planting, check that the soil is moist but not soggy and crumbles easily when you squeeze a handful. This simple test helps you judge moisture balance and spot problems before seeds or transplants go in.
> Check soil moisture before planting: it should feel damp and crumble easily, not stick together or turn to dust.
If the soil sticks to your fingers or forms a slick ball, wait for it to dry. If it falls apart as dust, water lightly and check again.
Assess soil texture across the bed, not just in one spot. Look for compacted patches, standing water, or large clods that could hinder roots. Your prepared soil should feel loose enough for roots to spread while still holding moisture.
- Squeeze a handful: it should form a loose clump that breaks apart with a gentle touch.
- Press a finger into the bed: soil should feel damp below the surface, not waterlogged.
- Scan the planting area: remove stones and break up stubborn clods.
Make any needed adjustments, then recheck before planting.
Frequently Asked Questions
How Deep Should Garden Soil Be for Different Plants?
You’ll need 6–8 inches of soil depth for lettuce, herbs, and other shallow-rooted plant varieties. Give beans, peppers, and similar vegetables 12–18 inches.
Tomatoes, carrots, and other deep-rooted crops do best with 18–24 inches or more, especially in loose soil. For shrubs and small fruit bushes, aim for 18–24 inches; trees need deeper, broader root zones.
Check each plant’s needs, since containers and soil conditions can change the ideal depth.
Can I Prepare Soil for Planting in Containers?
Yes, you can prepare soil for planting in containers, and it’s easier than you might think. Just as you’re ready to plant, you may notice your garden soil doesn’t fit your pots; that’s your cue to choose a lighter mix. Use fresh container soil designed for container planting, since it drains well and holds moisture. Add slow-release fertilizer if needed, fill pots without packing the mix, and water thoroughly before planting.
Should I Wear Protective Gear When Handling Garden Soil?
Yes, you should wear protective gear when handling garden soil, especially if it’s dusty, contaminated, or you have cuts. Put on gardening gloves and closed-toe shoes, and avoid touching your face while you work. Wear a well-fitting mask when dry soil or compost could create airborne dust.
Wash your hands thoroughly afterward, and clean tools and clothing. These simple soil safety habits help reduce exposure to germs, irritants, and sharp debris.
How Can I Reduce Soil Compaction Without Digging?
You can reduce compaction without digging by keeping feet and heavy equipment off your beds—one careless step can crush a whole underground city!
Try no dig methods: spread compost over the surface, then cover it with organic mulch. These composting techniques feed soil organisms that gradually loosen the ground, while mulch benefits include cushioning the surface and protecting it from pounding rain.
Add a permanent path so you can reach plants without trampling your growing areas.
Is It Safe to Plant in Soil Near Treated Lumber?
It depends on the lumber’s age and treatment. You can plant near modern, pressure-treated boards labeled for residential use, but don’t let edible crops touch them, and avoid using the wood as a planter. Older lumber may contain arsenic or other chemicals, raising soil toxicity concerns.
For safer gardening, keep a barrier between soil and wood, wash produce thoroughly, and consider testing the soil if you’re unsure what treatment was used.
Conclusion
You’ve cleared debris, tested the soil, improved drainage, and worked in compost. Now water the bed and give it time to settle before checking whether it’s loose, moist, and ready to plant.
Don’t rush this final check: a soil surface can look prepared while hidden clumps or standing water signal trouble below. Make any last adjustments, then pause.
When the bed feels right beneath your hand, you’ll know your soil is ready for planting and your plants are about to begin in the best possible place.