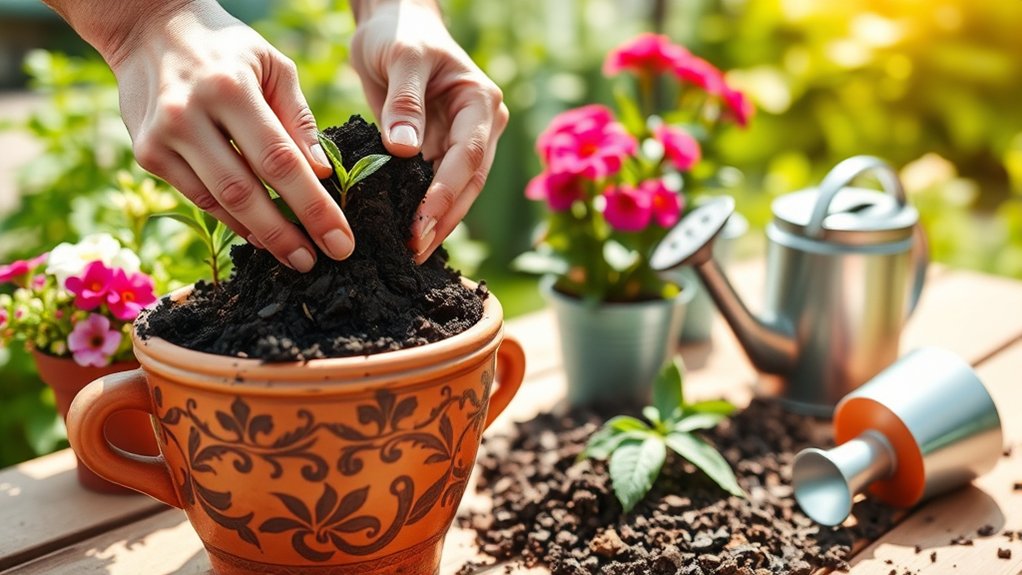
How to Plant Container Plants in 7 Easy Steps
Choosing the right plants, pots, and supplies can make container gardening feel harder than it needs to be. If you’re unsure how to get started, you’re not alone—many people struggle to create a setup that helps plants thrive. These tips for how to plant container plants in 7 easy steps can help you begin with confidence.
To plant container plants in seven easy steps, choose varieties suited to your site’s sunlight and group plants with similar needs.
Select a pot with open drainage holes, about 1–2 inches wider than the root ball.
Gather suitable potting mix and tools, clean the container, and moisten the mix.
Arrange taller plants toward the center or back, then plant them.
Water slowly until excess drains, empty the saucer, and place the pot where you can monitor and care for it.
A few details can help your container garden thrive.
Key Takeaways
- Choose a container suited to the plant’s mature size, with clear drainage holes.
- Select a site with the plant’s preferred sunlight, and group plants with similar light and water needs.
- Gather container potting mix and tools; moisten the mix until evenly damp, not soggy.
- Arrange plants with taller varieties toward the center or back, then plant them with room for roots to spread.
- Water slowly until water drains from the bottom, empty the saucer, and check soil moisture before watering again.
Choose Plants That Suit Your Light
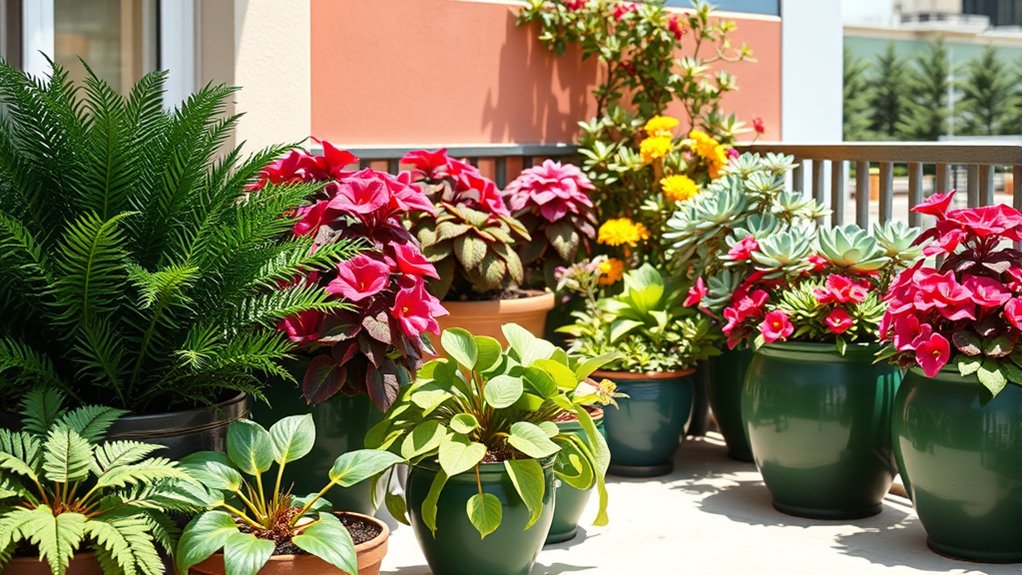
Before choosing plants, check how much direct sunlight your container will receive each day. Track the sun across your space, noting whether the spot gets full sun, partial shade, or mostly shade.
Track sunlight at your container’s location each day, noting whether it receives full sun, partial shade, or mostly shade.
Nearby walls, trees, and buildings can change the light throughout the season, so observe the location at different times.
Next, match each plant’s light preference to the conditions you’ve recorded. Choose plants labeled for full sun if your spot receives six or more hours of direct light.
For fewer hours, look for partial-sun or shade varieties. If you’re unsure, ask a local nursery about plants that thrive in your region and typical summer weather.
Also consider soil type and how quickly it dries in your climate. Some plants prefer evenly moist soil, while others tolerate dry conditions.
Group plants with similar needs so you can care for them consistently. When you choose plants suited to your sun exposure, they’re more likely to grow well and produce healthy leaves or flowers.
Don’t rely on appearance alone; check each plant’s label before buying.
Choose a Container With Drainage
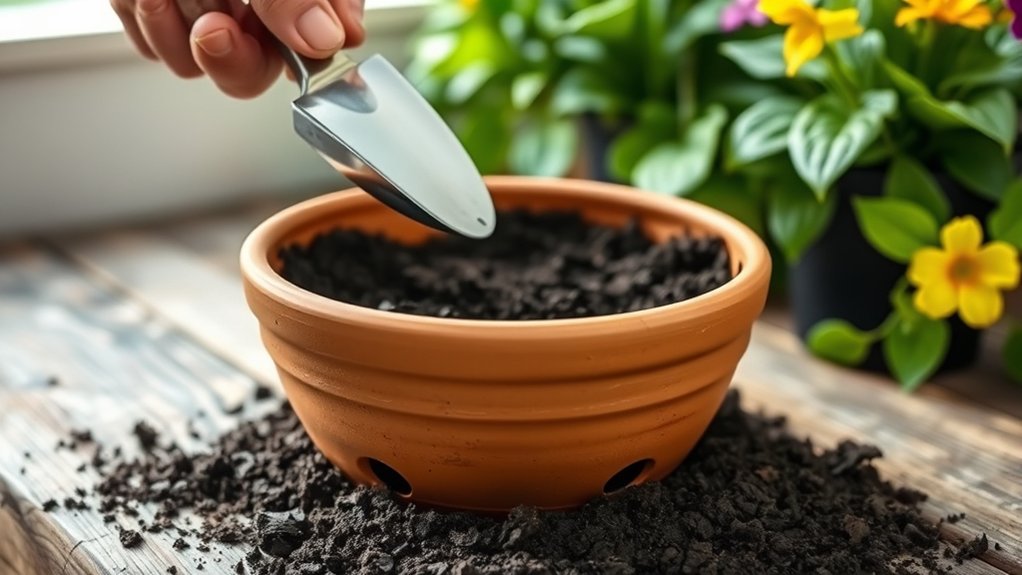
Choose a container with drainage holes so excess water can escape. Pick one that gives your plant room to grow without overwhelming its roots. You can add a drainage layer, but it shouldn’t replace drainage holes.
Check for Drainage Holes
Check that your container has drainage holes so excess water can escape and the roots don’t sit in soggy soil. Turn the empty pot over and inspect its base.
Use this drainage assessment to confirm that holes are open, evenly spaced, and free of cracks. Check hole durability, too: weak edges may split when you move or clean the container. If a hole is blocked, clear it gently with a thin stick. Don’t use a pot without openings unless you can safely add them.
| Check | What to look for | Action |
|---|---|---|
| Openings | Unblocked holes | Clear debris |
| Spacing | Several areas covered | Inspect the base |
| Edges | No splitting | Handle gently |
| Flow | Water can pass | Test before planting |
Keep the holes uncovered when you set the pot down.
Choose the Right Size
Once you’ve confirmed the drainage holes are clear, pick a container that gives your plant’s roots room to grow without leaving too much excess soil to stay wet. For most plants, choose a pot about 1–2 inches wider than the root ball. Larger plants may need more space, but an oversized container can hold excess moisture and slow growth.
Use these size considerations to guide your choice:
- Check the plant’s current root ball and select a pot with room for roots to spread.
- Consider the plant’s mature size, especially if it grows quickly or develops deep roots.
- Make sure you can lift and move the filled container safely.
These topic ideas can help you match pot size to your plant and space. If roots circle tightly or emerge from the holes, move up one pot size. Don’t jump to a much larger container.
Add a Drainage Layer
Before adding soil, make sure your container has drainage holes so excess water can escape. If you’re choosing a pot, check its base before you buy it. Without holes, water can collect around roots and lead to rot. You can drill holes in some plastic or wooden containers, but use a pot designed for drilling and protect yourself while working.
You may have heard of the drainage layer concept: placing gravel, stones, or pottery shards beneath the potting mix. Skip this step. A layer of coarse material won’t improve drainage and can keep water perched higher in the soil, closer to roots. Instead, cover each hole with a piece of mesh or a coffee filter to hold mix in place without blocking flow. Match your watering habits to your plant’s soil moisture goals, and always empty the saucer after watering.
Gather Potting Mix and Planting Supplies
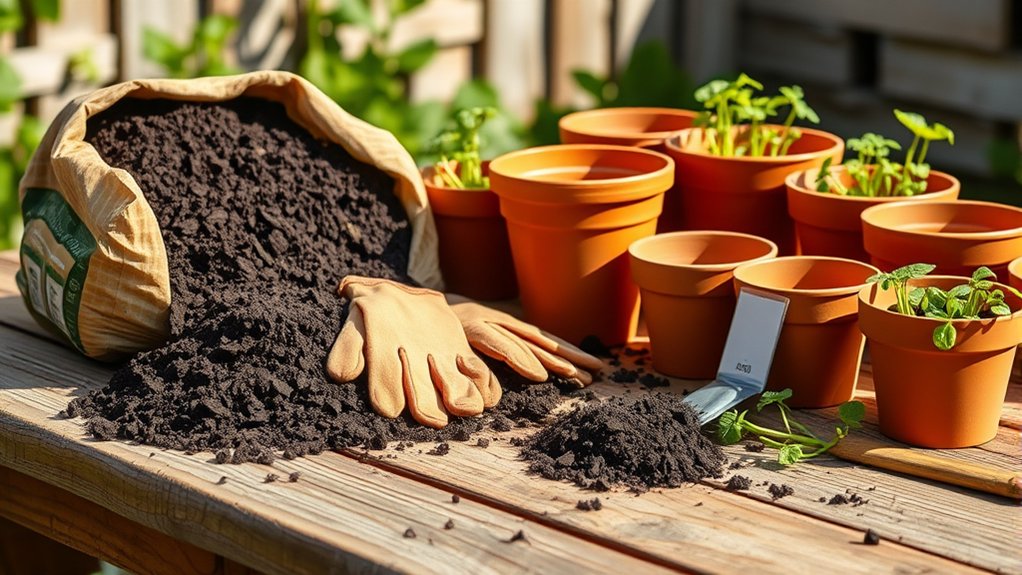
Gather your supplies before you begin planting so you can work without interruption. Choose a potting mix suited to your plant, then collect the tools and materials you’ll need. Don’t use ordinary garden soil in containers; it can compact and restrict airflow.
A suitable mix supports healthy roots, while appropriate supplies help you plant neatly and efficiently.
- Potting mix: Check the label for your plant’s needs, such as moisture retention or quick drainage. A balanced soil texture helps roots access air and water.
- Plant and container: Keep your chosen plant and its container nearby. Confirm the container has drainage holes to support drainage success.
- Tools and cleanup items: Set out a small trowel, gardening gloves, watering can, and a tray or newspaper to catch spills. Add plant labels if you’re growing several varieties.
Gather only what you’ll use, and keep supplies within reach. You’ll be ready to move on to the next step without searching for tools mid-planting.
Prepare the Container and Potting Mix
With your supplies ready, prepare the container and potting mix to give the plant a clean, well-draining start. Check that your pot has drainage holes; waterlogged roots can suffer even in quality mix.
If you’re reusing a container, scrub it with soapy water, rinse it well, and let it dry. Match container sizing to your plant’s needs, but don’t choose a pot without drainage.
| Check | What to do | Why it matters |
|---|---|---|
| Drainage | Confirm holes are open | Prevents soggy roots |
| Cleanliness | Wash and rinse the pot | Removes residue |
| Mix | Use fresh potting mix | Supports airflow |
To prepare soil, moisten the potting mix lightly before use. Add water gradually and stir until it feels evenly damp, not soggy; dry mix can repel water, while saturated mix limits airflow.
Use a commercial potting mix suited to your plant rather than garden soil, which may compact in a container. Keep the prepared pot and mix nearby for the next step.
Arrange and Plant Your Container Garden
Now arrange your plants in the prepared container, keeping their mature sizes and light needs in mind. Before planting, test your layout by setting each plant, still in its nursery pot, on the mix. Place taller varieties near the center or back, then position shorter plants around them. Leave room for growth and make sure each plant’s foliage gets suitable light.
- Check the composition: View the arrangement from every side. Shift plants until the heights, colors, and textures look balanced.
- Make planting spaces: Remove the nursery pots and set them aside. Dig holes wide enough for each root ball, spacing them according to the plants’ expected spread.
- Set and fill: Gently loosen tightly bound roots. Place each plant so its crown sits at the same height as it did in its nursery pot. Fill gaps with potting mix, then press lightly to secure each plant without compacting the soil.
Confirm that no stems are buried and the arrangement feels stable. Don’t add extra plants if they crowd the container.
Water Your Container Garden Thoroughly
Water your container garden until excess water drains from the bottom. Before watering again, check the soil, since containers can dry out at different rates. Then adjust how often you water based on the soil’s moisture and your plants’ needs.
Water Until It Drains
How much water does your newly planted container need? Give it a slow, thorough drink until water flows freely from the drainage holes. This helps settle the potting mix around roots and supports healthy establishment. Don’t stop after dampening only the surface; water should reach the root zone throughout the container.
- Pour gently over the soil, moving around the plant so you wet the mix evenly.
- Pause if water runs down the sides, then resume more slowly to let the mix absorb it.
- Stop when a steady trickle drains from the bottom, and let excess water escape.
Your plant’s watering needs depend on its size, container, and growing conditions, while soil fertility affects nutrition, not drainage. Empty any saucer so the container doesn’t sit in standing water.
Check Soil Moisture
Check the soil moisture before watering again; the surface may look dry while the root zone is still damp. Push your finger about an inch into the potting mix, or use a moisture meter to check deeper. This quick test helps you judge irrigation timing without relying on appearances alone.
| Check | What you notice | What it means |
|---|---|---|
| Top layer | Dry to touch | Check below |
| Root zone | Cool, damp mix | Wait to water |
| Root zone | Dry, crumbly mix | Water thoroughly |
| Drainage hole | Moist mix | Recheck later |
For small pots, lift the container; its weight can also reveal soil moisture. Compare the feel of a freshly watered pot with a drier one. Check near the plant’s roots, avoiding damage, and use the same simple method each time.
Adjust Watering Frequency
Once the root zone is dry, adjust your watering schedule to match the container, plant, and weather. Water thoroughly until excess drains from the bottom, then let the soil guide your next session.
Your watering frequency should account for these factors:
- Check container size and material. Small pots and unglazed clay dry faster, so you may need to water more often.
- Consider plant needs. Thirsty plants need closer attention than drought-tolerant varieties. Group plants with similar needs when possible.
- Watch the weather. Heat, wind, and strong sun speed drying, while cool, cloudy days slow it.
When conditions change, adjust your watering rather than sticking to a rigid calendar. Pour slowly over the soil surface, not just near the stem, so the entire root zone gets wet.
Empty saucers after drainage to prevent waterlogged roots. Recheck moisture before watering again.
Place and Care for Your Container Garden
Where you place your containers can shape how well your plants grow. Check each plant’s light needs, then choose a spot that gets the right amount of sun or shade. A sunny patio may suit tomatoes, while leafy greens often prefer afternoon shade. If you’re unsure, observe the area throughout the day before you settle on a location.
Idea one: group plants with similar light and water needs together. Idea two: place heavy pots where you want them before filling them, so you won’t need to move them later.
Keep containers accessible so you can water, inspect, and harvest without hassle. Make sure each pot drains freely, and raise it slightly if water pools beneath it. Turn containers occasionally to help plants grow evenly toward the light.
Check leaves and stems regularly for pests, disease, or signs of stress, and remove damaged growth promptly. As temperatures change, move pots to protect plants from harsh wind, intense heat, or cold nights. With consistent attention, your container garden can stay healthy and productive.
Frequently Asked Questions
Can I Reuse Potting Mix From Last Year?
Yes, you can reuse potting mix from last year if it’s healthy and pest-free. Remove old roots and debris, then check for mold, insects, or a sour smell; discard the mix if you find any.
Reusing soil works best when you refresh it with compost and fresh potting mix, since nutrients decline over time. Check drainage and adjust moisture management, too. Don’t reuse mix from plants that suffered disease.
How Often Should I Fertilize Container Plants?
Feed your container plants every two to four weeks during active growth, and you’ll keep them thriving. That’s the sweet spot for many flowering annuals and vegetables, though you should check your fertilizer label because products vary. Your fertilizer frequency may need to change in winter, when growth slows.
Since frequent watering can wash away soil nutrients, use a balanced, water-soluble fertilizer or a slow-release product, and avoid overfeeding, which can damage roots.
When Should I Repot a Container Plant?
Repot your container plant when roots circle the pot, emerge from drainage holes, or water runs through too quickly—these growth signals suggest it’s root-bound. Choose spring or early summer, when active growth helps recovery; this repot timing avoids stressing dormant plants. Use fresh potting mix rather than reusing depleted material. Afterward, resume your usual fertilizer schedule once new growth appears. Check plant compatibility before combining species, and provide frost protection if you repot near cold weather.
Can Different Plant Species Share One Container?
Yes, you can grow different plant species together in one container if they share similar needs for light, water, and soil. Choose compatible plants with enough room, and use a pot with drainage holes.
When reusing potting mix from last season, refresh it with compost or new mix. Check how often to fertilize container plants, watch for signs that each plant needs repotting, and protect frost-sensitive plants during cold weather.
How Do I Protect Container Plants From Frost?
Shield your container plants from frost by moving them indoors or into a sheltered spot before temperatures drop. When you get an early frost alert, group pots together against a wall and cover them with protective coverings, such as frost cloth or breathable fabric; keep covers off the leaves when possible. Water soil beforehand, but don’t leave pots sitting in water. You can’t reuse plant overwinter timing for every species, so check each plant’s cold tolerance.
Conclusion
You’ve chosen plants that suit your light, picked a pot with drainage, and tucked everything into fresh potting mix. Now give your container garden a thorough drink and settle it where it can thrive.
Keep an eye on its needs, and adjust watering or placement as the seasons change. If a plant seems a little under the weather, don’t fret. Your small green guests may simply be asking for a gentler touch.
With care, your container plants will reward you with beauty all season long.