10 Essential Steps to Prepare Soil for Your Garden
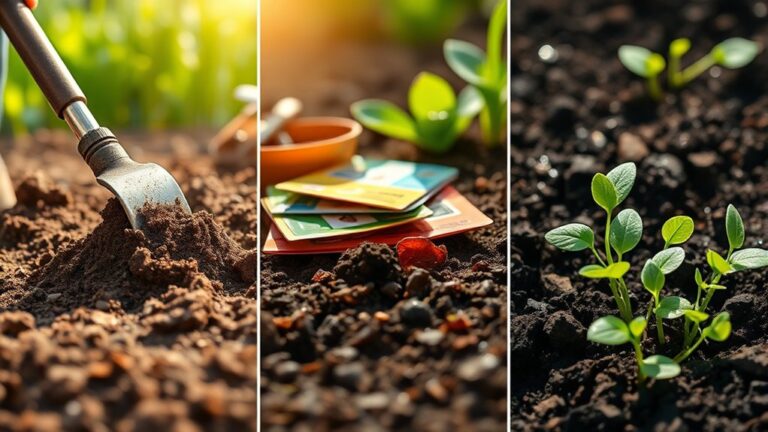
Getting your garden soil ready can feel overwhelming, especially when plants struggle to grow despite your best efforts. You’re not alone—many gardeners face the same challenge. These essential steps to prepare soil for your garden can help you build a healthier foundation for thriving plants.
To prepare garden soil, clear weeds, debris, and old plants, then check texture and test pH and nutrient levels. Assess drainage, improve soil structure with finished compost, and gently loosen compacted areas without turning the soil. Add nutrients only as your soil test recommends, then mix in organic matter. Shape reachable beds and rows, keep off the soil to prevent compaction, and water evenly. Let the bed settle for a few days before planting; the steps below explain each task.
Key Takeaways
- Clear weeds, fallen leaves, stones, spent plants, and other debris; remove perennial weeds by the roots and bag diseased material.
- Assess soil texture in several spots, then test drainage by filling and refilling a 12-inch-deep hole with water.
- Loosen compacted soil gently with a garden fork or broadfork, working only when soil is moist, not wet.
- Test soil pH and nutrients, then make gradual, test-based adjustments with lime, sulfur, or suitable fertilizer.
- Add finished compost, shape accessible beds, define paths, water evenly, and let the soil settle before planting.
Clear Weeds, Debris, and Old Plants
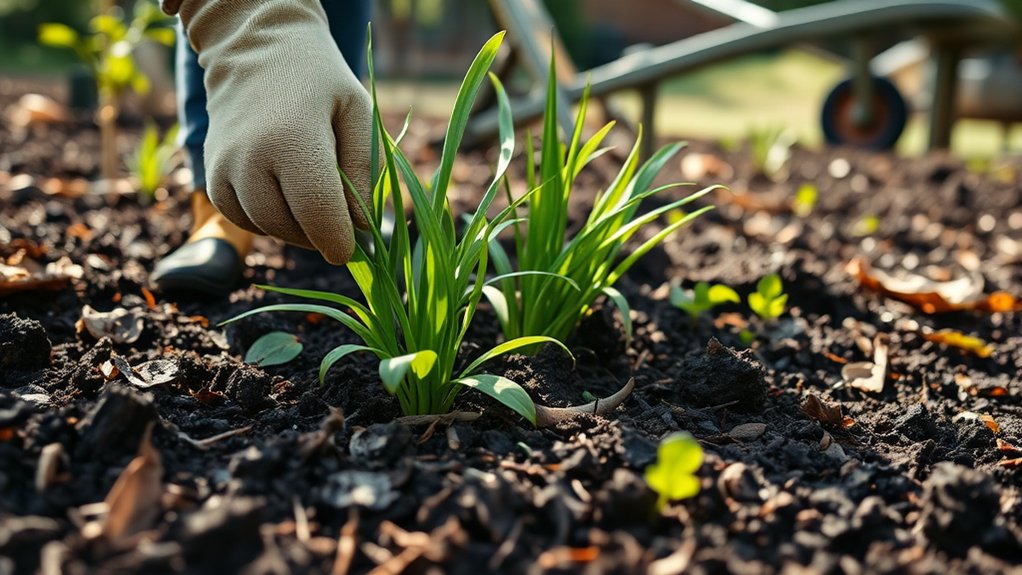
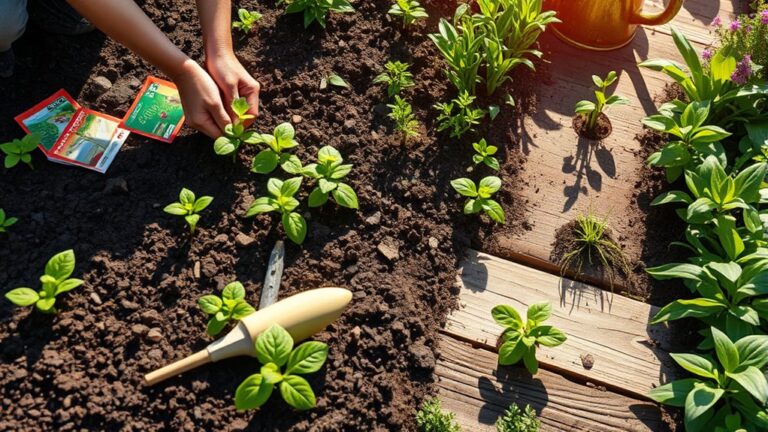
Start by removing weeds, fallen leaves, stones, and leftover plant material from the garden bed. Pull weeds by the roots, especially perennial types that can regrow from fragments. If the soil is dry, water it lightly first; moist ground makes roots easier to remove. Don’t leave seed heads behind, since they may spread new weeds.
Next, clear out old plants that won’t return, including spent annuals and diseased growth. Bag infected material instead of composting it, which can help prevent pests and disease from spreading. Healthy plant scraps may be composted if they’re free of mature seeds.
For effective weed control, inspect the bed carefully and remove small weeds before they establish. Use a hand fork or trowel for stubborn roots, taking care not to disturb nearby plants you plan to keep. Finish with debris removal, clearing twigs and other loose material. A clean bed gives you space to work and helps protect new plants from competition.
Check Your Soil’s Texture
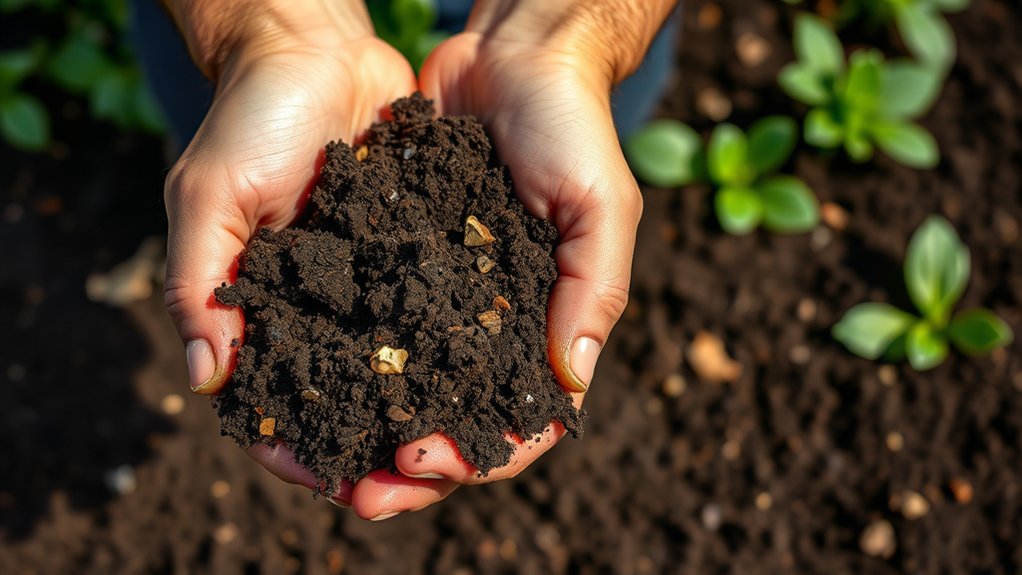
Rub a moist handful of soil between your fingers to get a feel for its mix of sand, silt, and clay. Then pour water over a small patch and see how quickly it drains.
Once you know your soil’s texture and drainage, you can choose the right amendments to improve its structure.
Identify Soil Texture
Before amending your garden soil, find out whether it’s mostly sand, silt, or clay. Soil texture affects how your garden holds nutrients and supports roots, so identifying it helps you choose plants suited to your conditions.
For a quick check, take a small handful of moist soil and squeeze it. Sandy soil feels gritty and falls apart easily.
Silty soil feels smooth and holds together briefly. Clay soil feels sticky and forms a firm ball or ribbon when you press it between your fingers.
You can also rub a pinch between your fingers to notice its texture. Observe the result across several spots, since soil can vary around your garden.
Match your findings with plant compatibility needs, and note where you may want to improve the soil before planting.
Test Drainage Speed
How quickly water drains through your soil reveals whether it may hold too much moisture or dry out too fast. A simple drainage test helps you assess how your soil texture affects water movement.
Dig a hole about 12 inches deep and wide. Fill it with water and let it drain completely; this first soak moistens dry soil. Refill the hole, then measure the water level. Check it every hour for several hours, noting how quickly it drops. This drainage testing gives you a practical estimate, though recent rain and compacted ground can affect results.
Compare your findings with your soil texture analysis. Water that disappears quickly may signal sandy soil, while slow drainage often points to clay-rich ground. If water remains after a day, note the result as you plan your garden.
Improve Soil Structure
Once you’ve assessed drainage, look at your soil’s texture to decide how to improve its structure. Take a handful of slightly damp soil and squeeze it. Sandy soil feels gritty and falls apart, while clay soil feels sticky and forms a tight ball. Loam holds together loosely but crumbles when you press it. This simple check helps you choose the right amendments.
To improve soil structure, add finished compost and mix it into the top several inches. Compost helps sandy soil retain moisture and helps clay drain more freely. Avoid adding sand to clay; it can create a dense, concrete-like mix. Don’t work wet soil, either, because digging can compact it and damage its structure. Retest your soil texture each season, then adjust compost as needed to support healthy roots.
Test Soil pH and Nutrient Levels
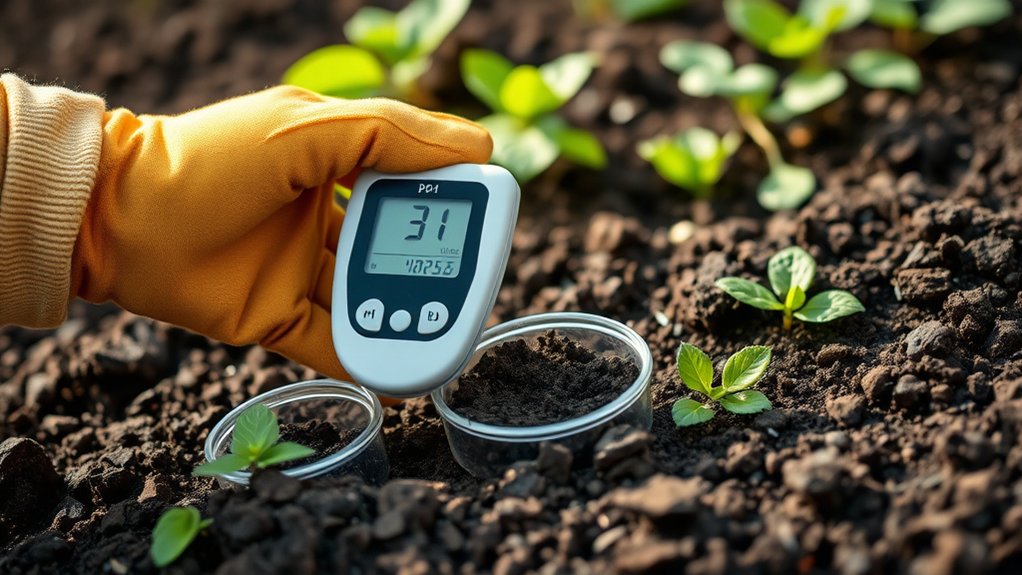
A simple soil test reveals whether your garden’s pH and nutrient levels can support healthy growth. Collect samples from several spots in each planting area, removing surface debris first. Mix the soil from each area in a clean container, then follow your test kit’s instructions. For more detailed results, send a sample to your local extension service.
Check the report for soil pH and key nutrients, such as nitrogen, phosphorus, and potassium. Most vegetables grow well in slightly acidic soil, but your plants’ needs may vary. If the pH falls outside the recommended range, use the report’s guidance to adjust it gradually. Don’t add lime or sulfur without testing; too much can create new problems.
Use nutrient results to choose targeted amendments rather than guessing. A compost addition can improve fertility, but it won’t correct every deficiency or imbalance. Retest periodically, especially after major amendments, so you can track changes and avoid overfeeding your garden.
Check Drainage and Improve Soil Structure
After checking pH and nutrients, assess how well water moves through your soil. A simple drainage assessment reveals whether rain soaks in steadily or pools around future planting areas. Good soil structure lets water reach roots while preserving air spaces and moisture.
Assess drainage to see whether water reaches roots steadily or pools, while healthy soil structure preserves air spaces and moisture.
- Dig a hole about a foot deep, fill it with water, and let it drain.
- Refill the hole; watch how quickly the water level drops over several hours.
- Note puddles, crusted surfaces, or soil that stays soggy after rain.
- Mix finished compost into the top layer to encourage soil aggregation and create a crumbly texture.
These clues help you decide where to plant and how to improve the ground. Compost adds organic matter, helping particles form stable crumbs that balance moisture and airflow.
If water drains too quickly, organic matter can also help the soil hold moisture longer. Recheck after adding amendments, and avoid working wet soil, which can damage its structure.
Loosen Compacted Soil Gently
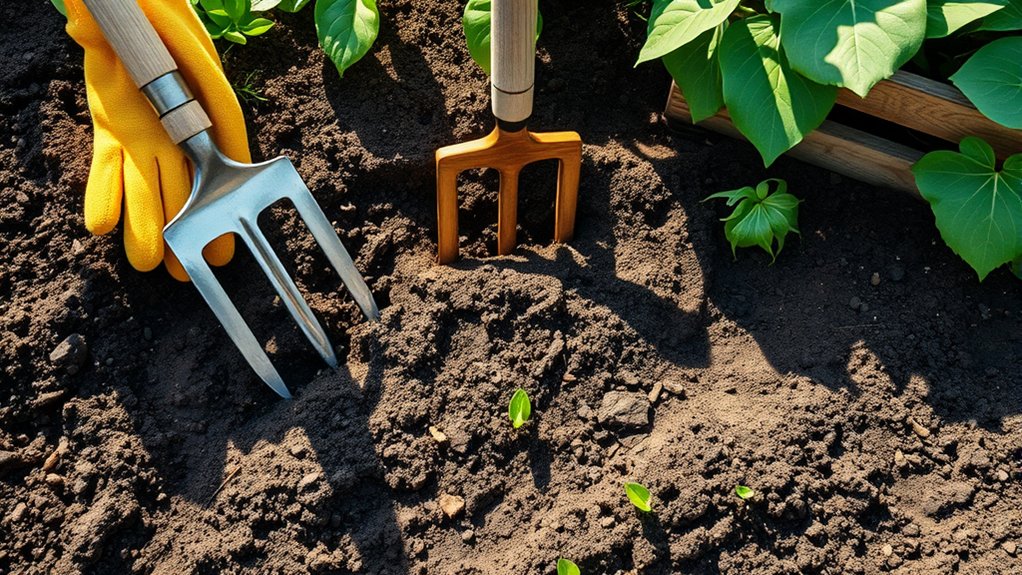
Press a finger or trowel into the soil to check for compaction. If it feels dense and resistant, gently loosen it with a garden fork, lifting the soil rather than turning it. This improves airflow while preserving the soil’s structure.
Assess Soil Compaction
Dense, compacted soil can restrict airflow, water movement, and root growth. Before you decide what your garden needs, check for signs of compaction across several spots. Your observations can help you distinguish a firm surface from deeper resistance and account for differences in soil texture and drainage rate.
- Press a finger into moist soil. Note whether it sinks easily or meets a hard, unyielding surface.
- Push a pencil or narrow stick into the ground. Mark where resistance begins, and compare nearby areas.
- Watch a gentle pour of water. Does it soak in, or linger in puddles on the surface?
- Inspect a small sample. Look for dense, flattened layers, then compare them with loose, crumbly soil nearby.
Record what you find, especially where plants struggle or water collects. These clues reveal where compaction may affect your garden most.
Loosen Soil Gently
Once you’ve found compacted areas, loosen them gently to improve airflow and help water and roots move through the soil. Choose a garden fork or broadfork, and push its tines into the ground without turning the soil over.
Rock the handle back slightly to create small openings, then lift the tool and repeat across the affected area. Work when the soil is slightly moist, not wet or dry; damp earth breaks apart more easily, while soggy soil can smear and compact further.
For shallow compaction, use a hand fork around plants to avoid disturbing roots. Check the soil texture as you work, and adjust your effort to its density.
Afterward, observe the drainage rate when you water. Stop if you meet resistance rather than forcing the tool deeper.
Preserve Soil Structure
After loosening compacted areas, protect the soil’s natural structure by avoiding unnecessary digging or turning. Your soil holds air pockets, water pathways, and living networks that support soil biology and root growth. Work only when it’s moist, not wet; handling soggy earth can squeeze those spaces shut.
- Stay on paths: Step on garden boards or designated paths instead of planting beds, so you don’t press down delicate soil.
- Choose hand tools: Use a trowel or broadfork to open planting spots without flipping whole layers.
- Add surface mulch: Spread compost or leaf mulch to shield the surface from pounding rain and drying sun.
- Keep roots in place: Leave healthy roots to break down naturally, feeding soil life and helping maintain stable crumbs.
With gentle care, your garden soil stays airy, resilient, and ready for healthy plants.
Adjust Soil pH for Your Plants
Wondering whether your soil’s pH suits your plants? Check it before planting: pH affects soil chemistry and determines how readily roots can access existing minerals. Most vegetables prefer slightly acidic soil, but plant compatibility varies.
Use a reliable home test or send a sample to a local extension service, then compare the result with your plants’ preferred ranges.
| Soil pH | Common preferences |
|---|---|
| Below 5.5 | Blueberries, azaleas |
| 5.5–6.5 | Potatoes, strawberries |
| 6.0–7.0 | Most vegetables |
| Above 7.0 | Asparagus, lilacs |
If your reading falls outside the target range, adjust gradually. To lower pH, incorporate elemental sulfur; to raise it, apply garden lime.
Follow product directions and retest after several months, since changes take time. Don’t guess or overcorrect: a small adjustment can affect a large area.
Keep your plants’ needs in mind, and test again before making further changes.
Add Nutrients Based on Your Soil Test
With pH in range, use your soil test to identify which nutrients your garden needs. Soil testing gives you a clear snapshot of nutrient levels, so you can avoid guessing or applying products your plants don’t need.
Use your soil test to identify nutrient needs, avoid unnecessary applications, and support healthy garden growth.
Read the report’s recommendations for each crop, and follow its rates carefully. Thoughtful nutrient management supports healthy growth while limiting runoff and waste.
- Check the numbers: Compare nitrogen, phosphorus, and potassium levels with the report’s target ranges. A low result signals a need; a sufficient result means you can skip that nutrient.
- Choose a product: Select a fertilizer that supplies the nutrients your test identifies. Check its label for the nutrient ratio and application directions.
- Measure accurately: Use the recommended amount, not a generous handful. Too much fertilizer can damage roots and upset nutrient balance.
- Apply where needed: Spread the product evenly across the planting area, keeping it away from stems. Water as directed to help nutrients reach the root zone. Re-test as advised to guide future applications.
Mix in Compost and Organic Matter
Compost and other organic matter improve soil structure, help it hold moisture, and support beneficial organisms. As you prepare your garden, use these compost benefits to build healthier soil and create better conditions for roots. Mature compost adds organic material without overwhelming the soil with concentrated nutrients.
Spread a layer of finished compost over the area, then blend it into the top several inches with a garden fork or shovel. Work gently, especially when the soil is damp; digging wet ground can compact it and damage its structure.
If your soil feels dense and sticky, compost can loosen it over time. If it’s sandy and drains quickly, organic matter can help it retain water and nutrients. These changes improve soil texture gradually, so add compost regularly rather than expecting one application to solve every problem.
You can also incorporate aged leaf mold or well-rotted manure. Avoid fresh manure, which may burn plants or introduce pathogens. Keep additions moderate, and follow any guidance from your soil test.
Shape Garden Beds and Planting Rows
Shape your garden beds and planting rows to make the most of your space and simplify planting, watering, and maintenance. Before you mark the ground, consider what you’ll grow and how much room each plant needs.
Clear, defined shapes make your garden easier to navigate and help you tend every crop without stepping on growing areas.
- Choose a layout: Sketch straight rows for easy access or broad beds for mixed planting. Leave paths wide enough for your tools and comfortable movement.
- Mark the edges: Use stakes and string to outline beds, or trace gentle curves with a garden hose. Keep lines visible as you work.
- Shape the soil: Rake each bed into a level, slightly raised surface. Check the soil texture as you smooth clumps, and avoid compacting the ground.
- Define paths: Cover walkways with mulch or another suitable material to support weed control and keep bed edges distinct.
Keep beds narrow enough to reach the center from either side, so you won’t need to walk across them.
Water the Soil and Let It Settle
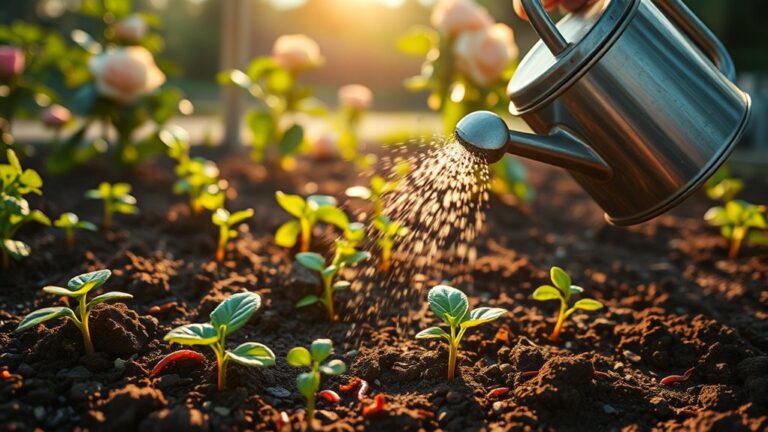
Once you’ve shaped your beds and rows, water the soil evenly until it’s moist but not soggy. Let it settle for a few days before planting. This gives the soil time to settle naturally and reveal any low spots you may need to level.
Moisten the Soil Evenly
How evenly does your garden soil absorb water? As you prepare your bed, aim for consistent moisture from edge to edge. Dry patches can resist seeds and roots, while puddles may wash nutrients away. Use a gentle flow so water reaches the soil without creating ruts.
- Picture a fine rain darkening the surface, not a stream carving channels.
- Move your hose or watering can in overlapping passes across the bed.
- Check corners and raised edges; they often dry faster than the center.
- Press a finger into several spots. If the top few inches feel evenly damp, you’ve applied enough.
If water runs off, pause and use shorter passes. Compost benefits include improved soil structure, while suitable mulch options can help retain moisture after planting. Keep the surface moist, not saturated, as you finish watering.
Allow Time to Settle
After watering evenly, give the soil time to settle before planting. Let moisture move through the bed and help loose particles make contact. This pause reveals low spots, compacted areas, or places where water pools, so you can correct them before adding seeds or transplants.
Check the surface after a few hours, then again the next day. If the soil feels soggy, wait until it drains; working it wet can squeeze out air and create clumps.
If it’s dry on top, water lightly rather than flooding the bed. Use this time to start timing your planting around local weather and crop needs. You can also consider mulch selection, but wait to spread mulch until after planting.
Once the bed feels evenly moist and stable, you’re ready to plant.
Frequently Asked Questions
When Is the Best Time of Year to Prepare Garden Soil?
The best time to prepare garden soil is usually early spring, once the ground has thawed and dried enough to work without clumping. You’ll support Spring readiness by clearing debris and adding compost before planting. Check soil warming with a thermometer or by feeling the ground; wait until it’s workable and appropriate for your crops.
In mild climates, you can also prepare beds in fall, giving amendments time to settle before spring planting.
How Deep Should Garden Soil Be Prepared for Different Plants?
If you’re growing carrots beside lettuce, prepare deeper soil for carrots: depth requirements depend on each plant’s roots. Loosen soil about 12 inches for deep-rooted crops like tomatoes and carrots, and 6–8 inches for shallow-rooted lettuce and herbs.
Keep planting depth separate: follow each seed packet or transplant label. In a raised bed vs ground, ensure the usable soil depth meets crop needs; compacted subsoil may require deeper loosening. Soil preparation timing matters too.
Should I Use Raised Beds or Plant Directly in the Ground?
Choose raised beds if your native soil drains poorly, contains contaminants, or you want easier access and control over soil quality. Plant directly in the ground if your soil drains well, stays healthy, and offers enough soil depth for your crops’ roots.
You can also combine both approaches: grow deep-rooted plants in-ground and use raised beds for shallow-rooted crops. Consider your budget, space, mobility, and maintenance needs before deciding which option suits you best.
How Can I Prepare Soil Safely for a Vegetable Garden?
You can prepare garden soil safely by testing it first and improving it with clean, mature compost. Arrange soil testing through your local extension service to check pH, nutrients, and possible contaminants, especially if you’re gardening near older buildings or busy roads. Wear gloves while handling soil, wash your hands and produce, and avoid adding fresh manure. Follow composting safety: keep compost hot, turn it regularly, and use finished compost that smells earthy.
How Often Should I Prepare My Garden Soil?
Prepare your garden soil once before each growing season, then amend it only when tests or plant needs show a reason. You don’t need to dig or turn it repeatedly; excessive disturbance can damage soil structure and beneficial organisms.
Check your soil’s condition yearly, and add compost or nutrients as needed. Your care tips should reflect your soil textures, drainage, and crops.
After harvest, clear debris and protect bare soil with mulch or a cover crop.
Conclusion
With weeds cleared, soil tested, drainage improved, and compost mixed in, you’ve built a strong foundation for your garden. Shape your beds, water the soil, and give it time to settle before planting.
Think of these steps as setting the stage: healthy soil is the backstage crew that helps every plant shine. You don’t need perfect dirt—just a little care and attention.
Keep checking your soil as the season unfolds, and you’ll give your garden the support it needs to thrive. These essential steps to prepare soil for your garden can help you get growing with confidence.