7 Easy Steps to Start a Garden for Beginners
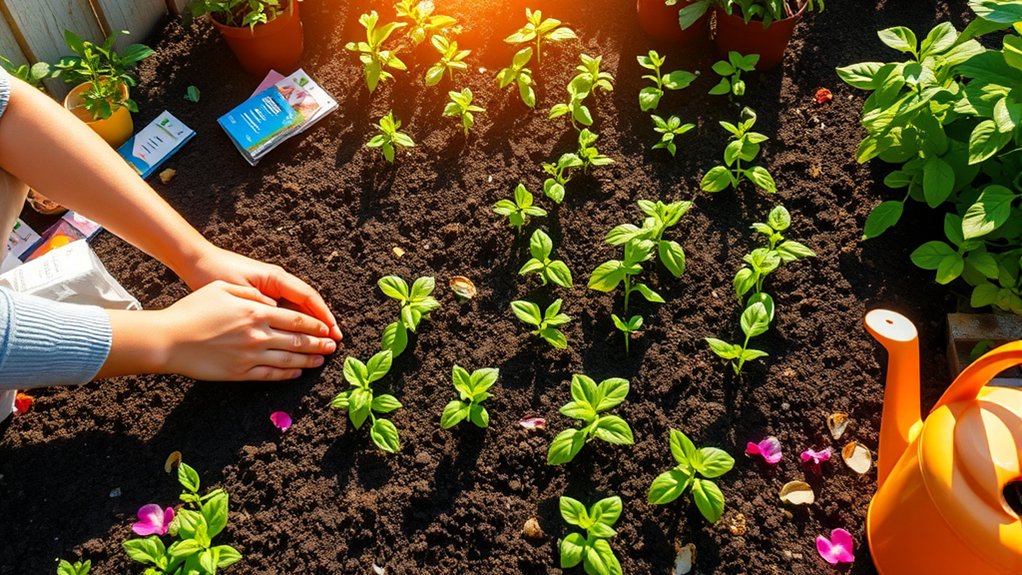
Starting a garden can feel overwhelming when you’re unsure where to begin or what tools you need. You’re not alone—many beginners struggle to choose the right plants and get them growing. These 7 easy steps to start a garden for beginners will help you get started with confidence.
To start a garden, choose a spot with suitable sunlight, good drainage, and easy access to water. Pick plants that fit your space, climate, and light, then gather a few sturdy basic tools.
Clear weeds and loosen the soil, adding compost if needed. Plant seeds or seedlings at the recommended depth and spacing.
Water gently and add a light layer of mulch. Check plants regularly for pests or damage, and make small fixes early. You’ll find more helpful tips in the steps ahead.
Key Takeaways
- Choose a sunny, accessible garden spot with good drainage, and observe how sunlight and shade change throughout the day.
- Select plants suited to your space, sunlight, and local climate, checking their mature size and growing requirements.
- Gather a few comfortable, sturdy essentials, such as gloves, a hand trowel, pruning shears, and a watering can or hose.
- Clear weeds and rocks, loosen the soil, test its needs, and mix in finished compost before planting.
- Plant seeds or seedlings at the recommended depth and spacing, then water regularly and check for pests or damage.
Choose a Garden Spot With the Right Light
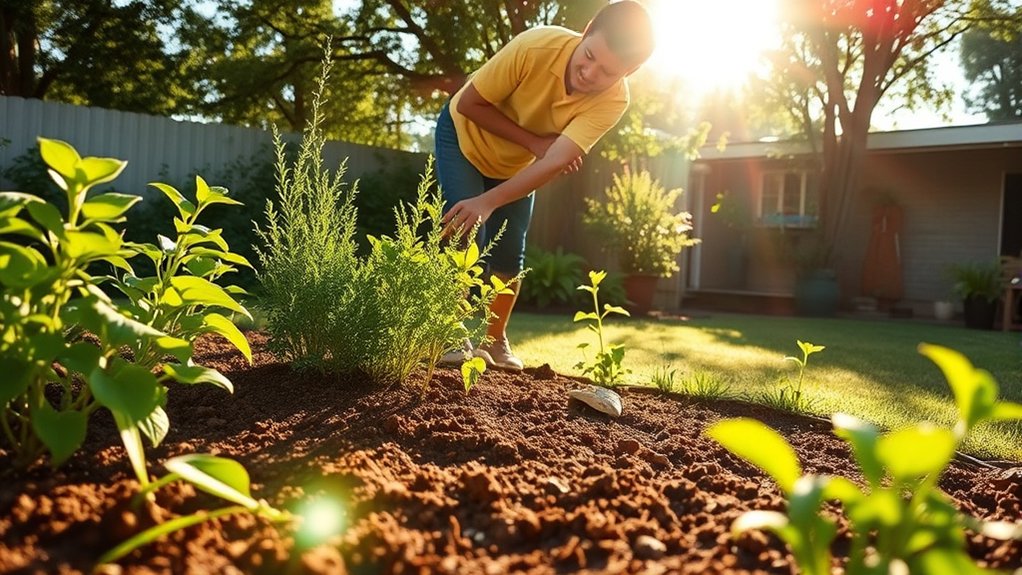
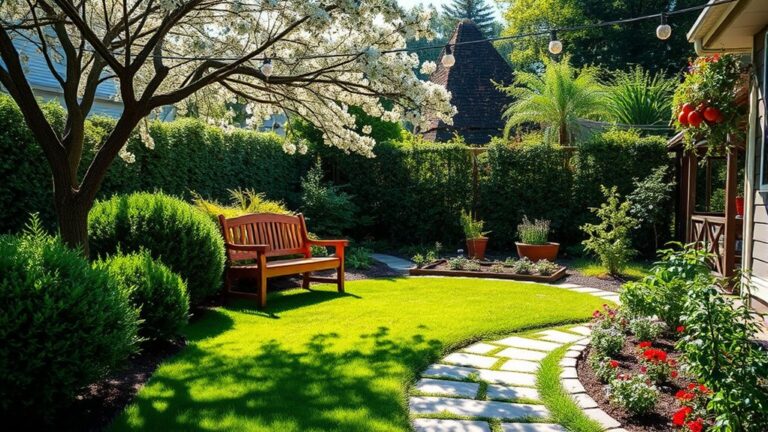
Before you plant, watch how sunlight moves across your yard. Check the same spots in the morning, midday, and afternoon, since nearby trees, fences, and buildings can cast changing shadows. Note where direct sun lasts longest and where shade stays consistent. A simple sketch can help you compare locations and choose a practical area.
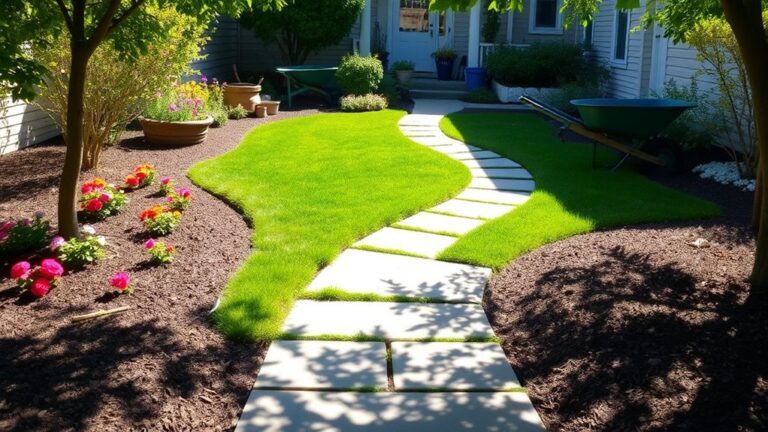
Consider hardscape considerations before settling on a spot. Paths, patios, walls, and driveways affect access, drainage, and reflected heat. Keep your garden close enough to reach easily, but leave room to move tools and water plants without trampling beds. Avoid low areas where rainwater collects, and look for level ground that won’t wash away.
If your yard has limited sunny ground, container gardening gives you flexibility. Place pots where they’ll get the light you’ve observed, then move them as needed. Check that your chosen location has convenient water access and enough space for containers, pathways, and everyday yard use. Choose a spot you can maintain comfortably throughout the season.
Pick Plants for Your Space, Light, and Climate
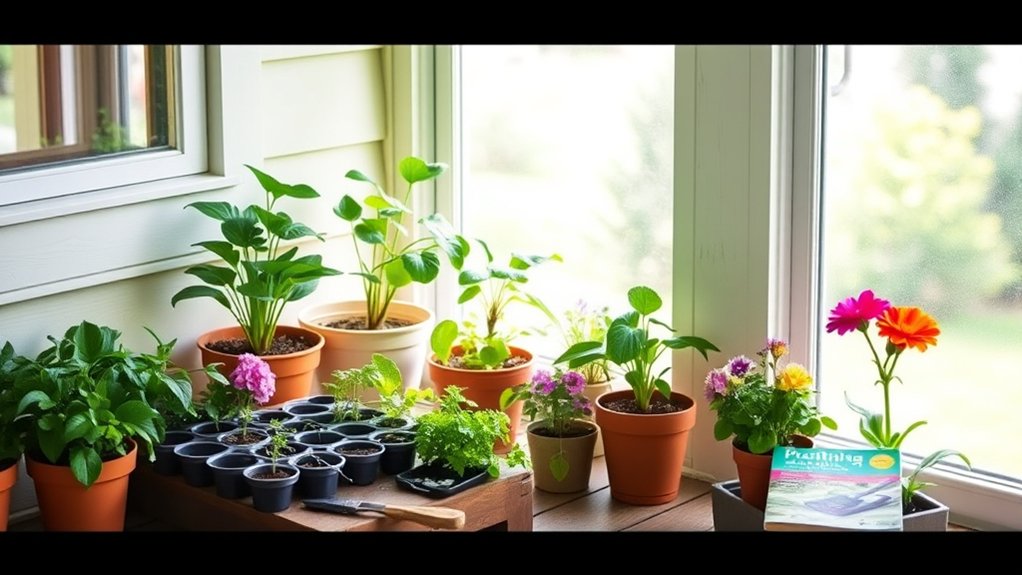
Once you’ve chosen a garden spot, match your plants to its available space, sunlight, and local climate. Check how much room each plant needs at maturity, then select options that fit your garden without crowding.
Choose plants that fit your garden’s space, sunlight, and climate, allowing room for them to grow without crowding.
If you’re working with a small area, choose compact plants or varieties that grow upward. For a larger plot, you can combine plants with different heights and spread.
Use your spot’s light conditions to guide your choices. Full-sun plants need several hours of direct sunlight, while shade-tolerant options suit darker areas. Read plant labels or seed packets to confirm their needs.
Next, find your climate zone on a reliable gardening map. Choose plants suited to your region’s temperatures and growing season, and note when they should be planted.
A suitable plant variety is more likely to thrive with less effort. If you’re unsure what grows well locally, ask a nearby nursery or check recommendations from your local extension service.
Gather Tools for Your First Garden
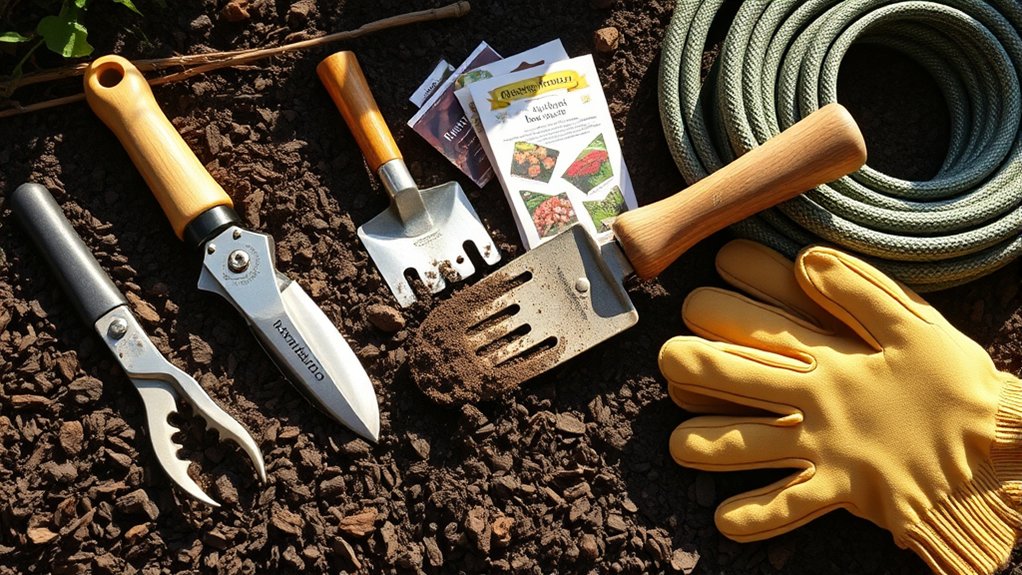
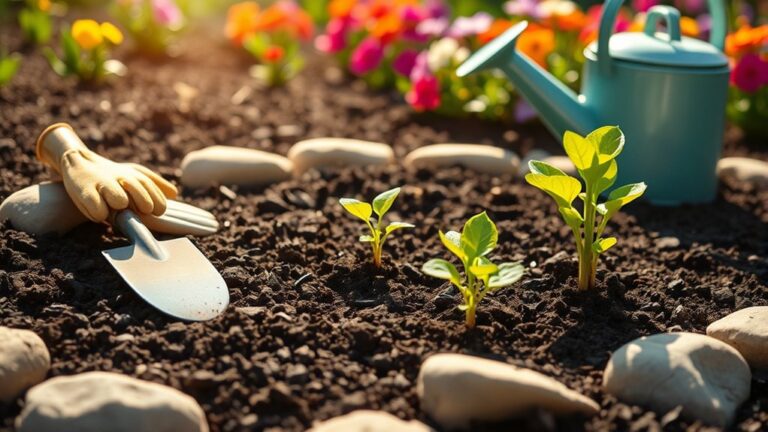
What tools do you need to get started? Begin with a few reliable basics: a hand trowel, garden gloves, pruning shears, a watering can or hose, and a small basket for carrying supplies. Choose tools that suit the plants and growing space you selected, rather than buying a full shed’s worth of equipment.
Check each item’s weight, grip, and handle length before you buy. Good gadget ergonomics can make routine tasks more comfortable, especially if you’ll garden for long stretches or have limited hand strength. Look for sturdy materials and simple designs that are easy to clean and store.
Use budget planning to keep your first purchase manageable. Compare prices, read reviews, and ask whether you can borrow specialty tools from a neighbor or community garden. Start with essentials, then add tools only when a specific task calls for them.
Store everything in one dry, accessible spot so you can find what you need and protect your investment. You don’t need expensive gear to begin.
Prepare Your Garden Soil for Planting
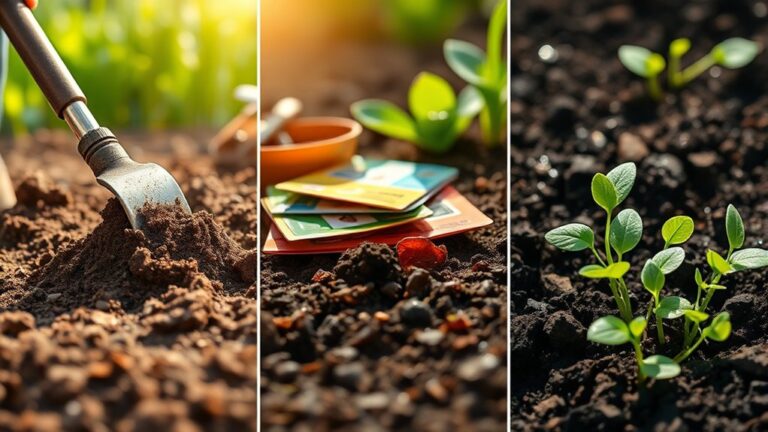
Healthy soil gives your plants a strong start, so prepare the bed before planting. Clear away weeds, rocks, and leftover roots. Loosen the top 8 to 12 inches with a garden fork, breaking up compacted clumps without turning wet soil, which can damage its structure.
Check your soil testing options through a local extension service or a home kit. Results show whether you need to adjust pH or nutrients; don’t add amendments blindly. Mix in a 2- to 3-inch layer of finished compost to improve drainage and moisture retention.
| Soil condition | Helpful action |
|---|---|
| Dense clay | Add finished compost |
| Sandy soil | Blend in organic matter |
You can explore compost recipes that use leaves, grass clippings, and kitchen scraps, but use only fully decomposed material in your bed. Rake the surface smooth, then water lightly if the soil feels dry. Your garden bed is now ready for planting.
Plant Seeds or Seedlings at the Right Depth
Plant seeds and seedlings at the right depth to help them grow strong. Before you dig, check how deep each one should go. Follow the directions on the seed packet, since planting depth varies by seed type.
Check Planting Depth
Getting the depth right helps seeds sprout and seedlings establish strong roots. Check your planting depth before covering seeds or setting seedlings in place. Seeds planted at the wrong depth may dry out, struggle to emerge, or fail to sprout.
Set seedlings so their roots sit securely in soil, and avoid burying stems unless they’re meant to be covered. Use this quick guide to assess placement:
| Planting check | Too shallow | Too deep |
|---|---|---|
| Seed position | Exposed or drying | Slow to emerge |
| Seedling roots | Roots uncovered | Roots crowded |
| Soil cover | Uneven protection | Heavy, compacted layer |
After planting, gently firm the soil without packing it tight. Keep mulch depth modest around new growth; thick mulch can block light and hinder emergence. If you spot a problem, adjust the soil carefully before watering.
Follow Seed Packet Directions
Follow the seed packet’s directions for planting depth, spacing, and timing. Each variety has different needs, so don’t assume one planting method works for every crop.
Check whether you should sow seeds directly outdoors or start them indoors, and note the recommended planting dates for your climate. Measure depth carefully: seeds planted too deeply may struggle to sprout, while shallow seeds can dry out.
Space seeds as directed to give seedlings room for healthy growth and airflow. If you’re transplanting seedlings, follow guidance on spacing and hardening them off before planting outside.
Use garden labels to identify each row or container, including the variety and sowing date. Keep packets nearby for reference, and store unused seeds in a cool, dry place.
Then water gently and monitor germination.
Water Your Garden and Add Mulch
Consistent watering helps your new garden thrive, while mulch keeps soil moist and weeds in check. Water gently at the soil level so you don’t wash away seeds or splash soil onto leaves. Your watering frequency depends on rainfall, soil type, and temperature, so check the soil regularly. If the top inch feels dry, water deeply; aim for moist, not soggy, soil.
Water gently at soil level, and check moisture regularly to keep your garden thriving without oversaturating the soil.
- Water in the morning to reduce evaporation.
- Use a watering can or hose with a gentle spray.
- Apply mulch after seedlings emerge or transplants settle.
- Keep mulch a few inches away from stems.
Good mulch timing helps warm-season plants establish while protecting the soil. Spread a two- to three-inch layer of straw, shredded leaves, or untreated grass clippings around plants. Leave space around stems to prevent excess moisture from collecting there. As the season continues, replenish thin spots and keep the layer even. With steady watering and thoughtful mulching, you’ll help your garden retain moisture and limit weed growth.
Check Your Plants and Fix Problems Early
Check your garden every few days to catch problems before they spread. Look closely at leaves, stems, and soil as you check plant health. Healthy leaves usually have an even color and firm texture. Yellowing, spots, holes, or wilting can signal trouble. Notice whether plants grow steadily, too; slow growth may point to poor light, crowded roots, or a lack of nutrients.
Take time to monitor pests, especially beneath leaves and around tender new growth. Look for insects, webbing, eggs, and sticky residue. If you find a few pests, remove them by hand or rinse them off with water. Check again soon to see whether they return.
When you spot damage, identify the likely cause before treating it. Adjust watering or sunlight if needed, and remove badly affected leaves with clean scissors. Give each plant enough space for airflow, and clear away fallen leaves that could harbor disease. Early, simple fixes can protect your garden and help plants recover.
Frequently Asked Questions
When Is the Best Time of Year to Start a Garden?
The best time to start a garden depends on your climate and what you want to grow. You can plant cool-season crops in early spring, about two to four weeks before your last frost, or in fall. Wait until frost danger passes before planting warm-season crops.
To decide when to plan planting, check your local frost dates and seed packets. Your best planting months may differ by region, so watch local forecasts.
How Much Does It Cost to Start a Beginner Garden?
You can start a beginner garden for about $50–$150, depending on its size and what you already own. For cost estimates, budget $20–$50 for seeds, $15–$40 for soil and compost, and $15–$60 for containers or basic tools.
Beginner budgeting gets easier when you reuse pots and buy only essentials. Indoor winter crops may need extra lighting, adding $20–$80. Check rental garden viability before investing in raised beds or permanent improvements.
Can I Start a Garden if I Rent My Home?
Yes, you can start a garden when you rent your home. Check your lease and ask your landlord before digging, installing beds, or making permanent changes.
For a flexible setup, grow herbs, vegetables, or flowers in containers on a balcony, patio, or sunny windowsill. If you’re wondering, “can i rent garden space?” look for community plots nearby.
Compare soil options, such as potting mix for containers and raised-bed mix for portable planters. You can take your garden with you.
How Can I Garden Safely Around Pets and Children?
You can garden safely around pets and children by choosing pet safe plants, storing tools and fertilizers securely, and supervising outdoor play. Keep kids and animals away from treated areas until products are safe to reenter.
Use child friendly pest control, such as hand-picking pests or adding protective netting, instead of toxic sprays. Label plants clearly, avoid poisonous varieties, and wash hands after gardening. Never leave small seeds, bulbs, or chemicals within reach.
What Can I Grow Indoors During Winter?
Your windowsill can become a little winter orchard: grow leafy greens, herbs, and compact vegetables indoors during winter. Try lettuce, spinach, kale, basil, parsley, or chives in pots with drainage holes.
Give them your sunniest window, or add a grow light for 12–16 hours daily. For tomatoes and peppers, start seeds early and choose dwarf varieties.
Keep soil evenly moist, rotate pots for balanced light, and harvest leaves often to encourage fresh growth all season long.
Conclusion
You don’t need a perfect plan to start gardening—just a sunny spot, suitable plants, a few basic tools, and steady care. Prepare the soil, plant at the right depth, water well, and check for problems as they arise.
Your first garden may have a few surprises, but each one teaches you something useful. Keep tending it, and you’ll soon see your small effort take root and grow into something you’re proud of. Starting a garden for beginners can be a simple, rewarding way to get growing.