How to Plant a Flower Bed for Beginners in 10 Easy Steps
Starting a flower bed can feel overwhelming when you’re unsure what to plant, where to begin, or which tools you need. You’re not alone—many beginners struggle to turn a bare patch of ground into a garden they love. This guide to how to plant a flower bed for beginners breaks the process into simple steps and helps you choose the right supplies along the way.
To plant a flower bed, first check sunlight and choose a spot suited to your flowers. Measure the space, sketch a layout, and select plants that match your climate, light, and water needs. Gather tools, mark the bed, remove grass, and loosen the soil with compost. Arrange flowers by mature height and spacing, then plant each at its original depth. Water thoroughly and add mulch. Keep weeds down, water when soil dries, and deadhead faded blooms; the steps ahead make planning easier.
Key Takeaways
- Choose a sunny location, observe its light throughout the day, and select flowers suited to the site and your climate.
- Measure the available space, sketch the bed, and leave clear paths and room to reach every area.
- Remove grass and weeds, loosen the top 8–12 inches of soil, and mix in 2–3 inches of compost.
- Arrange flowers by mature height and spread, then plant each root ball level with the surrounding soil.
- Water thoroughly, add 2–3 inches of mulch away from stems, and keep the bed weeded and watered.
Choose a Sunny Spot for Your Flower Bed
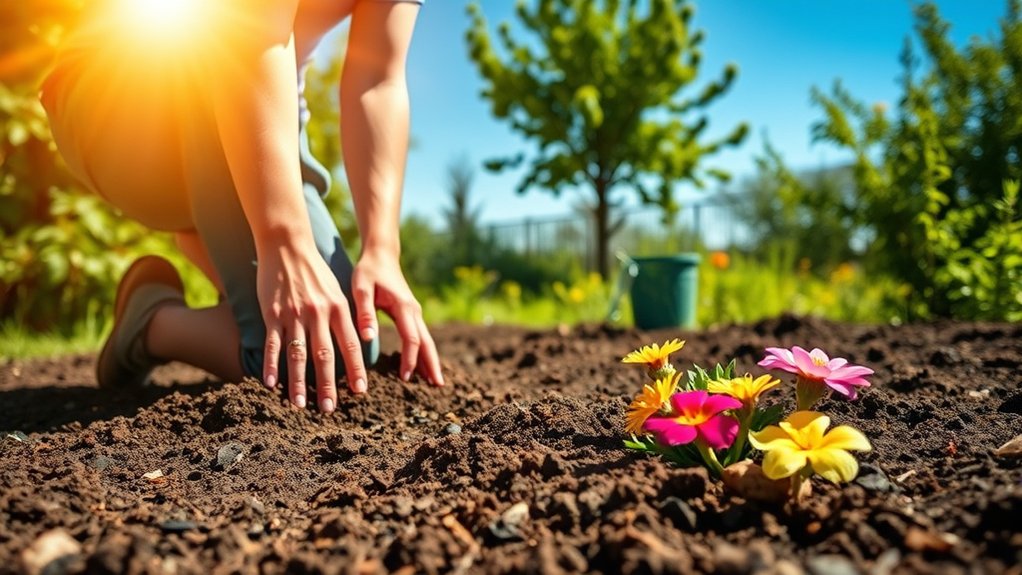
Before you choose a spot, check how much sunlight it gets throughout the day. Watch the area in the morning, around noon, and late afternoon, noting when trees, fences, or buildings cast shade. A quick glance can mislead you, so observe the site on a clear day and repeat the check if conditions change.
Most flowering plants need at least six hours of direct sun daily, but some thrive with less. Read plant labels before selecting a location, and match the spot’s light to the flowers you hope to grow. Full-sun varieties may bloom poorly in deep shade, while shade-loving plants can scorch in intense afternoon heat.
Also notice whether nearby trees block light seasonally or compete for water. Keep your observations focused on sunlight; a topic drift into soil or bed design can become an irrelevant tangent here. Once you’ve identified a suitable sunny location, you’ll have a strong starting point for healthy, colorful blooms.
Plan Your Bed’s Size and Layout

Measure the available space to choose a bed size that fits. Then sketch the layout, showing the bed’s shape and where you’ll plant each flower.
Measure Available Space
Start with the space you have, not the bed you imagine. Measure the area where you’d like to plant, noting its length and width. For a curved or irregular spot, measure the widest points and use a garden hose to mark the boundary on the ground. Keep the bed’s edges clear of walkways, doors, and utility covers so you can move around safely.
Check how much sunlight the area receives throughout the day, and note nearby trees, walls, or fences that may affect growing conditions. These details help you choose a practical bed size and guide space planning before you buy plants or materials.
Leave enough room to reach every part of the bed for watering and weeding. Consider soil preparation needs, too; compacted or rocky ground may take extra effort to work. Don’t make the bed wider than you can comfortably maintain.
Sketch Your Layout
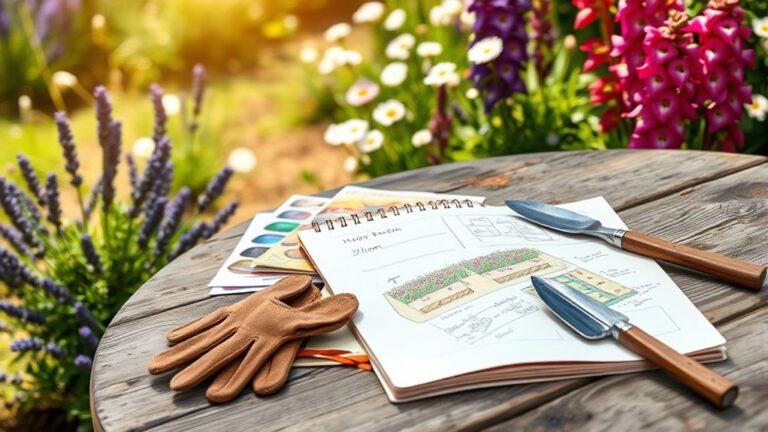
With your bed’s space and conditions in mind, sketch a simple layout before you dig. Mark the bed’s outline and note sunny, shady, or damp areas. This sketch layout helps you place plants where they’ll thrive and keeps paths accessible.
During layout planning, group flowers by height: tall varieties at the back, medium plants in the middle, and low growers along the front. Leave room for mature spread so plants won’t crowd one another. Use this quick guide:
| Area | Plant height | Placement |
|---|---|---|
| Back | Tall | Against a wall |
| Middle | Medium | Behind low flowers |
| Front | Low | Along the edge |
| Path | Any | Keep clear |
Add labels for colors and bloom times, then adjust your drawing until the bed feels balanced and easy to maintain.
Choose Flowers for Your Climate and Sunlight

Check your hardiness zone to find flowers that can survive your winters. Then match each plant to the sunlight your bed gets, from full sun to shade. Choose blooms suited to your climate, and you’ll spend less time tending them.
Know Your Hardiness Zone
Before choosing flowers, find your USDA hardiness zone, which indicates the coldest winter temperatures your area typically experiences. Enter your ZIP code in the USDA’s online zone map to see your zone and, often, its half-zone designation.
Use this information for hardiness planning: check each flower’s plant tag or catalog listing for its recommended zones. Choose plants rated for your zone or a broader range that includes it. This supports climate compatibility and helps your flowers survive typical winter lows, though unusual cold snaps can still cause damage.
Your zone is a useful starting point, not a guarantee. Local conditions, soil, and exposure can affect results. If you’re unsure, ask a nearby nursery which varieties reliably overwinter in your area.
Keep the zone information handy as you compare flower options.
Match Flowers to Sunlight
Once you know which flowers suit your hardiness zone, match them to the light in your planting spot. Check how many hours of direct sun each area receives, then label it full sun, partial shade, or shade. Remember, sunlight compatibility affects how well flowers grow and bloom.
Observe your bed throughout the day before you choose plants. Nearby trees, fences, and buildings can cast changing shadows, so don’t rely on a single glance. Read plant tags or catalog descriptions for light requirements, and group flowers with similar needs together.
A full-sun spot typically gets at least six hours of direct sunlight; partial shade gets less, while shade receives little direct sun. Also compare bloom timing so you can plan color across the season. If your light conditions vary, choose a mix suited to each spot rather than forcing one flower to thrive everywhere.
Choose Climate-Adapted Blooms
After evaluating your bed’s sunlight, choose flowers that also suit your local climate. Check your region’s hardiness zone and typical rainfall, then select plants that can handle your winters, summers, and soil conditions. Native and locally adapted blooms often need less attention once established.
- Check hardiness: Choose perennials rated for your zone, and protect tender plants from frost.
- Plan for heat: In hot, dry areas, favor drought-tolerant flowers; in cooler regions, select varieties suited to shorter growing seasons.
- Stagger bloom times: Use succession planning to keep color in your bed from spring through fall.
- Support wildlife: Mix flower shapes and bloom periods for pollinator benefits, giving bees and butterflies reliable food.
Read plant labels before buying, and group flowers with similar water needs. You’ll spend less time correcting mismatches and more time enjoying a resilient, colorful bed.
Gather Tools and Supplies for Planting
Gathering the right tools and supplies makes planting easier and helps protect your plants. Before you begin, gather tools that suit the bed’s size and your plants’ needs.
A hand trowel helps you dig small planting holes, while a garden fork loosens compact soil and a spade moves soil or compost. Choose sturdy tools with comfortable handles so you can work without straining.
Buy gloves that fit well and protect your hands from thorns, rough stems, and dirt. Keep a watering can or hose with a gentle spray nozzle nearby to water new plants without washing away soil.
You’ll also need compost or another suitable soil amendment, plus plant labels if you want to track varieties and care needs. A bucket or garden cart makes it easier to carry supplies around your yard.
Check that your tools are clean and in good working order. Set everything within reach before planting, and keep a kneeling pad handy for comfort.
Mark the Bed and Remove the Grass
Lay out your flower bed with a garden hose or string, adjusting the curves until you’re happy with the shape. Then remove the grass from inside the marked area.
Mark the Bed
Mark the bed’s outline with a garden hose or rope, adjusting the curves until they look right from several angles. Step back and view the shape from your windows, patio, and main walkway.
A clear outline helps you judge scale before you commit to the layout.
Consider these design considerations as you refine the shape:
- Keep curves broad enough to mow around easily.
- Make the bed wide enough to hold plants in layered rows.
- Leave comfortable access for watering and routine care.
- Check that the outline fits nearby paths, trees, and structures.
Once you’re happy with the shape, use marking paint or flour to trace the hose or rope on the ground. This visible guide will help you keep the bed’s edges consistent during soil preparation.
Measure the outline if you want to estimate its area and plan plant spacing. Don’t rush; small adjustments now can make the finished bed look balanced.
Remove the Grass
With the bed’s outline in place, remove the grass inside it so flowers won’t compete with turf for water and nutrients. Choose a removal method that suits your time, tools, and soil.
For quick results, cut the turf into strips with a flat spade, then lift and roll them away. Dig out stubborn roots and shake loose soil back into the bed.
If you’d rather avoid heavy digging, smother the grass with overlapping cardboard or several layers of newspaper. Wet the covering, weigh it down with mulch, and leave it in place until the grass dies.
Don’t use herbicide if you plan to plant soon. Check the cleared area for missed patches, especially along the edges. These practical topic ideas about this subtopic help you choose among ideas about this subtopic without repeating other steps.
Loosen the Soil and Add Compost
Loosen the soil to help roots spread, then mix in a layer of compost to improve its texture and add nutrients. Work when the ground is slightly moist, not soggy; wet soil clumps, while dry soil resists digging.
Loosen slightly moist soil to help roots spread, then add compost to improve texture and provide nutrients.
Use a garden fork or spade to break compacted areas without turning the soil too deeply.
- Remove any remaining grass roots, stones, or debris from the bed.
- Loosen the top 8 to 12 inches, lifting and crumbling clods as you go.
- Spread 2 to 3 inches of finished compost over the surface.
- Blend the compost into the loosened soil, then rake the bed level.
These steps improve soil texture and make the ground easier for young roots to explore. Compost benefits include better drainage, moisture retention, and a gradual supply of nutrients.
If your soil already contains plenty of organic matter, use a thinner layer. Avoid fresh manure, which can harm plants. Finish by clearing your tools and letting the bed settle before planting.
Arrange Flowers by Height and Spacing
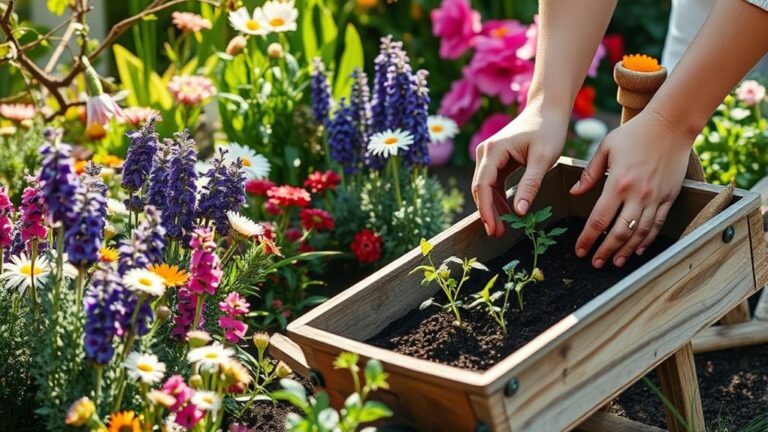
Before planting, arrange your flowers so each one has room to grow and gets the light it needs. Set pots or plant markers on the prepared bed, keeping every flower in its container for now. Place tall varieties toward the back of a border or in the center of an island bed.
Put medium-height blooms in front of them, then position low-growing flowers along the edges. This arrangement height lets you see each plant and prevents taller stems from shading shorter ones.
Check the mature width on each plant label, not just its current size. Leave enough space between plants for their full spread, and avoid crowding blooms to make the bed look finished right away.
Use spacing rhythm by repeating a few flower types or colors at even intervals; this creates a balanced look without making the bed feel rigid. Try two word ideas, such as “tall back” or “low front,” to remember your layout.
Step back, adjust the grouping, and make sure the design looks pleasing from your usual viewing spot.
Plant Your Flowers at the Right Depth
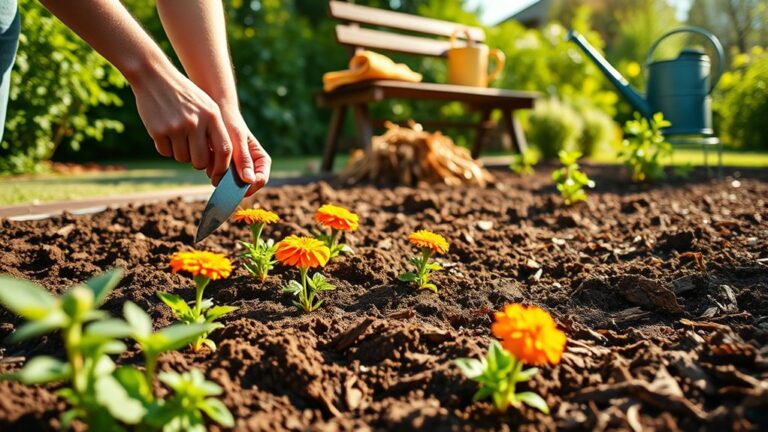
Once you’re happy with the layout, plant each flower at the depth it grew in its pot. Check the root ball before you dig, and use its height as your guide. Correct soil depth helps roots settle while keeping stems and crowns healthy.
- Dig a hole slightly wider than the root ball, but no deeper than its height. Loosen the soil at the bottom if it feels compacted.
- Slide the plant from its pot gently. If roots circle the ball, tease them apart with your fingers so they can spread.
- Set the flower in the hole. Keep the top of the root ball level with the surrounding soil; don’t bury the stem or leave roots exposed.
- Backfill around the roots, then press the soil lightly to remove large air pockets. Check the plant from the side to confirm it sits straight and at the right height.
Leave room above the soil for the mulch depth you’ll add later, without covering stems or crowns.
Water Well and Add a Layer of Mulch
Water the bed thoroughly after planting to settle the soil around the roots. Give each plant a slow, even drink so moisture reaches its root zone without washing soil away. If water pools, pause and let it soak in before continuing. Your goal is to water well, not flood the bed.
| Task | What to do | Why it helps |
|---|---|---|
| Water | Apply a gentle stream | Settles soil |
| Check | Look for pooling | Prevents runoff |
| Mulch | Spread an even layer | Holds moisture |
Once the soil has drained, add a two- to three-inch mulch layer over the bed. Choose shredded bark, leaf mold, or another suitable organic mulch.
Keep the material a few inches away from stems and crowns; direct contact can trap moisture against plant tissue. Don’t pile mulch over the plants or bury their growing points.
A neat, even covering protects the soil surface and gives your new planting a finished look. Stop after you’ve covered the exposed soil, leaving flowers visible and unobstructed.
Weed, Water, and Deadhead as Flowers Grow
With the bed planted and mulched, keep it healthy as it grows by pulling weeds, watering when the soil begins to dry, and removing faded flowers.
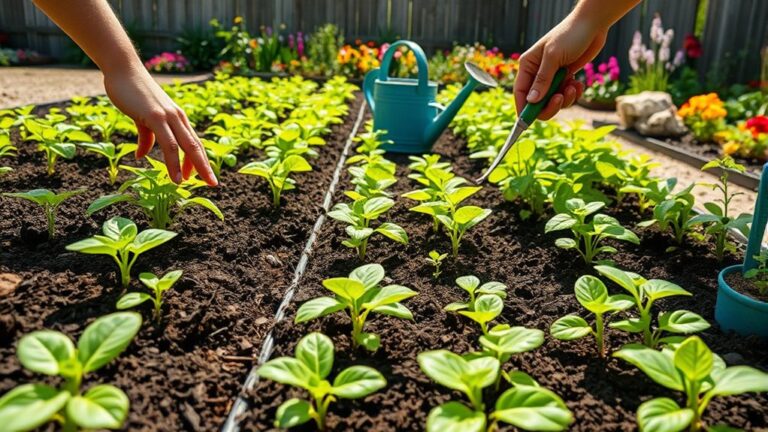
- Check for weeds. Inspect your bed every few days, especially after rain. Pull weeds while they’re small, removing their roots so they don’t compete with your flowers for water and nutrients. Consistent weed management takes less effort than tackling a crowded bed later.
- Water as needed. Feel the soil beneath the mulch. When the top inch feels dry, water slowly at the base of each plant until the root zone is moist. Morning watering gives leaves time to dry.
- Deadhead regularly. Snip off spent blooms just above a healthy leaf or bud. Check each plant’s care needs, since some flowers produce more blooms when you remove faded heads.
- Watch for changes. Look for wilting, yellow leaves, or pests as you work. Adjust watering and deadheading timing to suit each flower, and avoid cutting back plants that form attractive seed heads.
Frequently Asked Questions
When Is the Best Time of Year to Start a Flower Bed?
The best time to start a flower bed is spring, after your area’s last frost, or fall, several weeks before the first hard freeze. Check local frost dates to choose your planting schedule.
For best timing, consider each flower’s needs and your climate. Wait until the soil is workable and no longer waterlogged; this seasonal readiness helps roots establish.
Prepare the soil by removing weeds, loosening it, and adding compost before planting.
How Much Does It Typically Cost to Create a Beginner Flower Bed?
You’ll typically spend $100–$500 to create a beginner flower bed, depending on its size, plants, and materials. For cost considerations, include edging, tools, soil, and flowers—not just the initial purchase.
Use budget tips like starting small and choosing affordable perennials. Soil testing can prevent unnecessary amendments.
Your planting density affects how many plants you’ll need, while mulch options vary in price. Improve irrigation efficiency with careful watering and suitable plants.
Can I Plant Flowers in a Raised Bed?
Yes—you can plant flowers in a raised bed; think of it as a little stage where blooms take the spotlight. You’ll enjoy raised bed benefits such as better drainage, easier access, and more control over growing conditions.
For successful soil prep, fill the bed with quality soil and compost, then loosen and level the surface. Choose flowers suited to your sunlight and climate, space them according to their labels, and water them thoroughly after planting.
How Can I Protect a Flower Bed From Rabbits and Deer?
Protect your flower bed with sturdy fencing: use a 2-foot barrier against rabbits and a 7- to 8-foot fence to deter deer. Choose deer resistant plants, such as lavender, salvia, and daffodils, though hungry animals may still nibble them.
Try rabbit deterrents like motion-activated sprinklers, scent repellents, or wire mesh around young plants. Remove fallen fruit and other food sources, and reapply repellents after rain. Check barriers regularly for gaps or damage.
What Flowers Are Safe for Pets and Children?
Choose pet safe, child friendly flowers such as sunflowers, snapdragons, zinnias, and African violets; they can bring a little Eden to your garden. Still, you shouldn’t assume any plant is harmless: pets may chew leaves, and children may taste bright blooms.
Practice toxic plants avoiding by checking each variety against reliable poison-control or veterinary resources before planting. Keep curious hands and paws away from unfamiliar plants, and contact a professional if anyone eats a plant.
Conclusion
Your first flower bed doesn’t need to be perfect; it just needs a sunny spot, thoughtful planning, and steady care. Choose flowers that suit your climate, prepare the soil, and give each plant room to grow.
Water deeply, add mulch, and keep weeds in check as the seasons change. Think of your bed as a living canvas: each bloom adds a new brushstroke.
With patience and a little attention, you’ll enjoy a colorful garden you can proudly call your own. Planting a flower bed for beginners can be a rewarding way to bring beauty to your yard.