How to Plant Outside in 3 Simple Steps
Starting a garden can feel overwhelming when you’re unsure what to plant or how to help it thrive—you’re not alone. The right gardening tools and supplies can make planting outside simpler, more enjoyable, and easier to get right.
Planting outside takes three simple steps. First, choose plants suited to your climate, available space, and sunlight, then clear weeds and debris from the site and check whether the soil needs amendments. Next, sow seeds or set seedlings at the depth shown on their labels, spacing plants according to their mature size. Finally, water gently to settle the soil, then keep it evenly moist and add mulch without covering stems. A few practical tips can help your garden thrive.
Key Takeaways
- Choose plants and a site: Match plants to your climate, growing season, available space, and sunlight.
- Prepare the planting area: Clear weeds and debris, check soil and drainage, and add amendments only when needed.
- Plan spacing and access: Space plants for their mature size, choose pest-resistant varieties, and keep water nearby.
- Plant at the right depth: Follow seed-packet or plant-label instructions; set seedlings in holes as deep as their root balls.
- Water and maintain: Water gently after planting, keep soil evenly moist, and mulch without covering plant stems.
Choose What to Plant and Prepare Your Outdoor Site

What you plant depends on your climate, available space, and how much sunlight your site gets. Check your region’s growing season and choose plants suited to local temperatures. Then compare their light needs with the hours of sun your site receives. If you have limited room, select compact varieties or grow plants in containers.
Before planting, prepare a healthy place for them to grow. Clear away weeds, rocks, and leftover debris, and loosen compacted soil without working it when it’s wet. Use soil testing to learn whether your soil’s pH and nutrient levels suit your choices. Add compost or other amendments only as needed, following test results or reliable local guidance.
Plan for pest prevention by spacing plants according to their mature size, removing hiding places, and choosing varieties that resist common local pests. Make sure your site has convenient access to water and good drainage. Mark the planting area, gather your tools, and keep plant labels handy for reference.
Plant Seeds or Seedlings at the Right Depth

Once your site is ready, plant seeds or seedlings at the depth each one needs to establish well. Check the seed packet or plant label for guidance, since seed depth varies by species.
Check seed packets and plant labels for depth guidance, since planting needs vary by species.
As a general rule, sow a seed about two to three times as deep as its width. Tiny seeds often need light to germinate, so press them onto the soil surface instead of covering them.
Cover larger seeds lightly, then firm the soil gently to ensure contact.
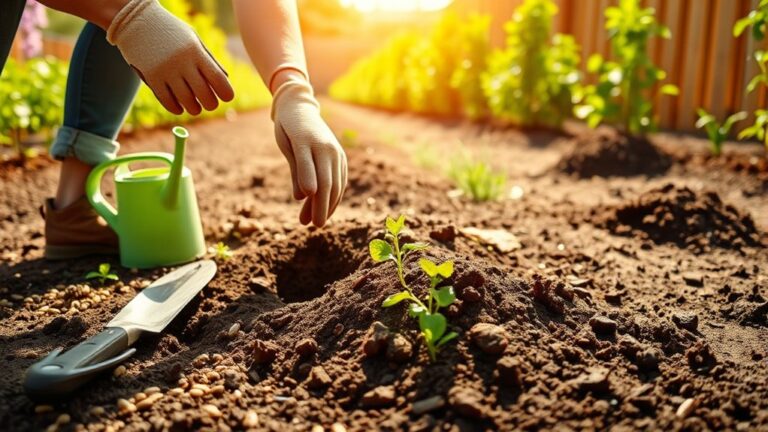
For seedlings, dig a hole as deep as the root ball and about twice as wide. Set the plant so its crown sits level with the surrounding soil; burying the stem too deeply can cause problems.
Some plants, such as tomatoes, tolerate deeper planting, so follow their specific instructions. Check the recommended seedling spacing on the label, and leave enough room for mature growth and airflow.
Handle roots gently, position each plant upright, and refill the hole with loose soil.
Water New Plants and Keep Them Growing

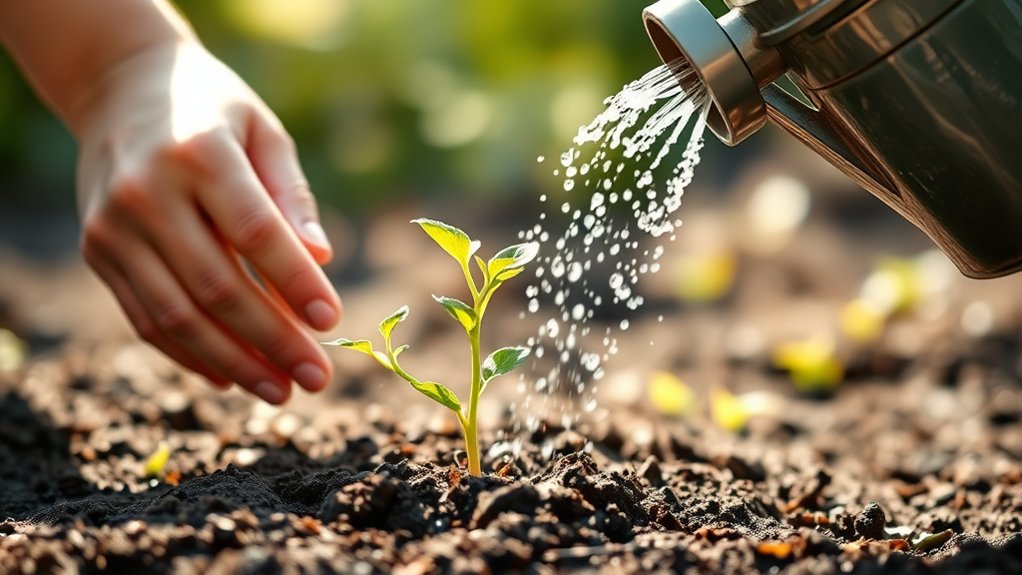
After planting, water the soil gently to settle it around seeds and roots without washing them away. Keep the soil evenly moist while plants establish, but don’t leave it soggy. Check soil moisture by touching the top inch; if it feels dry, water slowly at the base until the root zone is damp.
Seeds may need more frequent, lighter watering than established seedlings, especially in warm, windy weather. Set a watering schedule that fits your plants, soil, and climate, then adjust it after rain or during heat. Water early in the day to reduce evaporation and give leaves time to dry.
A layer of mulch helps hold moisture and limit weeds, but keep it away from stems. Watch for drooping, yellowing, or dry, cracked soil, and respond promptly. As roots grow deeper, water less often but more thoroughly. Remove weeds, check for pests, and support tall plants as needed so your garden keeps growing strong.
Frequently Asked Questions
What Gardening Tools Should I Have Before Planting Outdoors?
Before planting outdoors, gather essential gardening gear: sturdy gloves, a hand trowel, a garden fork, pruning shears, and a watering can or hose. Keep a shovel handy for larger beds, plus a rake to level soil and clear debris. Include a measuring tape and plant labels to space and identify plants. Do soil testing with a simple kit before planting, so you can adjust pH or nutrients to match your plants’ needs.
How Can I Protect Outdoor Plants From Pests?
Guard your garden like a small kingdom: strong barriers, watchful eyes, and helpful allies keep trouble at bay. Choose pest resistant varieties suited to your climate, and inspect leaves often so you can spot damage early.
Handpick larger pests, remove infested foliage, and use row covers when plants need extra protection. Invite beneficial insects with flowering herbs and native blooms.
Water at soil level, keep beds tidy, and avoid broad-spectrum sprays that harm helpful visitors.
When Is the Best Time of Year to Plant Outdoors?
The best planting season depends on your plant and local climate, but spring and fall work well for many outdoor plants. For warm-season vegetables and flowers, wait until your area’s last frost has passed and the soil has warmed. Plant cool-season crops in early spring or fall, when temperatures stay mild. Your ideal timing also depends on rainfall and heat; check local frost dates and plant during a stretch of gentle weather to help roots establish.
How Do I Improve Poor Garden Soil?
Poor garden soil improves when you feed it, not when you glare at it—though the glare is free. Start by testing soil health with a home kit or lab test, then adjust pH and nutrients according to the results. Add two to three inches of compost and mix it into the top layer. Mulch to protect soil, and plant cover crops when beds are empty. These steps support improving soil fertility over time.
Should I Use Mulch Around Newly Planted Flowers?
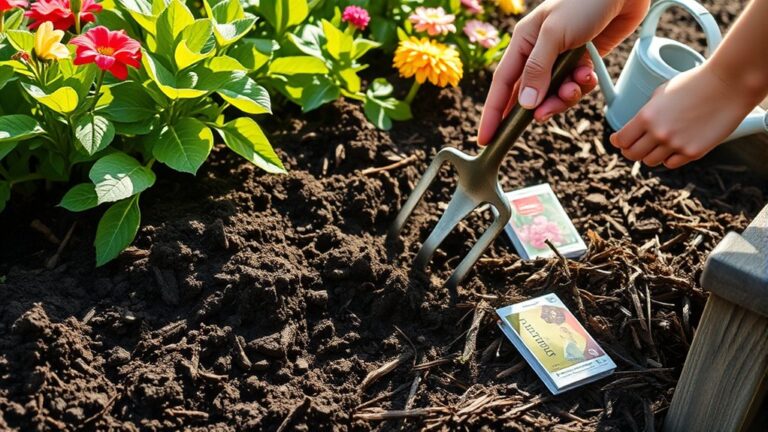
Yes, you should mulch around newly planted flowers. Mulch benefits include conserving moisture, limiting weeds, and helping soil maintain an even temperature while roots establish. For proper mulch application, water your flowers first, then spread a two- to three-inch layer over the soil. Keep mulch a few inches away from stems and crowns to prevent rot and discourage pests. Choose organic mulch, such as shredded bark or leaves, which gradually adds nutrients as it breaks down.
Conclusion
Planting outdoors is more than putting seeds in soil—it’s a promise to tomorrow. Choose plants suited to your space, prepare the ground, and give each seed or seedling the right depth.
Then water gently and keep tending what you’ve started. You won’t see growth all at once, but each small act helps roots take hold.
With patience and care, you can learn how to plant outside and create a living reminder that good things flourish when you give them room, nourishment, and time.