How to Prepare Ground for a Vegetable Garden in 5 Easy Steps
Starting a vegetable garden can feel overwhelming when you’re unsure how to prepare the ground for healthy plants. You’re not alone—many gardeners struggle with where to begin. This guide makes preparing ground for a vegetable garden simple with five easy steps.
Choose a sunny, well-drained site; clear weeds and debris; test and amend the soil; loosen it; and shape your beds. Pick a spot with six to eight hours of direct sunlight, and check for changing shadows.
Pull weeds by the roots, then test soil samples before adding amendments. When the ground is moist but not wet, loosen it 8 to 12 inches deep.
Make beds three to four feet wide, and uncover how each step supports healthy growth.
Key Takeaways
- Choose a sunny, well-drained site that gets six to eight hours of direct sunlight daily.
- Pull weeds by their roots and remove stones, branches, and other debris.
- Test soil pH and nutrient levels, then add amendments according to the results.
- Loosen moist—not wet—soil to a depth of 8–12 inches, removing stones and persistent roots.
- Shape beds about 3–4 feet wide, add finished compost if needed, and leave wide paths.
Choose a Sunny Vegetable Garden Site

Choose a sunny spot for your vegetable garden, ideally one that gets at least six to eight hours of direct sunlight each day. Most vegetables need strong light to grow healthy leaves, produce flowers, and ripen fruit.
Choose a sunny garden spot with six to eight hours of direct light to help vegetables grow, flower, and ripen.
Watch your yard throughout the day to see how buildings, fences, and trees cast shadows. A sunny site with steady exposure will give your crops a better start.
Check the area at different times, especially in the morning and afternoon. Notice whether nearby trees may shade the garden as seasons change or branches grow.
Also consider drainage considerations before settling on a location. After rain, look for places where water lingers or flows across the ground. Choose a spot where water can drain without pooling, since soggy conditions can stress plant roots.
If your yard has limited sunlight, consider growing leafy vegetables that tolerate partial shade, or use containers you can move to brighter areas. Once you’ve chosen a well-lit, well-drained location, you’ll have a practical foundation for your garden.
Clear Weeds and Debris From the Ground

With a sunny, well-drained spot selected, clear away weeds, rocks, sticks, and other debris before preparing the soil. Start by pulling small weeds by hand, removing as much of each root as you can.
For larger patches, use a hoe or garden fork to loosen roots, then lift the plants out. Don’t leave pulled weeds on the ground if they’ve formed seeds; bag them to prevent new growth.
Next, gather stones, branches, litter, and other objects that could obstruct digging or damage tools. This debris removal gives you a clear work area and helps you spot persistent weeds.
If you’re clearing a large plot, work in manageable sections so you don’t miss hidden roots or scraps. For effective weed control, avoid tilling weeds into the ground, since some may regrow from fragments.
Check the area again after a few days and remove any shoots that appear. Keep the cleared space tidy while you prepare for the next step.
Test and Amend Your Vegetable Garden Soil

Once you’ve cleared the ground, test the soil to learn its pH and nutrient levels before adding amendments. For reliable soil testing, collect small samples from several spots in your garden, following your kit’s directions. You can use a home test kit or send samples to a local extension service for a detailed report.
Check the results for pH, nitrogen, phosphorus, and potassium, then compare them with the needs of the vegetables you plan to grow. Use the recommendations to choose amendments rather than guessing.
If your soil lacks organic matter, add finished compost; compost amendments can improve fertility and support healthy soil. For a specific nutrient deficiency or pH imbalance, select a suitable product and apply only the amount the test report recommends.
Too much fertilizer or lime can harm plants and disrupt nutrient availability. Spread amendments evenly over the garden area, then water lightly if the product label calls for it. Retest periodically to track changes and guide future adjustments.
Loosen the Soil for Vegetable Roots
After applying soil amendments, loosen the ground so vegetable roots can spread easily. Work when the soil is moist but not wet; digging soggy earth can compact it and damage its structure. To check, squeeze a handful. If it forms a sticky ball, wait until it crumbles apart.
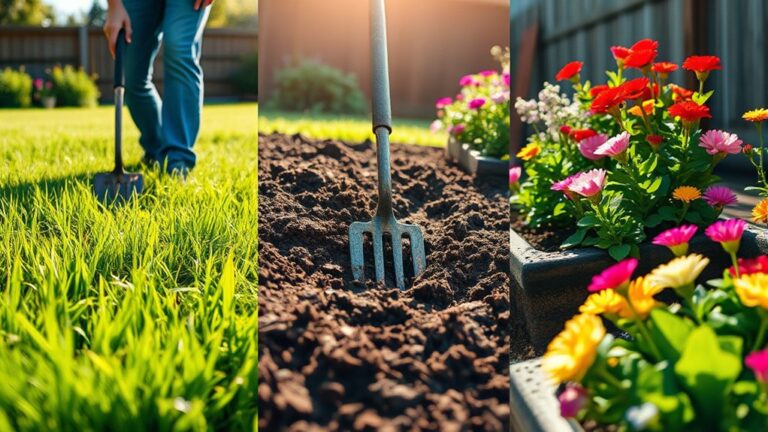
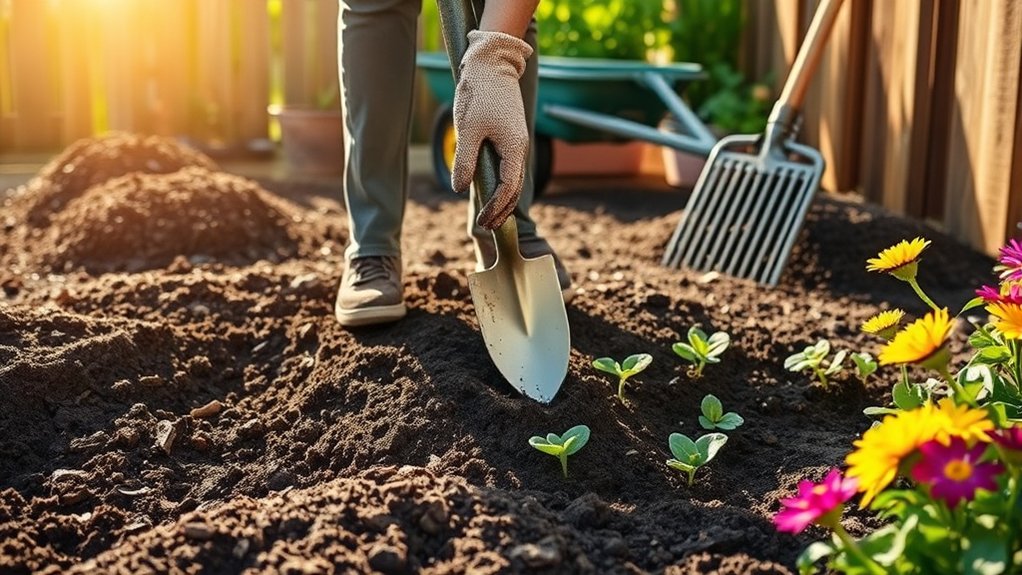
Use a garden fork or broadfork to loosen soil, pushing the tines down about 8 to 12 inches. Rock the handle back gently to lift and crack the earth, then move a few inches and repeat. This approach helps loosen roots’ future pathways without turning every layer upside down.
If you’re working a small area, a spade can do the job, but avoid chopping or pulverizing the soil. Remove large stones and any persistent weed roots as you work.
Keep the surface’s natural layers in place, and stop if you meet resistance from buried utilities or large roots. Aim for an even, friable texture that lets water and air reach growing roots.
Shape Vegetable Beds and Finish Soil Prep
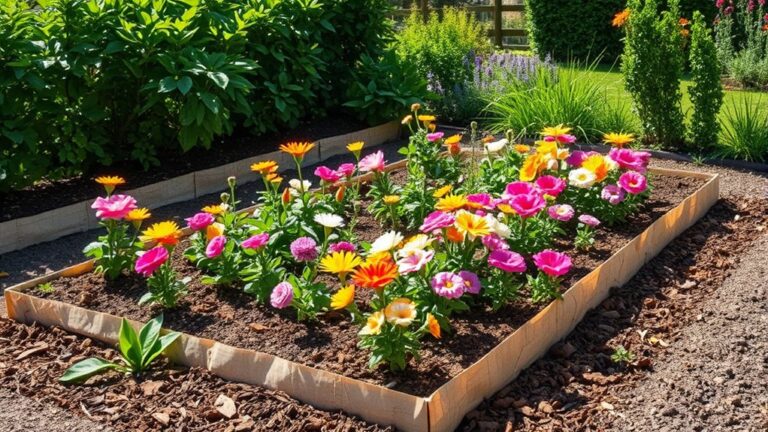
Now shape the loosened soil into beds that suit your space and crops. Keep beds narrow enough for you to reach the center from either side without stepping on the soil. This protects its structure and makes planting, weeding, and harvesting easier. Raised beds can improve drainage, while level in-ground beds work well in many gardens.
Use a rake to shape beds with flat tops and gently sloped sides. Leave paths wide enough to walk and move a wheelbarrow.
- Make beds about 3 to 4 feet wide for easy access.
- Follow your garden’s slope to help manage water.
- Remove stones, roots, and remaining weeds as you rake.
- Blend in finished compost according to your soil’s needs.
To finish soil prep, break up large clods and smooth the surface without packing it down. Check that water drains well, then moisten dry soil lightly. Your bed is ready when it’s crumbly, even, and workable for planting.
Frequently Asked Questions
What Vegetables Are Easiest for Beginners to Grow?
Lettuce, radishes, green beans, zucchini, and cherry tomatoes are easy crops for your first garden. These beginner friendly vegetables grow reliably and reward your effort with fresh harvests.
Choose varieties suited to your climate, and start with just a few plants. For quick planting tips, sow radishes and lettuce directly outdoors, give beans a sunny spot, and water consistently. Pick zucchini and tomatoes regularly to encourage continued production throughout the growing season.
When Is the Best Time to Plant a Vegetable Garden?
You’ll usually plant your vegetable garden after your area’s last spring frost, when the soil has warmed; cool-season crops can go in earlier. One useful statistic: many vegetables grow best when daytime temperatures stay between 65°F and 75°F. Check your local frost dates to find the best planting window, then use seasonal timing to plan another sowing in late summer for fall harvests. Your climate and each crop’s needs matter most.
How Often Should I Water My Vegetable Garden?
Water your vegetable garden when the top inch of soil feels dry, usually about once or twice a week. Adjust your watering schedules for rainfall, heat, wind, and soil type; containers and sandy beds may need more frequent watering.
Use soil moisture testing by pushing a finger into the ground before you water. Give plants a deep soak at soil level, preferably in the morning, to encourage strong roots and reduce evaporation.
How Can I Protect Vegetables From Pests?
You can protect vegetables by checking leaves regularly and removing pests by hand before they spread. Cover young plants with lightweight row covers, and use mesh to block insects while letting sunlight and water through.
Choose pest resistant varieties suited to your area, rotate crops each season, and clear away weeds and damaged plants. For protecting crops, encourage helpful insects with flowers, and use approved organic treatments only when necessary. Don’t spray blooms visited by pollinators.
When Should I Harvest My Vegetables?
Harvest your vegetables when they reach their ideal size, color, and firmness; check each crop’s seed packet or a trusted growing guide for specific signs. When to harvest depends on the variety and conditions, so inspect plants regularly rather than relying only on calendar dates.
Harvest timing matters: picking at peak ripeness often improves flavor and encourages some plants to produce more. Use clean tools, handle produce gently, and pick in the cool morning when possible.
Conclusion
Your garden’s ready to become a patchwork of crisp greens, bright tomatoes, and fragrant herbs. You’ve chosen a sunny spot, cleared away weeds, tested and amended the soil, loosened it for roots, and shaped inviting beds.
Now rake the surface smooth, water gently, and let the earth settle like a freshly made bed. When planting day arrives, you’ll tuck seeds and seedlings into welcoming ground and watch your hard work rise, leaf by leaf, into a thriving harvest.
With these steps to prepare ground for a vegetable garden, you’ll be ready to enjoy the harvest.