How to Prep Garden Soil in 5 Simple Steps
Getting garden soil ready can feel overwhelming, especially when you’re unsure what your plants need. You’re not alone—many gardeners struggle to know where to start. These simple steps for how to prep garden soil can help you create a healthy, planting-ready bed.
Prep garden soil in five steps: Test pH and nutrients with a home kit or cooperative extension, combining clean samples from several spots. Clear weeds, debris, and diseased plants, and mark any healthy plants you’ll keep.
When soil crumbles rather than sticks, loosen it with a garden fork without turning it over. Mix in test-recommended compost, fertilizer, lime, or sulfur.
Rake the bed level, mark rows at packet spacing, then water slowly. Keep going for practical tips to get your bed planting-ready.
Key Takeaways
- Test the soil’s pH and nutrient levels using a home kit or cooperative extension service, mixing clean samples from several spots.
- Clear weeds, debris, and diseased plants; mark healthy plants to protect or relocate, and remove stones and old stakes.
- Loosen soil when it crumbles in your hand, using a garden fork about six inches apart without turning it over.
- Add compost, fertilizer, lime, or sulfur only as recommended by your soil test, following product directions.
- Rake the bed level, mark planting rows at the recommended spacing, avoid stepping on it, and water slowly before planting.
Test Your Soil and Clear the Garden Bed

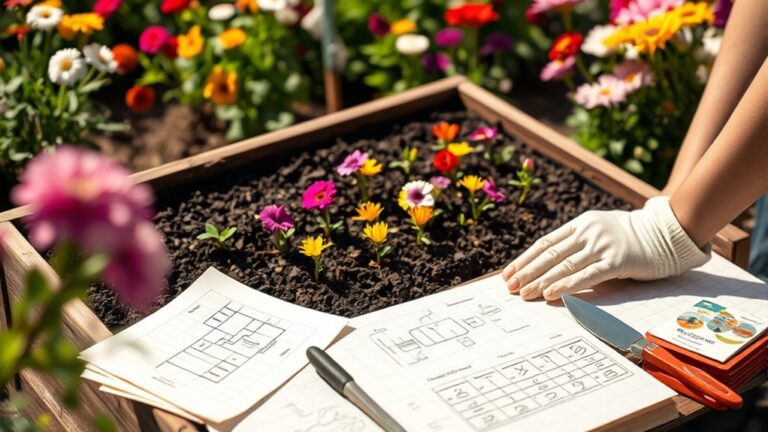
Before you amend your garden soil, find out what it needs. A soil test reveals its pH and nutrient levels, helping you choose the right amendments instead of guessing. You can buy a home kit or send a sample to your local cooperative extension service.
Follow the test instructions, collect soil from several spots, and mix those samples in a clean container. Don’t include mulch or plant debris, which can skew results. Use the findings to guide your next steps.
Next, clear the garden bed so plants won’t compete with weeds and leftover growth. Pull weeds, including as much of each root as you can, and remove dead annuals, fallen leaves, and other debris.
If healthy plants remain, mark their locations or move them carefully if needed. Check for stones, labels, and old stakes, too. Dispose of diseased material rather than adding it to your compost.
Once you’ve cleared the bed, you’ll have a clean area and reliable test results to guide soil preparation.
Loosen Compacted Soil When It’s Dry

Once the bed is clear, check whether the soil is dry enough to work. Grab a handful and squeeze it. If it crumbles when you open your hand, you can begin. If it forms a sticky ball, wait; working wet ground can squeeze out air pockets and worsen compaction. Dry soil moisture management helps you choose the right time and protect the bed’s structure.
Test the soil before working: crumbly soil is ready, while sticky soil needs more time to dry.
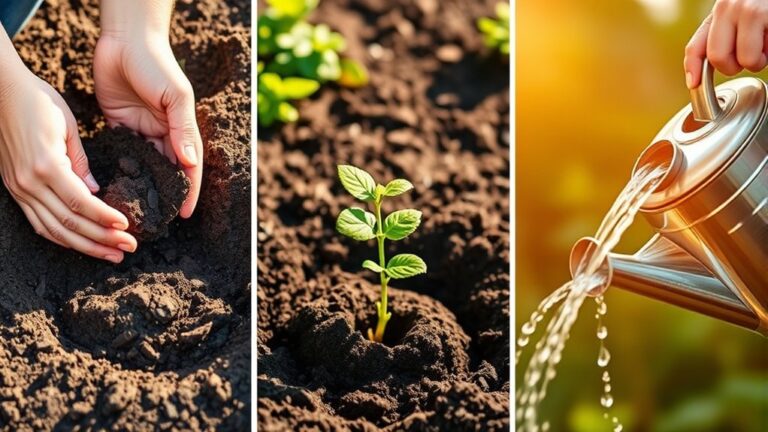
- Push a garden fork into the soil, then rock it gently to loosen compacted layers without turning the whole bed over.
- Repeat across the area, spacing holes about six inches apart. Work only as deep as needed to break the crust and improve airflow.
- Lift stubborn clods with the fork and let them crumble naturally. Avoid pulverizing the soil, which can leave a hard surface after rain.
Move slowly around roots and buried lines. When the bed feels loose and crumbly, stop. You’ve improved drainage and made room for roots to spread.
Add Compost and Amendments Based on Your Soil Test

What does your soil need? Use your soil test results to choose additions, rather than guessing. The report shows whether your garden lacks nutrients, has an unsuitable pH, or needs more organic matter. Follow its recommendations and apply only what your plants and soil require.
| Soil test finding | What you can add |
|---|---|
| Low organic matter | Finished compost |
| Nutrient deficiency | Recommended fertilizer |
| Unsuitable pH | Lime or sulfur, as advised |
Compare compost types before buying or using what you’ve made. Mature plant-based compost can improve soil structure, while manure-based compost may add more nutrients. Check that it’s fully finished and appropriate for your garden. Don’t treat compost as a substitute for a targeted amendment when your test identifies a specific deficiency.
Pay attention to amendment timing, too. Add materials when the test or product directions recommend, allowing time for them to affect the soil before planting. Measure carefully, spread additions evenly over the bed, and mix them into the loosened soil without exceeding the suggested rate. Keep your test results handy for future adjustments.
Shape the Bed and Mark Planting Rows
With the soil prepared, shape the bed to suit your garden’s layout and give plants room to grow. Use a rake to smooth the surface, then form a level top with gently sloped sides. A raised bed can improve drainage, while a flat bed suits many in-ground gardens.
Don’t step on the prepared area; foot traffic can compact soil and limit root growth.
Use these steps to mark rows:
- Check seed packets or plant labels for spacing needs, then plan each row accordingly.
- Stretch a string between stakes to create straight lines, leaving room to reach plants from either side.
- Use a hoe handle or shallow furrow to mark rows without disturbing the amended soil deeply.
Keep row spacing consistent, but adjust the layout to fit your bed’s dimensions. If you need to amend soil further, mix additions evenly before final shaping. Clear stones and large clods so seedlings have a smooth, workable surface.
A tidy layout makes planting easier and helps you identify each crop as it grows.
Water Garden Soil Before Planting
After shaping the bed and marking your rows, water the soil before planting. A gentle soak settles loose soil, reveals low spots, and helps you judge whether your soil prep is ready for seeds or transplants. Apply water slowly so it penetrates instead of running off. If the surface crusts or puddles, pause and let it absorb before continuing.
| Soil condition | What you’ll notice | What to do |
|---|---|---|
| Dry and dusty | Water disappears quickly | Soak in several passes |
| Evenly moist | Soil feels cool and crumbly | Plant as planned |
| Puddled or slick | Water pools on top | Stop and let it drain |
Check moisture a few inches down with your finger; the surface alone can mislead you. Aim for damp, not saturated, soil. When you water garden beds before planting, avoid washing seeds or compacting the surface with a hard spray. Let the bed settle, then smooth any channels and restore your row marks. If rain is forecast, adjust your watering to prevent soggy conditions.
Frequently Asked Questions
When Is the Best Season to Prepare Garden Soil?
The best season for soil preparation is fall, especially if you’re planning a spring garden. You can add compost or other organic matter, giving it months to break down before planting.
If you missed fall, prepare your soil in spring as soon as it’s workable and no longer soggy. Avoid digging wet soil, since you can compact it and damage its structure.
Check your local climate and planting schedule to choose the right timing.
How Deep Should a Raised Garden Bed Be?
Aim for a raised bed depth of 12 inches for most vegetables; you can grow shallow-rooted crops, such as lettuce and herbs, in 6–8 inches. Choose 18–24 inches for deep-rooted plants like tomatoes, carrots, or potatoes, especially if your native soil is compacted or poor.
Before filling the bed, consider soil prep timing: prepare the ground when it’s workable, not waterlogged, so roots can access the soil beneath.
Can I Reuse Soil From Last Year’s Containers?
Yes, you can reuse soil from last year’s containers, like giving an old potting mix a fresh start. First, check for pests, disease, foul odors, or poor drainage; discard affected soil.
For healthy soil, remove roots and debris, then refresh it with compost and a slow-release fertilizer to restore container fertility. Avoid using exhausted mix alone, since reusing soil can leave nutrients depleted. Mix refreshed soil with new potting mix for better texture and drainage.
Which Cover Crops Improve Garden Soil Over Winter?
Choose winter rye, hairy vetch, crimson clover, or field peas to protect and improve your garden soil. Rye grows reliably in cold weather and adds organic matter; legumes such as vetch, clover, and peas fix nitrogen, boosting soil fertility.
You can also mix a grass and legume for balanced benefits. Sow cover crops in late summer or fall, then cut them down before they set seed, leaving residues to enrich the soil.
How Can I Prevent Weeds From Returning After Soil Preparation?
Prevent weeds from returning by covering bare soil immediately after preparation. Spread 2–3 inches of mulch, such as shredded leaves or straw, while keeping it away from plant stems. You can also plant a dense cover crop to shade out weed seedlings and support soil biology.
Pull emerging weeds before they set seed, and avoid turning the soil unnecessarily, since buried weed seeds can sprout when exposed to light. These steps provide lasting weed suppression.
Conclusion
By testing your soil, clearing debris, loosening dry ground, and adding only the amendments your results call for, you’ll give plants a strong start. Shape the bed, mark your rows, and water the soil before planting so it’s moist but not soggy.
These simple steps help roots settle in and make your garden easier to manage. Take your time and prepare the ground well. A little effort now can pay off down the road with healthier growth and a more rewarding harvest. Following these five simple steps to prep garden soil can help your plants thrive.