How to Pot Outdoor Plants in 5 Easy Steps
Choosing the right pot and getting outdoor plants settled can feel harder than it should—especially when you’re unsure what will help them thrive. You’re not alone; many people struggle to find simple, reliable advice. This guide to how to pot outdoor plants in 5 easy steps makes it easier to get started.
To pot an outdoor plant in five easy steps, choose a container with clear drainage holes that fits the plant’s roots and suits its mature size. Fill it with lightweight, well-draining potting mix, not garden soil. Ease the plant out by its root ball, loosen circling roots gently, and set it at its original depth. Add soil, leave room below the rim, and water until it drains. Place the pot where light and shelter match your plant’s needs. A few practical tips can help it thrive.
Key Takeaways
- Choose a pot with clear drainage holes, enough room for root growth, and a weight and material suited to your space.
- Fill it with lightweight, well-draining potting mix formulated for containers and matched to your plant’s needs.
- Water a dry root ball lightly, remove the plant by holding its roots, and gently loosen circling roots.
- Set the plant at its original depth, add mix around the root ball, and leave about an inch below the rim.
- Water slowly until it drains, then place the pot where the plant gets suitable sunlight and protection from harsh wind.
Choose the Right Pot for Your Outdoor Plant

Start by choosing a pot with drainage holes so excess water can escape and your plant’s roots don’t sit in soggy soil. Match the pot’s size to your plant: choose one with enough room for root growth, but avoid an oversized container that’s awkward to move. Consider the plant’s mature size and where you’ll place the pot outdoors.
When selecting material, weigh practical needs against style. Terracotta breathes well but can dry out quickly and crack in freezing weather. Plastic is lightweight and often budget-friendly, while glazed ceramic offers more color options but may be heavy and breakable. Use assessing weight to decide whether you can safely lift or reposition the pot, especially on a balcony or deck.
Consider aesthetics and color alongside durability considerations. Pick a finish that complements your outdoor space, and check that the pot can withstand sun, rain, and temperature changes. A sturdy, weather-resistant choice will serve your plant well through the season and beyond.
Add Drainage and Choose Potting Soil

Once you’ve chosen a pot, check that its drainage holes are clear so excess water can escape. Good drainage helps prevent soggy soil, which can suffocate roots and encourage rot.
If your pot lacks holes, choose another one rather than relying on a layer of gravel; gravel won’t create effective drainage. These drainage considerations matter especially for outdoor pots exposed to rain, where water can collect quickly.
Next, select a potting mix suited to your plant and local conditions. Use a lightweight mix formulated for containers, not garden soil, which can compact and restrict airflow.
Check the label for ingredients such as compost, coir, or bark, and choose a blend that holds moisture while still draining freely. Consider your plant’s needs: succulents prefer a grittier mix, while moisture-loving plants need a blend that retains more water.
Review the listed nutrients and feeding guidance to support soil nutrient balance. If the mix lacks nutrients, plan to use a suitable fertilizer later, following its label directions.
Prepare Your Plant and Set It in the Pot

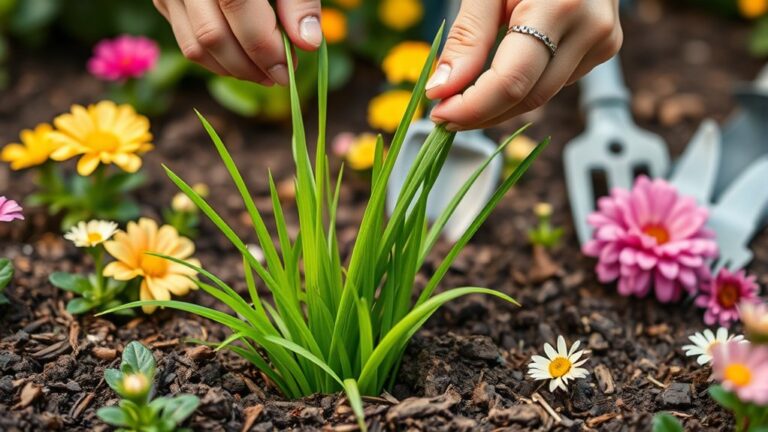
Before planting, water your plant lightly if its root ball feels dry, then slide it gently from its nursery pot. Hold the plant by its root ball, not its stem, to avoid damage. Inspect the roots and loosen any that circle tightly around the outside. Trim only dead, mushy, or severely tangled roots with clean shears; excessive root pruning can stress the plant.
To prepare plant roots for the move, gently tease apart the outer layer so they can spread into the new container. Keep the root ball intact to limit transplant shock. Check that your choose pot has enough room for the roots and that your drainage setup is ready.
Set the plant upright in the center, adjusting its height so the root crown sits just below the rim. Consider the soil composition and the plant’s needs. Once positioned, choose a spot with suitable sun exposure and wind protection. Don’t pack soil around the roots or water yet.
Fill Around the Roots and Water Well
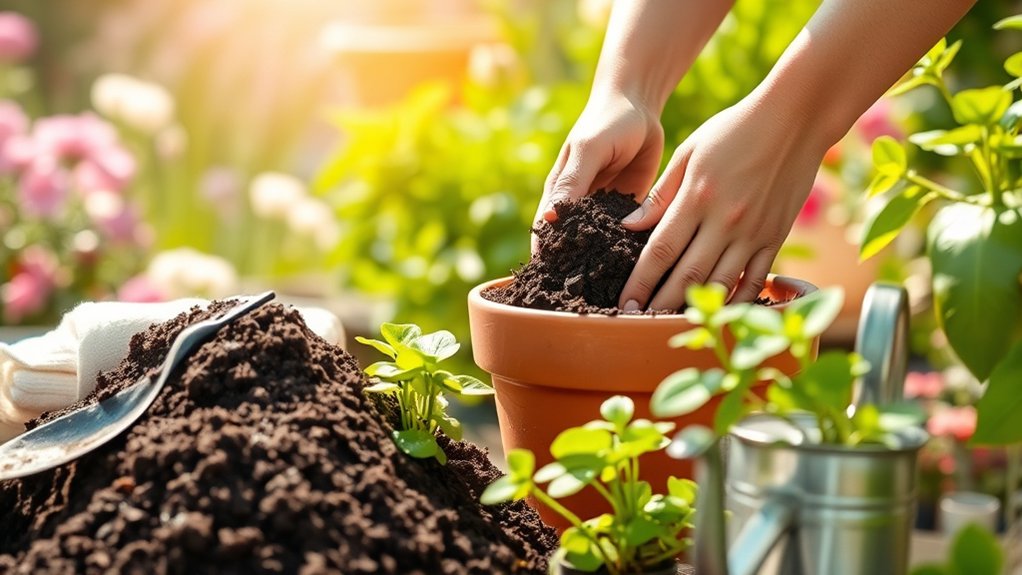
Add potting mix around the root ball a little at a time, gently firming it with your fingers to remove large air pockets without compacting the soil. Keep the plant at its original depth, leaving space below the rim for watering. Check the surface as you work; don’t bury the stem or expose roots.
- Leave room: Stop adding mix about an inch below the pot’s rim so water won’t spill over.
- Settle the soil: Tap the pot gently on the ground to help mix settle around the roots, then top up any gaps.
- Water slowly: Pour water evenly over the surface until it drains from the bottom. This settles the mix and hydrates the root ball.
- Check moisture: If the soil sinks, add a little more mix and water again. Follow the plant’s watering needs afterward, checking moisture before watering. Good drainage and gentle handling support root protection; don’t press the soil hard, which can restrict airflow and drainage. Remove any mix from the leaves.
Find a Sunny, Sheltered Spot for Your Pot
Where should you place your newly potted plant? Start by checking its label for sunlight needs. A sun-loving plant usually thrives where it gets six or more hours of direct light daily. Place it near a bright window or in an open area that receives steady sun. If your plant prefers partial shade, choose a spot with morning light and afternoon protection.
Watch the area throughout the day before settling on a location. Nearby walls, trees, and roof overhangs can change how much light reaches the pot. If strong afternoon rays scorch the leaves, try finding shade during the hottest hours. Also protect your plant from harsh wind, which can dry the soil and topple a lightweight container. A sheltered porch or patio can provide a good balance of light and protection.
For indoor placement, choose a bright spot away from heating vents and cold drafts. Turn the pot occasionally so each side gets even light, and adjust its position if the leaves look pale or scorched.
Frequently Asked Questions
How Often Should I Fertilize Outdoor Potted Plants?
You’ll usually fertilize outdoor potted plants every two to four weeks during active growth, but check your fertilizer label because products vary. Slow-release fertilizer may need only one application every few months.
Reduce or stop feeding in fall and winter when growth slows. Good fertilizer frequency also depends on the plant and potting mix. Keep soil moisture management steady, and water before applying fertilizer to help prevent root burn. Don’t fertilize stressed, dry plants.
When Should I Repot an Outdoor Plant?
Repot your outdoor plant when roots circle the pot, emerge from drainage holes, or dry out unusually fast. Spring, just before active growth, is usually the best time; you can also repot after flowering if needed. For When to repot, check whether growth has stalled despite proper watering and feeding. Good Outdoor container care means choosing a pot only one or two inches wider, revitalizing the potting mix, and watering thoroughly afterward.
How Can I Protect Potted Plants From Frost?
Treat frost like an uninvited guest: move your potted plants indoors, into a garage, or beneath a covered porch before temperatures drop. If you can’t move them, cluster pots against a sheltered wall and wrap containers with burlap, blankets, or bubble wrap for protecting pots.
Water soil beforehand, since moist soil holds warmth better than dry soil. Drape breathable fabric over foliage overnight, then remove it each morning. These frost protection steps help shield vulnerable roots and leaves.
Which Plants Grow Well Together in One Container?
You can grow plants together when they share sunlight, water, and soil needs. For reliable Plant companions, pair basil with tomatoes, lettuce with radishes, or marigolds with vegetables.
Check container compatibility by choosing plants with similar growth rates and root depths, and give each enough room to spread. Avoid combining thirsty plants with drought-tolerant ones.
Use a container with drainage holes, and group plants that thrive in the same conditions for healthier growth and easier care.
How Do I Control Pests on Outdoor Potted Plants?
Inspect your outdoor potted plants regularly, especially under leaves, and remove pests by hand or with a gentle spray of water. Prune damaged growth, clear fallen debris, and isolate infested pots.
Encourage beneficial insects and use insecticidal soap only when needed, following label directions. Choose pest resistant containers with good drainage, and avoid overcrowding plants.
For sustainable pest management, identify the pest before treating it and favor targeted, low-impact solutions over broad-spectrum pesticides.
Conclusion
You’ve chosen a pot with room to grow, added drainage, and settled your plant into fresh soil. Now contrast its first quiet moments, roots tucked in and leaves still, with the lively days ahead: sun warming the pot, rain beading on its rim, and new growth reaching upward.
Set it in a bright, sheltered spot, then keep the soil evenly moist. With a little care, you’ll turn an empty corner into a thriving display of outdoor plants.