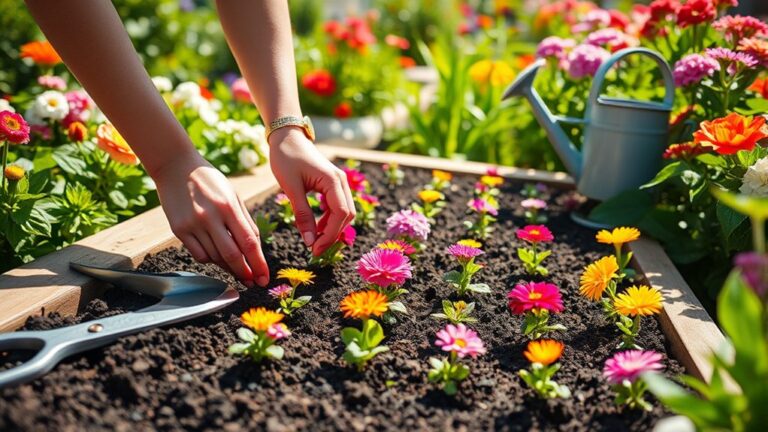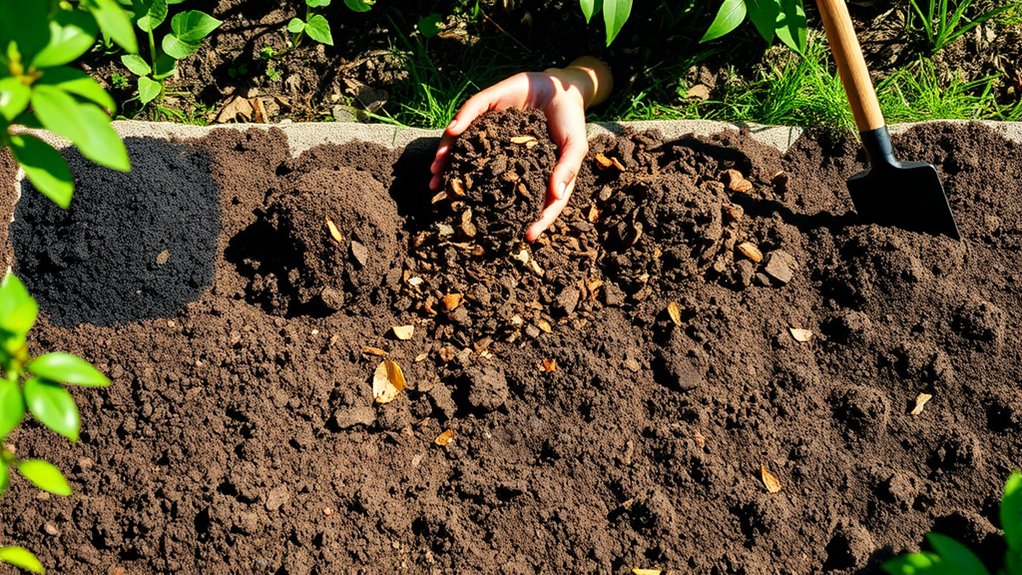
7 Steps to Prepare Dirt for Your Garden
Getting your garden soil ready can feel overwhelming, especially when you’re unsure where to start. You’re not alone—many gardeners struggle to figure out what their dirt needs. The right tools can make preparing dirt for your garden easier, so here’s what to do before choosing the products that suit your space.
To prepare dirt for your garden, choose a sunny, well-drained site and clear weeds, rocks, and debris. Test your soil’s pH and texture, then loosen the surface gently without disturbing it too deeply.
Mix in finished compost and add other amendments only if test results call for them. Shape beds to direct excess water away, then water evenly.
Check several spots about two inches down: soil should feel cool and slightly damp. The steps below explain how to get each stage right.
Key Takeaways
- Choose a sunny site with at least six hours of direct sunlight and observe how water drains after rain.
- Remove weeds, roots, rocks, branches, leaves, and trash across the entire bed, then rake it smooth.
- Test soil pH and texture using samples from several spots, and compare results with your planned crops.
- Loosen the topsoil gently, mix in finished compost or test-recommended amendments, and shape the bed to drain well.
- Check moisture several inches deep; water gently if dry, wait if soggy, and plant when soil is damp and crumbly.
Choose a Sunny, Well-Drained Garden Site
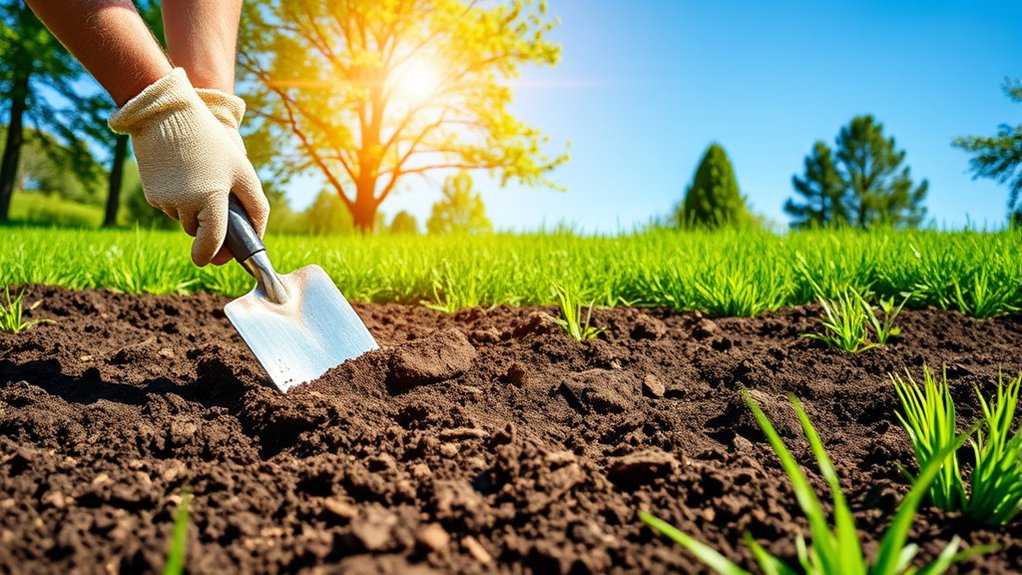
Before you prepare the soil, choose a spot that gets at least six hours of direct sunlight each day and drains well after rain. A sunny site helps vegetables, herbs, and many flowers grow strong, while poor drainage can leave roots waterlogged.
Watch the area after a storm to track drainage. If water pools for hours, choose a higher location or consider a raised bed.
To assess sunlight exposure, observe the spot at different times of day, noting shade from buildings, fences, and trees. Don’t rely on a single visit; seasonal sun angles can change how much light your garden receives.
If you’re unsure, use a simple sun map, recording sunny and shaded periods over several days.
Check the soil’s drainage with a small test hole: fill it with water and see how quickly the water disappears. Aim for well drained soil, and avoid low spots where runoff collects.
Choosing carefully now gives your plants a better start and saves you trouble later.
Clear Weeds, Rocks, and Garden Debris
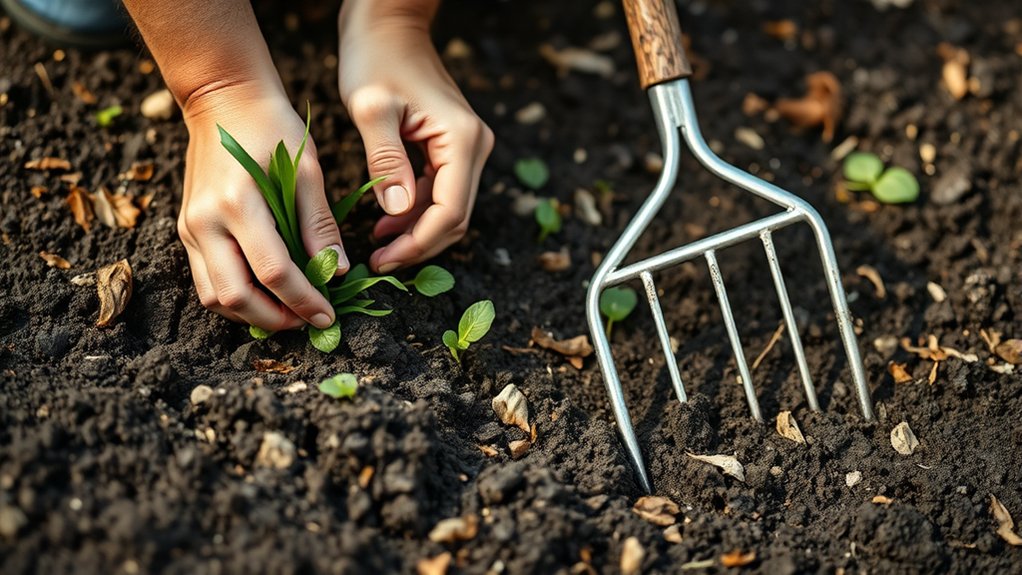
Clear the garden area before preparing the soil. Pull out weeds and remove their roots to help keep them from growing back. Then, pick up any rocks and debris that could get in the way of planting.
Remove Weeds and Roots
Removing weeds, roots, rocks, and old plant debris gives your garden plants more room to grow. For effective weed control, pull weeds before they flower and scatter seeds.
Work when the soil is slightly damp so you can remove them more easily, but avoid pulling wet soil into clumps. Grip each weed near its base and lift slowly to extract as much of its root as possible.
For deep-rooted weeds, loosen the soil around the root with a hand fork, then pull it out carefully. Thorough root management matters because leftover pieces can regrow and compete with your plants for water and nutrients.
Check the bed again after a few days, when disturbed roots may send up new shoots. Remove those promptly, and keep cultivated areas covered to discourage fresh weed growth.
Clear Rocks and Debris
Once you’ve dealt with weeds, remove rocks and leftover garden debris from the bed. Pick up branches, twigs, fallen leaves, plant labels, and any plastic or other trash. These materials can obstruct roots, interfere with planting, and make watering uneven.
For effective debris removal, work across the entire bed rather than clearing only the surface near planting spots.
Next, clear rocks that could block roots or damage tools. Lift small stones by hand, and use a garden fork or shovel for larger ones. Set aside useful rocks for paths or edging, but remove those that crowd the growing area.
Check the soil as you work, since weed removal may have exposed hidden roots or debris. Avoid tossing healthy soil with unwanted material. When you’ve finished, rake the bed smooth so it’s ready for loosening and planting.
Check Your Soil’s pH and Texture
Before adding amendments, test your soil’s pH and texture to learn what your plants will be growing in. A simple home test kit can give you a useful reading, while a lab test offers more detail.
Check the results against the needs of the plants you plan to grow; many vegetables prefer slightly acidic soil.
To assess soil texture, squeeze a handful of moist dirt. Its feel and shape offer quick clues:
- Sandy soil feels gritty and falls apart easily.
- Silty soil feels smooth and holds its shape briefly.
- Clay soil feels sticky and forms a firm ball.
- Loam feels crumbly, with a balanced mix of particles.
You can also rub a damp sample between your fingers to notice its texture. Record what you find, then compare it with your garden’s planting needs.
Testing now helps you choose suitable amendments later, rather than guessing. Take samples from several spots for a clearer picture of the bed.
Loosen Garden Soil Without Overworking It
Check the soil moisture before you start. It should be slightly damp—not soggy or dry. Then gently loosen the surface with a garden fork or hoe, working only a few inches deep to protect the soil structure.
Check Soil Moisture
Test the soil’s moisture before loosening it: grab a handful and squeeze. Your soil should feel cool and form a loose ball that crumbles when you tap it. If it sticks together in a dense, muddy lump, wait; working wet soil can compact it and damage its structure. If it falls apart like dust, water lightly and check again later.
Good soil moisture makes preparation easier and protects your garden’s growing conditions.
- Too wet: Leave the bed to dry; don’t dig or tread on it.
- Too dry: Water gently, then allow moisture to spread evenly.
- Just right: The soil holds its shape briefly, then breaks apart.
- Check again: Test several spots, since moisture can vary across the bed.
Plan irrigation timing around rainfall, and reassess before you begin. A short delay can prevent lasting compaction and help you prepare the bed at the right time.
Loosen Gently and Shallowly
Once the soil has the right moisture, loosen it gently with a garden fork or hand tool. Work in small sections, inserting the tool only a few inches deep. Lift and rock it slightly to open compacted areas without turning over every layer. This shallow approach helps preserve soil structure, including the channels and spaces that support roots, water, and beneficial organisms.
Avoid digging when the ground feels sticky or clumps tightly; working wet soil can press it into dense lumps. Don’t pulverize dry soil, either, since that can damage its natural texture. If you meet resistance, ease the tool out and try another spot rather than forcing it.
Aim to loosen gently, not create a perfectly fine bed. Stop when roots can spread and water can drain freely.
Add Compost and Needed Soil Amendments
Add compost and soil amendments to improve your garden bed’s structure and nutrient balance. First, use a soil test to identify what your plants need; guessing can lead to excess nutrients or an unsuitable pH.
Choose finished compost for steady organic matter, then select soil amendments based on the test results and the crops you plan to grow.
- Support soil life: Compost benefits include feeding helpful organisms and improving nutrient availability.
- Improve texture: Organic matter can help sandy soil retain moisture and clay soil become less compact.
- Correct pH carefully: Apply lime or sulfur only when test results show a need.
- Replace specific nutrients: Use a suitable amendment to address a confirmed deficiency.
Spread compost and measured amendments evenly over the bed. Follow product directions, since application rates vary, and wear gloves when handling materials.
Mix them gently into the loosened topsoil without working it deeply. Give the bed time to settle before planting, and retest later if you’ve made major pH changes.
Shape Garden Beds to Improve Drainage
Shape your garden beds to help excess water drain away from plant roots. First, loosen compacted soil and remove low spots that collect runoff. Use raised bed shaping to lift planting areas slightly above paths, giving water a clear route away. Keep beds level across their width, but create a gentle slope along their length when your site needs runoff control.
| Bed feature | Purpose | How to shape |
|---|---|---|
| Raised center | Sheds surface water | Crown soil gently |
| Sloped edge | Directs runoff | Grade toward a safe outlet |
| Drainage channels | Carry excess water | Cut shallow, stable paths |
Don’t send runoff toward your home, neighboring beds, or walkways. Instead, guide it to a planted swale or another area that can absorb it without erosion. On steep ground, shorten beds and use terraces to slow water movement.
Firm the bed edges with your hands or a rake so they hold their shape, but avoid packing the growing surface tightly. A well-shaped bed reduces pooling and helps protect roots during heavy rain.
Water the Soil and Check Moisture Before Planting
Before planting, water the prepared bed evenly so moisture reaches the root zone. Use a gentle spray or soaker hose to prevent runoff and keep the surface from washing away. Let the water soak in, then check the soil with your fingers or a trowel.
Water the bed gently and evenly, let moisture soak in, then check the soil before planting.
At a depth of about two inches, soil should feel cool and slightly damp, not muddy or dusty. If it’s dry, water again and wait before planting. If it’s soggy, pause and improve drainage so roots won’t sit in saturated soil.
- Squeeze a handful: soil should hold its shape briefly, then crumble.
- Check several spots; beds can dry unevenly.
- Water early in the day to limit evaporation.
- Adjust your water management for soil type and weather.
Once plants are in, schedule watering around rainfall and their needs. Check moisture regularly instead of following a rigid routine. Consistent, measured watering helps seeds germinate and gives young roots a strong start.
Frequently Asked Questions
When Is the Best Time of Year to Prepare Garden Soil?
The best time to prepare garden soil is usually early spring, as soon as it’s workable, or fall after harvest. For best timing, check that the soil isn’t frozen, waterlogged, or clumping when squeezed; working it too wet can damage its structure.
Fall preparation gives amendments time to break down before planting, while spring preparation suits beds you’ll use soon. Match your schedule to local climate and seasonal readiness, and follow crop-specific planting dates.
How Deep Should Garden Soil Be Prepared for Different Plants?
Prepare soil 6–8 inches deep for shallow-rooted greens, like loosening a blanket; work 8–12 inches deep for most vegetables and annual flowers. Give deep-rooted crops, such as tomatoes, carrots, and shrubs, 12–24 inches of loosened soil when possible.
Your soil depth should match each plant’s roots, while plant compatibility matters too: check mature root needs and avoid crowding. If you’re gardening in raised beds or compacted ground, adjust depth to provide roots enough room to grow.
Should I Use a Soil Test Kit or Send Samples to a Laboratory?
Choose a soil test kit for a quick, inexpensive check of basic pH and nutrient levels. For more reliable soil testing, send samples to a laboratory; its lab analysis can measure nutrients, pH, and other factors, then provide tailored recommendations.
You’ll get the best value when you follow the lab’s sampling instructions and test separate garden areas individually. Use a kit for routine monitoring, but rely on laboratory results before making major soil amendments.
How Can I Prepare Garden Soil Safely Around Pets and Children?
Keep children and pets away while you work, and choose compost and soil amendments labeled for garden use. Wear gloves, avoid breathing dust, and wash your hands and tools afterward.
Store fertilizers, pesticides, and sharp tools in locked cabinets, following safe storage directions on each label. If pests need treatment, select pet safe pesticides approved for your garden, apply them exactly as directed, and keep everyone away until the label says it’s safe.
Can I Prepare Garden Soil for Planting in Containers?
Yes, you can prepare garden soil for planting in containers, but don’t use garden soil alone: it can compact and drain poorly. Mix quality potting mix with compost for a light, nutrient-rich blend, and choose a container with drainage holes. If you’re comparing container soil with raised bed preparation, remember that raised beds can use denser blends, while pots need more aeration. Moisten the mix before planting, then fertilize as needed throughout the growing season.
Conclusion
Preparing garden soil is like welcoming a guest: choose a bright, well-drained place, clear away clutter, and learn what the earth needs. Loosen it gently, then offer compost and amendments as nourishment.
Shape the beds so water can travel without lingering, and check moisture before planting. Each thoughtful step tells your soil it’s ready to support new life.
When you finally sow, you’re not just planting seeds; you’re beginning a quiet partnership, one that can reward your care with beauty, flavor, and hope. These steps help prepare dirt for your garden.