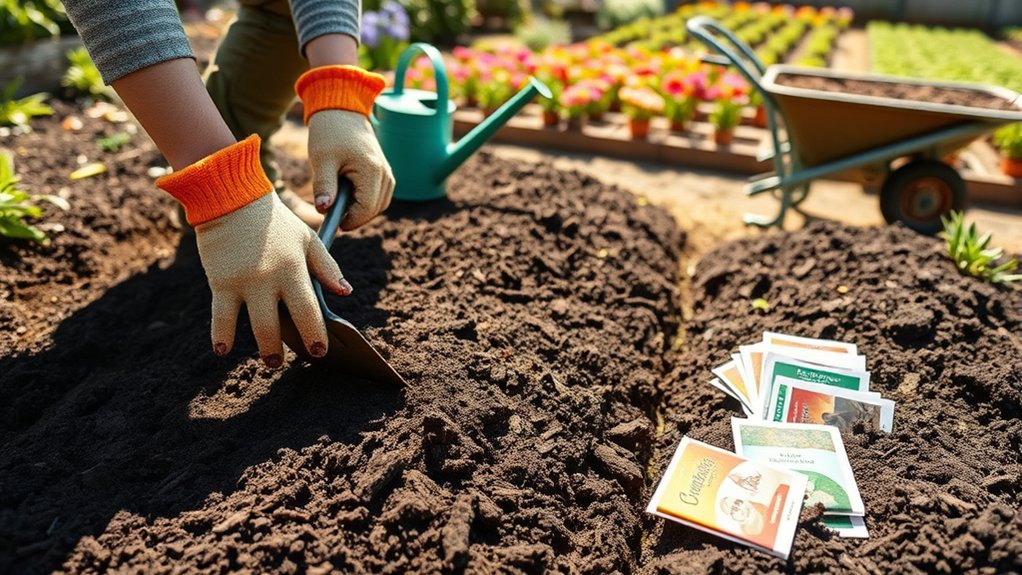
10 Essential Steps to Prepare a Flower Bed for Planting
Preparing a flower bed can feel like a lot of work, especially when you’re unsure where to start or how to help your plants thrive. You’re not alone—many gardeners struggle to get the soil and layout just right. These 10 essential steps to prepare a flower bed for planting can help you create a healthier, easier-to-maintain garden.
To prepare a flower bed, choose a spot with enough sunlight and mark its shape and size. Test your soil’s pH and nutrients, then check its texture and drainage. Remove grass, weeds, and debris before adding compost and any needed amendments.
Loosen compacted soil gently, level the bed, and shape its edges. Water the soil and let it settle, then plan plant spacing around mature growth, light, and water needs. Follow these steps for a healthier, easier-to-maintain garden.
Key Takeaways
- Choose a site with at least six hours of direct sunlight, matching light conditions to your planned flowers.
- Outline a practical bed shape that fits your yard and leaves room for planting, watering, weeding, and paths.
- Test soil pH, nutrients, texture, and drainage before choosing amendments or plants.
- Remove weeds and debris, then loosen compacted soil gently when it is dry; avoid excessive digging.
- Mix two to three inches of finished compost into the top six to eight inches, then plan spacing and planting time.
Choose a Sunny Spot for Your Flower Bed
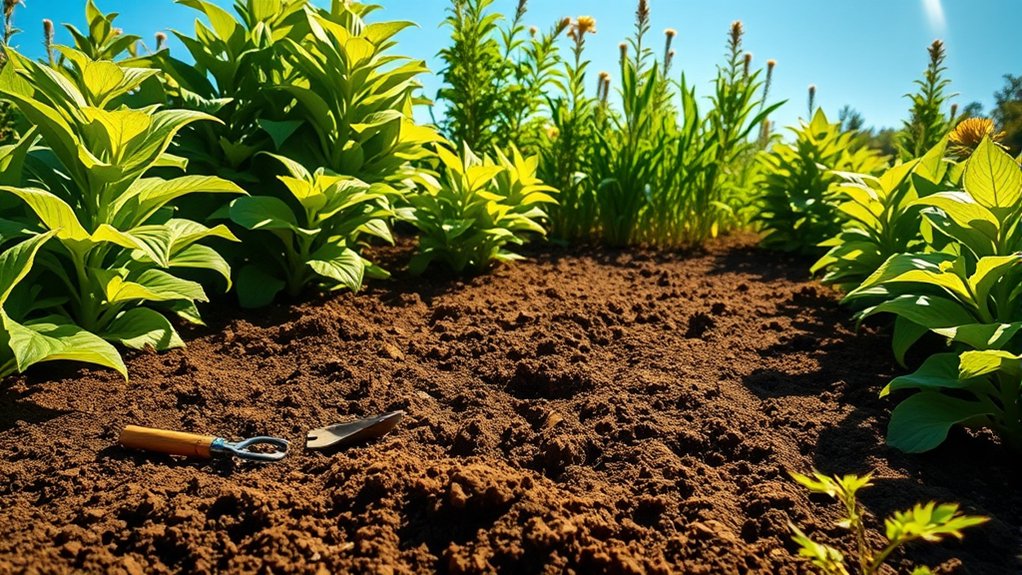
Choose a sunny spot where your flowers will get at least six hours of direct sunlight each day. Watch your yard throughout the day to see how sunlight moves across it. A location that looks bright in the morning may sit in shadow by afternoon, so check before you decide.
Sunny exposure helps many flowering plants produce abundant blooms and grow sturdy stems. Consider nearby trees, fences, buildings, and shrubs, since they can block light or cast longer shadows as the seasons change.
Match the site to the flowers you plan to grow. Check plant labels or reliable growing guides for their light needs, and choose a spot that suits most of your selections.
If your yard lacks enough sun, don’t force sun-loving flowers into a dim area. Shade alternatives include plants that thrive in partial or full shade, such as begonias, impatiens, and hostas. Choosing plants for your available light gives your flower bed a healthier start and helps you enjoy more consistent blooms.
Mark Out Your Flower Bed’s Shape and Size
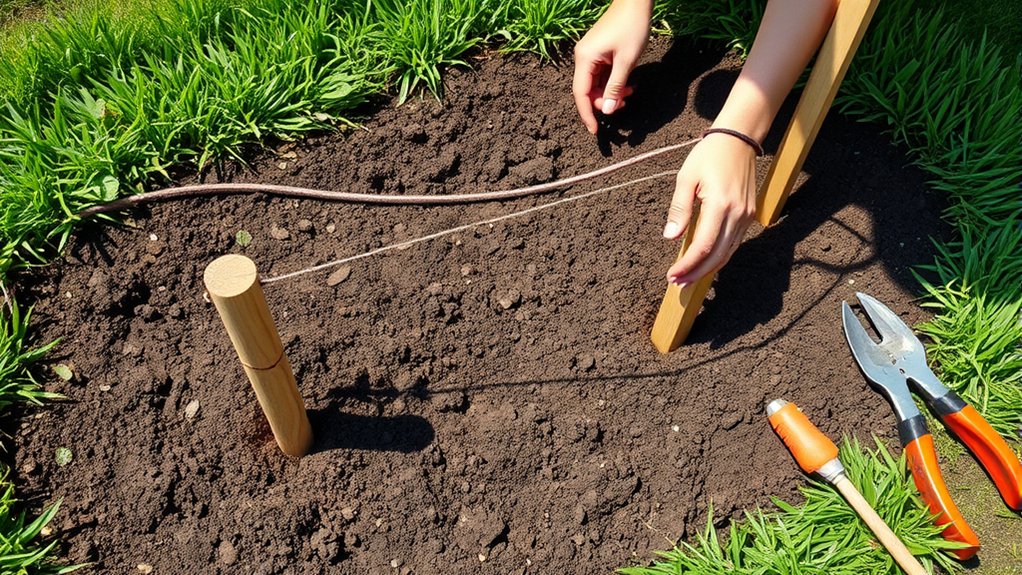
Once you’ve picked a sunny spot, outline your flower bed’s shape and size before you start digging. Use a garden hose, rope, or flour to mark out the edges directly on the ground. Step back and view the outline from several angles; a clear shape bed plan helps you picture how the finished garden will fit your yard.
As you refine your planning layout, consider how you’ll use and maintain the space. A thoughtful outline can prevent awkward corners and make planting, watering, and weeding easier.
- Match the bed’s scale to your yard, leaving room for paths and nearby features.
- Choose curves for a relaxed look or straight lines for a formal design.
- Keep the bed narrow enough to reach its center without stepping on soil.
- Check design considerations such as visibility from windows and clearance around fences.
Adjust the outline until it feels balanced and practical. Then measure its length and width, or note its overall dimensions, so you can plan the next steps confidently.
Test Your Soil’s pH and Nutrients
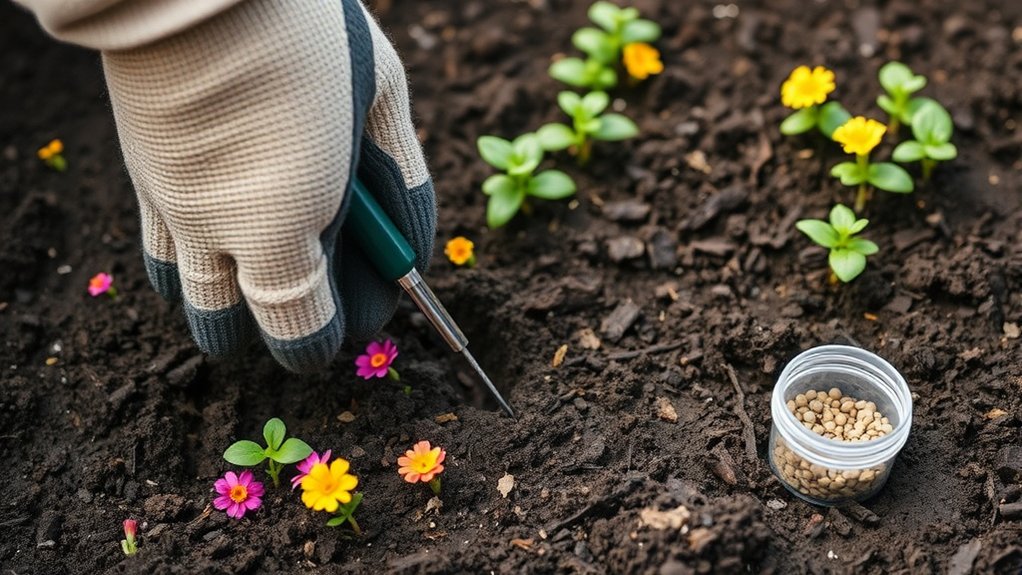
Before planting, test your soil’s pH to make sure it’s suitable for your flowers. It’s also a good idea to check nutrient levels with a soil test. Once you have the results, you can choose the right amendments.
Test Soil pH
Soil pH affects how well flowers can absorb nutrients, even when those nutrients are present. Before planting, test your soil to learn whether it’s acidic, neutral, or alkaline.
This soil pH discussion focuses on choosing a reliable test and using its results to guide your next steps. You can collect a sample for a lab or use a home kit, following its directions carefully.
For a representative reading, gather small samples from several spots in the bed and mix them.
- Test before adding amendments, which can change your reading.
- Use clean tools to avoid contaminating your sample.
- Check the preferred pH range for the flowers you plan to grow.
- Retest after adjustments to confirm the change.
Keep nutrient testing separate: this step concerns pH, not nutrient levels. A clear result helps you prepare suitable growing conditions.
Check Nutrient Levels
A nutrient test shows whether your flower bed has enough nitrogen, phosphorus, and potassium to support healthy growth. To check nutrient levels, collect soil samples from several spots across the bed. Remove surface debris, then take small amounts from the root zone and combine them in a clean container.
Follow the kit’s directions, or send the sample to a local extension service for soil testing. A lab report can show nutrient levels and explain how they compare with the needs of your planned flowers.
Read the results carefully, since different plants may require different conditions. Keep a copy of the report for reference as you plan the bed.
Testing before planting gives you a clearer picture of what’s available in the soil and helps you make informed choices for your flowers.
Amend Soil Accordingly
Use your soil test results to decide which amendments your flower bed needs. Check the recommended pH range for your chosen flowers, then adjust only if the results show a mismatch. A targeted soil amendment can correct deficiencies without disrupting the bed’s balance.
- If your soil is too acidic, apply the recommended amount of lime; if it’s too alkaline, use sulfur as directed.
- Add a nutrient your test identifies as deficient, following the product label to avoid overapplication.
- Improve low organic matter with a measured compost application, mixing compost into the topsoil.
- Retest after major corrections so you can confirm the pH and nutrient levels are suitable.
Don’t guess or add several products at once. Your test results guide each choice, helping you build healthier soil while protecting plants from excess nutrients or abrupt pH changes.
Check Soil Texture and Drainage
Before choosing plants, check how your garden bed’s soil feels and drains. Soil texture affects how roots grow and how quickly water moves through the bed.
Take a small handful of moist soil and squeeze it. Sandy soil feels gritty and falls apart easily; clay feels sticky and forms a firm ball; loam feels crumbly and holds its shape without becoming hard. This simple test helps you understand what your plants will encounter.
Next, perform a drainage check. Dig a hole about 12 inches deep, fill it with water, and let it drain. Fill it again, then watch how quickly the water disappears.
If it drains within a few hours, most plants should be comfortable. Water that remains overnight may signal poor drainage, while water that vanishes very quickly suggests the bed dries fast.
Note your findings before selecting plants, since different flowers tolerate different moisture levels. Use these observations to guide your planting choices and any future soil improvements.
Remove Grass, Weeds, and Debris
Once you’ve checked the soil, clear the bed of grass, weeds, and debris so new plants won’t compete for space, water, and nutrients. Work in manageable sections, removing unwanted growth before it spreads or returns.
Clear grass, weeds, and debris in manageable sections to give new plants room, water, and nutrients.
- Lift grass: Cut around the edges with a spade, then peel back sod and shake loose soil from its roots.
- Pull weeds: Remove each plant by the roots, especially before it flowers or sets seed. Use a hand tool for deep-rooted weeds.
- Clear debris: Pick up stones, sticks, dead leaves, and litter that could obstruct planting or shelter pests.
- Sort carefully: Bag invasive weeds and seed heads; don’t add them to your compost unless you know it gets hot enough to destroy seeds.
After clearing, inspect the bed for missed roots and shoots. If you plan to prepare weed barrier, choose a breathable material and leave openings for plants. A clean surface makes planting easier and helps you spot new weeds early.
Loosen the Soil Without Overworking It
Loosen the soil gently with a garden fork, breaking up compacted areas without turning over the whole bed. Make sure the soil is dry before you start, so it won’t clump or become compacted. This gentle approach helps preserve the soil’s structure and protect beneficial organisms.
Loosen Soil Gently
Gently loosen the soil to improve airflow and help roots spread, but avoid turning it into a fine, powdery texture. Use a garden fork or broadfork to lift and crack compacted areas without repeatedly chopping or pulverizing them.
As you work, pay attention to soil texture: healthy soil should remain crumbly, with small aggregates that hold together lightly. If you uncover dense layers or drainage issues, loosen those spots carefully rather than disturbing the entire bed.
- Insert the fork several inches deep, then rock it back to open the soil.
- Work in small sections to keep your effort controlled.
- Preserve earthworms and visible roots whenever possible.
- Stop once the bed feels open and workable; extra tilling can damage structure.
This gentle approach supports root growth while protecting the soil’s natural balance. You’ll create a better planting foundation without making unnecessary work for yourself.
Work Only When Dry
After gently opening the soil, check its moisture before continuing: work only when it’s dry enough to crumble, since wet soil compacts easily and loses its structure underfoot or under tools.
To test it, squeeze a small handful. If it sticks together in a dense ball or smears across your fingers, wait a day or two and check again. When it breaks apart with a light touch, you can proceed.
Use a hand fork or cultivator to loosen only the areas that need attention, and stop once the soil feels workable. Don’t dig or rake repeatedly just because the surface looks uneven.
Dry soil is easier to handle, but avoid letting it become dusty or powdery. Good moisture management helps you choose the right moment and work efficiently without unnecessary effort.
Preserve Soil Structure
Preserving soil structure starts with loosening only what needs it. After the bed dries, check whether the soil crumbles easily. If it does, skip digging and rake the surface lightly. If it feels compacted, use a garden fork to open the top few inches without turning every layer. This approach protects soil biology and supports microbial activity, which help nourish your flowers.
- Insert the fork, then rock it gently; don’t flip the soil.
- Work in small sections, stopping when the ground loosens.
- Leave deeper layers undisturbed to preserve natural channels.
- Add compost on top rather than burying it through repeated tilling.
Overworking breaks aggregates, exposes organisms, and can create a hard crust after rain. You’ll get a healthier planting bed by loosening selectively and letting roots, worms, and microbes maintain its structure.
Add Compost and Amend Your Flower Bed Soil
To give your flowers a strong start, mix compost into the loosened soil. Spread a two- to three-inch layer over the bed, then work it into the top six to eight inches with a garden fork.
This soil amendment improves texture, supports beneficial microbes, and helps roots access nutrients. You’ll also boost water retention in sandy soil and improve drainage in heavy clay.
Choose finished compost that’s dark, crumbly, and earthy-smelling; unfinished material can compete with plants for nitrogen. You can use homemade compost, bagged products, or well-rotted manure.
If your soil needs more than organic matter, test its pH and nutrient levels before adding lime, sulfur, or fertilizer. Follow test recommendations rather than guessing, since excess nutrients can harm plants and wash into waterways.
Mix amendments evenly, but don’t overwork the soil. The compost benefits your flowers most when you incorporate it gently and give it time to blend with the existing soil.
Level the Bed and Shape Its Edges
Rake the soil until it’s even, so water won’t collect in low spots. Then cut clean edges to define your flower bed. Before planting, check that the bed drains well.
Level the Soil
Once you’ve amended the soil, level the bed so water spreads evenly and plants have a stable surface. Use a garden rake to move soil from high spots into shallow dips, then check the surface from several angles. Your earlier soil testing and compost mix help create a healthy foundation, but careful grading supports it.
- Rake gently to avoid compacting the soil or disturbing its structure.
- Fill low areas gradually, blending each addition into the surrounding surface.
- Keep the bed slightly crowned if your site tends to hold water; a subtle slope encourages drainage.
- Lay a straight board across the bed and use a level to spot uneven sections.
Walk the area lightly and make small corrections until the surface looks even. Don’t press the soil hard; roots need air and room to grow.
Shape Clean Edges
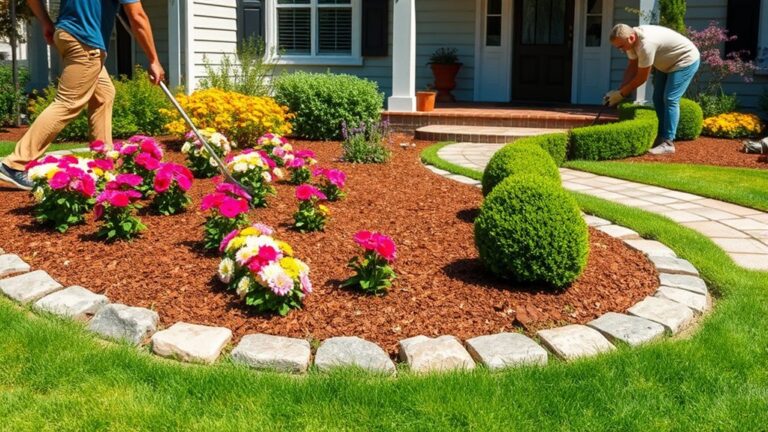
With the soil level, define the bed’s outline by cutting a clean edge along the lawn or path. Use a half-moon edger or flat spade to follow your planned curve, keeping the blade vertical for a crisp boundary.
If you’re working beside a path, make a straight cut that meets its edge neatly. Remove the strip of grass and soil you’ve cut away, then refine uneven spots with short, controlled strokes.
A consistent line gives your planting area a tidy frame and makes mowing easier. For a simple shape clean finish, step back and check the outline from several angles; adjust any bumps or awkward turns.
Clear loose clippings and soil from the border so the edge definition remains visible. Keep the bed’s outline practical to maintain.
Check Bed Drainage
Before planting, check how well the bed drains after rain or a thorough watering. Your drainage assessment reveals whether water moves away or pools around future roots. Level the surface gently, but don’t flatten it so much that runoff collects.
Shape the bed with a slight crown if your soil stays wet. This helps water flow toward the edges without washing soil away.
- Watch for puddles that remain several hours after watering.
- Check whether water runs toward the bed from paths or nearby slopes.
- Loosen compacted areas so water can penetrate instead of pooling.
- Keep the finished surface even, with edges that guide runoff safely.
These adjustments support moisture management and help prevent root rot. If water still stands, improve the soil with suitable organic matter or consider a raised bed before planting.
Water the Soil and Let It Settle
After loosening and amending the soil, water the bed thoroughly to help it settle and reveal any low spots. Use a gentle spray or soaker hose so water soaks in without washing away fine soil or exposing roots.
> Water the loosened, amended bed gently to help it settle and reveal low spots without washing away soil or exposing roots.
Apply enough to moisten the bed several inches deep, then pause and let the water drain. This first soak improves water retention by bringing soil particles into closer contact and helping compost blend into the bed.
Check the surface after the water has settled. If you spot depressions, fill them with nearby soil and smooth the area; avoid compacting it by walking on the bed.
Water the filled spots lightly so they settle at the same level. If puddles remain for hours, the soil may be too compacted or poorly drained, so address that before planting.
Remove any debris or standing water that could attract pests, supporting pest prevention. Let the bed rest until the soil is evenly moist, not soggy or muddy.
Check Plant Spacing Before You Plant
How much room will each plant need at maturity? Check the label or a trusted growing guide before you place anything in your bed. A seedling may look small now, but crowding later can limit airflow, sunlight, and growth.
Good spacing considerations help each flower thrive and make routine care easier.
Before planting, arrange pots on the soil at their intended distances. Step back and adjust the layout until it looks balanced and leaves room for access.
Consider plant compatibility, too: neighbors should share similar light, water, and soil needs.
- Measure mature width, not just current size, to prevent overcrowding.
- Leave pathways or working gaps so you can weed, water, and deadhead comfortably.
- Group flowers with matching care needs to simplify maintenance.
- Place taller plants where they won’t shade shorter neighbors.
Follow recommended spacing, even if the bed looks sparse at first. As roots and foliage expand, your flowers will fill the space without competing unnecessarily.
You’ll also reduce disease risk and avoid costly replanting.
Frequently Asked Questions
When Is the Best Time of Year to Prepare a Flower Bed?
The best time to prepare a flower bed is usually fall or early spring, when you can work comfortably and give the soil time to settle. Choose fall if you’re improving soil for spring planting; choose spring after the ground thaws and dries.
Check soil readiness first: it shouldn’t be soggy or compacted. Complete bed preparation before planting, then add mulch timing to your plan. Apply mulch after planting, once the soil has warmed.
How Can I Protect a Newly Prepared Flower Bed From Pets?
Protect your newly prepared flower bed by placing a low fence, sturdy mesh, or decorative edging around it. You can also cover exposed soil with mulch or temporary netting to discourage digging. Choose pet-safe materials and avoid toxic plants, fertilizers, and pesticides. If you’ve got pet safe barrier worries, check product labels and ask your veterinarian about risks. Give pets a clear path elsewhere, and supervise them until they learn to avoid the planting area.
Should I Install Edging Around My Flower Bed?
Yes—edging can keep your flower bed tidy and clearly defined. During edging installation, you’ll create a barrier that helps contain mulch, limits grass from creeping in, and may discourage pets from wandering through.
Consider material selection carefully: stone, metal, brick, or flexible plastic each offers different costs, durability, and appearance. Choose an option that suits your garden’s style, budget, and maintenance needs, then install it securely and keep edges level.
How Can I Prevent Pests From Damaging Flowers in a New Bed?
You can protect flowers in a new bed with steady pest prevention and bed maintenance. Inspect leaves and stems often, and remove pests by hand before they spread. Keep weeds cleared, water at the soil level, and avoid overcrowding to reduce hiding places and disease.
Use netting or collars to deter common attackers, and encourage beneficial insects with diverse plants. If damage continues, identify the pest before choosing a targeted, flower-safe treatment.
What Tools Do I Need to Prepare a Flower Bed?
You’ll need a spade or garden fork to loosen soil, a rake to level it, and a hand trowel for smaller tasks. Use gloves, a wheelbarrow, and a garden hose or watering can to move materials and water plants. For soil testing, keep a clean bucket and sampling tool handy. Compost sourcing may require a shovel and tarp for transport. Add pruning shears if you’ll trim existing plants or roots.
Conclusion
With your sunny site chosen, bed marked, and soil tested, drained, cleared, enriched, leveled, and watered, you’ve laid the groundwork for healthy blooms. Check each plant’s spacing before you begin, giving roots room to grow and flowers room to shine.
Think of your prepared bed as a welcoming stage: the right setting helps every plant play its part. Take your time with these steps, and you’ll give your flower bed a strong start for a colorful growing season ahead.