10 Steps to Prepare Soil for Your Veggie Garden
Getting your veggie garden off to a healthy start can feel overwhelming, especially when you’re unsure what your soil needs. You’re not alone—many gardeners struggle to turn tired or compacted ground into a thriving growing space. These 10 steps to prepare soil for your veggie garden can help you build a strong foundation for your plants.
To prepare soil for your veggie garden, choose a spot with at least six hours of direct sun and clear weeds, roots, stones, and debris. Test soil pH and nutrients, then check texture and drainage. Adjust pH and fertilizer according to test results. Loosen compacted areas gently, blend one to two inches of finished compost into the top six to eight inches, and shape beds to direct runoff. Water evenly, let the soil settle, and discover how each step supports healthier planting.
Key Takeaways
- Choose a level or gently sloping spot near home and water that receives at least six hours of direct sunlight daily.
- Clear weeds, including perennial roots, and remove stones, sticks, and debris before planting.
- Test soil from several locations for nutrient levels and pH, then use the results to guide amendments and fertilizer.
- Check soil texture and drainage. Gently loosen compacted areas with a broadfork, avoiding saturated soil and unnecessary disturbance.
- Blend 1–2 inches of mature compost into the top 6–8 inches, shape beds for runoff, and water evenly before planting.
Choose a Sunny Spot for Your Vegetable Garden

Before you prepare the soil, choose a spot that gets at least six hours of direct sunlight each day. Most vegetables need strong, steady light to grow well, flower, and produce a generous harvest.
Choose a garden spot with at least six hours of direct sunlight daily for healthy growth and a generous harvest.
A sunny location also helps the soil warm up earlier in spring, giving you more flexibility when you plant.
Watch your potential garden throughout the day rather than judging it from one quick visit. Buildings, fences, trees, and shrubs can cast shadows that shift as the sun moves.
Check the sunlight exposure in the morning, around midday, and in the afternoon. If you can, observe the area on several days, since cloud cover or seasonal changes can affect what you see.
Choose a level or gently sloping spot that’s easy to reach from your home and a water source. Avoid placing the garden where nearby trees may compete with vegetables for light and moisture.
When space is limited, prioritize the brightest area available. Even a small, well-lit plot can support a productive vegetable garden.
Clear Weeds and Debris From the Garden Soil

Pull weeds out by the roots to help keep them from growing back. Then clear away stones, sticks, and other debris that could get in the way of planting. With the soil cleared, it’ll be easier to prepare for vegetables.
Remove Weeds and Roots
Clear weeds, roots, and garden debris so they won’t compete with vegetables for water and nutrients or return after planting. Start by pulling young weeds while the soil is slightly damp; their roots will come out more easily.
For larger weeds, loosen the soil around each base with a hand fork, then lift the plant and its roots together. Don’t just cut weeds at the surface, since many can regrow or spread.
Remove as much root as you can, especially from perennial weeds such as dandelions and bindweed. Break up compacted soil gently to avoid leaving root fragments behind.
If you can’t remove every piece, monitor the bed and pull new growth promptly. A layer of mulch later can support weed suppression, but thorough root disruption now gives your vegetables a cleaner start.
Clear Stones and Debris
Once you’ve removed weeds and roots, pick out stones, sticks, and other debris that could obstruct roots or make the soil harder to work. Work across the bed by hand, removing anything large enough to interfere with planting or cultivation.
For efficient stone removal, loosen compacted patches with a garden fork, then lift out rocks as they surface. Don’t discard small stones automatically; you can use them to improve drainage in paths or other suitable areas.
For debris screening, rake the soil and collect smaller fragments, such as twigs, old mulch, and bits of plastic. A soil sieve helps you separate unwanted material from fine earth, especially in a small bed or container garden.
Check the cleared area again before planting, and remove any debris you missed. This leaves you with a cleaner, easier-to-work seedbed.
Test Your Vegetable Garden Soil

Before adding compost or fertilizer, test your garden soil to find out what it needs. A soil test gives you a clear picture of nutrient levels and pH, so you can choose amendments that support healthy vegetables instead of guessing. Your local cooperative extension office may offer affordable testing; garden centers also sell home kits.
Follow the kit’s directions, and collect samples from several spots in your planting area for a useful result.
- Gather a clean trowel, bucket, and sample bag; remove any plant bits from the tools.
- Take small scoops from several places, using the depth specified by your test kit.
- Mix the scoops in the bucket to create one representative sample.
- Send the sample to a lab or use the kit, then read its recommendations before adding anything.
When you test soil, you’ll learn which nutrients your garden lacks and whether pH could limit their availability. Use the results to provide the right plant vitamins, not a blanket dose of fertilizer. Keep the report handy as you plan your next steps.
Check Your Soil’s Texture and Drainage
How quickly does water drain through your garden soil? You can find out with simple drainage testing. Dig a hole about 12 inches deep and wide, fill it with water, and let it drain completely. Fill it again, then measure how much the water level drops each hour. If it disappears within a few hours, your soil drains quickly; if it remains after a day, drainage may be poor. A moderate rate usually supports many vegetables.
Next, check texture. Take a handful of moist soil and squeeze it. Sandy soil feels gritty and falls apart, while clay soil feels sticky and forms a firm ball. Loam holds together briefly but crumbles when you press it. This hands-on texture grading helps you understand how well your soil holds water and air. You can also rub a damp pinch between your fingers to notice grit or smoothness. Record your observations alongside your soil test results, so you can choose suitable preparation steps for your garden.
Adjust Soil pH for Your Vegetables
What pH suits your vegetables best? Most crops thrive in slightly acidic soil, around 6.0 to 7.0, but preferences vary. Check your soil’s pH with a reliable test before changing it; guessing can push the balance too far and limit nutrient availability.
Most vegetables prefer slightly acidic soil, but test your pH before making adjustments.
Good soil pH management starts with knowing your garden’s current reading and the needs of the vegetables you plan to grow.
Use this lime vs. sulfur guidance to picture your next steps:
- If your soil is too acidic, mix in garden lime to raise its pH gradually.
- If it’s too alkaline, apply elemental sulfur to lower the pH over time.
- Follow product directions and spread amendments evenly, like dusting a blanket across the bed.
- Retest after several weeks or months; soil changes slowly, so don’t add more until you check.
Make adjustments well before planting, and avoid dramatic corrections. Your vegetables will benefit from a steadier growing environment.
Choose Fertilizer Based on Your Soil Test
A soil test tells you which nutrients your garden needs, so choose a fertilizer that addresses those specific deficiencies rather than applying a general blend. Careful soil test interpretation helps you match the product to your vegetables and avoid excess nutrients. Compare your report with this quick guide:
| Test finding | Fertilizer choice | What to check |
|---|---|---|
| Low nitrogen | Nitrogen-rich product | Follow label rates |
| Low phosphorus | Phosphorus-containing product | Avoid excess buildup |
| Low potassium | Potassium-rich product | Check nutrient ratio |
| Adequate nutrients | No fertilizer needed | Retest as advised |
For effective fertilizer selection, read the N-P-K numbers on the package; they show the proportions of nitrogen, phosphorus, and potassium. Choose a formulation suited to the deficiency, then apply only the amount recommended for your garden’s area.
If your report includes organic matter or micronutrient guidance, consider those notes too. Don’t assume more fertilizer means better growth: excess can harm plants and wash into waterways. Keep your test results and product label handy so you can track what you apply and refine future choices.
Loosen Compacted Soil Without Overdoing It
Once you’ve addressed your soil’s nutrient needs, check whether it’s compacted: if water pools on the surface or roots struggle to penetrate, loosen the soil gently. Work when the ground is slightly moist, not wet; digging soggy earth can damage its soil texture and create clods.
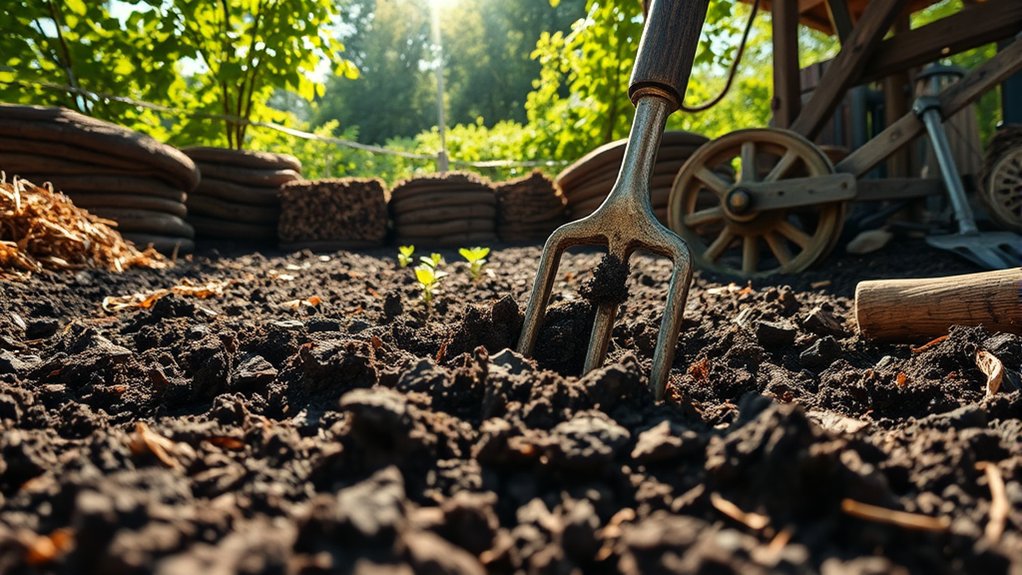
- Push a garden fork into the bed, then rock it back to crack dense layers without turning the soil over.
- Repeat across the area, spacing each insertion about six inches apart.
- Lift stubborn sections with a broadfork, using your body weight rather than chopping with a spade.
- Stop when the soil crumbles easily and roots can move through it; don’t pulverize it into dust.
For compaction prevention, keep foot traffic off growing beds, use defined paths, and avoid working soil when it’s saturated. If only a small patch feels tight, loosen that spot instead of disturbing the whole garden. Gentle, targeted work preserves structure and leaves room for air and water to reach roots.
Add Compost to Improve Vegetable Garden Soil
Choose quality compost to add nutrients and improve your garden soil. Then, apply the right amount so you don’t overwhelm your plants. Before planting, mix the compost evenly into the soil.
Choose Quality Compost
What makes compost worth adding to your vegetable garden? Quality compost feeds soil life and improves its texture, but only when you choose a clean, finished product.
Check compost sourcing before buying: reputable suppliers identify ingredients and avoid treated wood, plastics, and other contaminants. Look for compost maturity, too. Mature compost smells earthy, feels crumbly, and won’t heat up or contain recognizable food scraps.
Use these clues to picture a dependable product:
- Dark, loose material that breaks apart in your hand.
- A fresh, forest-floor scent rather than a sour odor.
- Few visible scraps, with no plastic or glass mixed in.
- A consistent texture, not slimy clumps or dry, woody chunks.
If you make compost at home, let it finish curing before choosing it for your garden.
Apply the Right Amount
Spread a 1- to 2-inch layer of finished compost over the garden bed, then mix it into the top 6 to 8 inches of soil. This measured amount supports healthy growth without overwhelming your vegetables or creating an overly rich bed.
If your soil already contains plenty of organic matter, use the thinner layer; poor or depleted soil may benefit from the thicker one. Consider your garden’s history, soil texture, and the needs of the crops you plan to grow when choosing how much to apply.
A soil test can help you gauge existing nutrients and guide your decision. Thoughtful soil preparation starts with gardener mindfulness: add only what your bed needs, rather than assuming more compost always means better results. Keep the amount consistent across the bed for balanced growing conditions.
Mix Into Garden Soil
Once you’ve added compost, work it evenly into the top 6 to 8 inches of soil with a garden fork or spade. Break apart clumps as you turn the earth, blending compost until no thick pockets remain. Picture the mix as you work:
- Dark compost threads through pale soil like ribbons.
- Forkfuls crumble into a loose, crumbly texture.
- Small stones and roots rise to the surface for removal.
- The bed looks evenly blended, with no compost heaps.
Keep your movements gentle; digging too deeply can disturb soil layers and bring weed seeds upward. This thorough mix improves drainage and helps the ground hold moisture.
Compost also supports soil chemistry and supplies plant micronutrients, but it won’t replace a balanced fertilizer when your crop needs extra nutrients. Rake the surface smooth before planting.
Shape Garden Beds for Better Drainage
Shape your garden beds to guide excess water away from plant roots. A gently raised, level-topped bed helps water drain without letting soil wash away. Use a rake to shape beds evenly, keeping the surface slightly higher than the surrounding paths. For heavy or compacted soil, raise the bed several inches; in fast-draining soil, a modest lift may be enough.
A gently raised, level bed guides water away from roots while helping prevent soil from washing away.
Give each bed a clear route for runoff. Form shallow drainage paths between beds, directing water toward a safe outlet rather than neighboring plots, buildings, or low spots where it can collect.
Keep paths broad enough to carry excess water, but don’t make them so deep that they undermine bed edges. If your garden sits on a slope, align beds across the incline to slow runoff and reduce erosion.
Check that edges remain firm and that water won’t pool in the center. Adjust the contours with your rake before planting, so roots have room to grow in soil that drains freely.
Water the Soil and Let It Settle
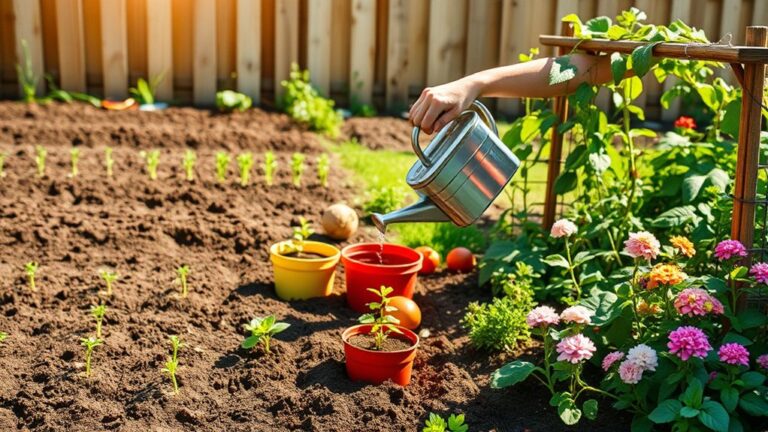
Water your garden bed evenly, just enough to moisten the soil without making puddles. Let the water soak in and the soil settle. Then give the bed a little time to dry before planting.
Water the Soil Evenly
After loosening and leveling the soil, give the entire bed a gentle, even watering. Use a hose with a soft spray nozzle or a watering can to avoid washing soil into low spots. Your goal is consistent moisture, not puddles or runoff. Picture these signs as you water:
- The surface darkens evenly across the bed.
- Water sinks in instead of streaming away.
- No corners stay pale, dusty, or dry.
- Small depressions don’t collect standing water.
Check the soil with your fingers in several places; it should feel moist, not soggy. If one area dries faster, direct a little more water there. This steady approach supports water balance and moisture retention, helping create uniform conditions for planting without compacting the loosened soil.
Allow Time to Settle
Give the bed a little time to settle after watering so moisture can move through the loosened soil. Wait several hours, or until the next day, before planting. This pause lets water reach deeper layers and reveals whether the bed holds moisture evenly.
Check the surface and a few inches below; if the top looks dry while lower soil feels wet, wait before adding more water. You’ll avoid creating soggy pockets that can limit oxygen around roots.
As the soil settles, inspect its soil texture and look for low spots, crusting, or puddles. These signs offer drainage clarification and help you decide whether to loosen compacted areas or improve the bed with compost.
Rake gently to level the surface, but don’t work soil that’s wet and sticky. Once it’s moist, crumbly, and even, you’re ready to plant.
Frequently Asked Questions
When Should I Prepare My Vegetable Garden Soil?
Prepare your vegetable garden soil a few weeks before you plan to plant, once the ground has thawed and dried enough to crumble rather than clump. Working wet soil can compact it and harm its structure.
Test it in fall or early spring to allow time for adjustments; knowing when to test soil helps you plan amendments. After preparing beds, check seed packets or plant labels to learn how to space plants properly.
How Deep Should Soil Preparation Go for Most Vegetables?
You should prepare soil 8–12 inches deep for most vegetables—by Jupiter, your roots will thank you! This soil depth gives roots room to spread and helps water move through the bed.
Loosen the ground without turning it excessively, especially if you’re working with established soil. Mix in compost to improve texture and nutrient balance, then remove rocks and weeds.
For deep-rooted crops like carrots, loosen soil farther down so roots won’t hit compacted layers.
Can I Prepare Garden Soil in Containers Using the Same Steps?
Yes, you can use similar soil preparation steps for container gardening, but adapt them for pots. Choose containers with drainage holes, then fill them with fresh, lightweight potting mix rather than garden soil, which can compact and drain poorly. Mix in compost for nutrients, and check the blend’s moisture and texture before planting. You’ll need less digging, but you should still remove debris and avoid packing the mix too tightly.
How Long Should I Wait to Plant After Preparing the Soil?
You can usually plant right after preparing your soil, once it’s moist, loose, and ready—not soggy or compacted. If you’ve added fresh manure or unfinished compost, wait several weeks or use fully composted material to protect young roots.
Your wait time depends on amendments and crop needs. Give the bed a final, gentle fluff for soil aeration, then sow seeds or set out seedlings according to their spacing and planting-depth instructions.
Should I Cover Prepared Garden Beds Before Planting?
Yes, you can cover prepared garden beds before planting, but choose a cover that suits your timing. Use a tarp or breathable fabric to limit weed growth and support weed management; remove it before sowing or transplanting.
If you’ll wait several weeks, sow a fast-growing cover crop to protect the soil and improve its structure. Cut it down before planting, and follow the seed packet’s guidance for timing and spacing.
Conclusion
Preparing soil isn’t about making it perfect—it’s about giving vegetables a healthy start. You might hear that digging deeply and adding lots of fertilizer always produce better crops, but that theory doesn’t hold up: overworking soil can damage its structure, and excess nutrients can harm plants.
Instead, choose a sunny spot, check your soil, and improve it thoughtfully with compost and suitable adjustments. Water your prepared bed, let it settle, and you’ll be ready to prepare soil for your veggie garden with confidence.