How to Organize Your Garden in 7 Easy Steps
A disorganized garden can make even simple tasks feel frustrating, especially when tools are hard to find and plants aren’t getting the care they need. If you’re wondering how to organize your garden, you’re not alone—many gardeners struggle to make the most of their space. The right products can help you create a garden that’s easier to use and enjoy.
Organize your garden in seven easy steps: assess sunlight, soil, drainage, slopes, and existing features, then sketch a layout. Map sun and moisture patterns at different times. Create reachable growing zones and firm, comfortable paths. Group plants by light, water, and care needs. Store tools and supplies in a dry, handy spot. Add trellises or shelves to use vertical space. Finally, follow a weekly routine for watering, weeding, harvesting, and tool care. The steps below make each choice easier.
Key Takeaways
- Assess sunlight, soil, drainage, slopes, and fixed features; sketch your garden and mark anything that cannot be moved.
- Plan growing zones and wide, firm paths so you can reach every bed without walking on soil.
- Track sunlight and moisture throughout the garden, then match each area to plants’ growing conditions.
- Group plants by sun exposure, watering needs, and care; label or sketch each group for easy reference.
- Organize tools and supplies in a dry, convenient spot, use vertical space, and follow a simple weekly maintenance routine.
Assess Your Garden and Plan the Layout
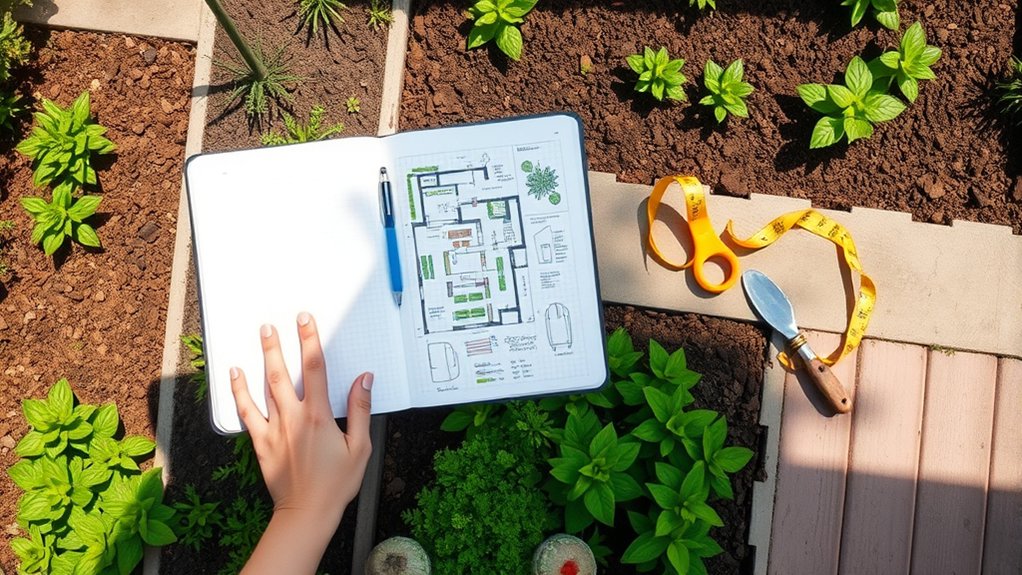
Start by evaluating your garden’s sunlight, soil, drainage, and existing features. Note slopes, trees, fences, and structures that could shape your choices. Then plan the layout around what you want to grow and how you’ll move through the space. Sketch the area, mark fixed features, and leave room to reach every bed without stepping on soil.
Create paths wide enough for comfortable access, and divide the remaining space into practical growing zones. Group plants with similar space and care requirements, while leaving each crop enough room to grow. Consider how you’ll map sunlight and water needs in a separate planning step rather than guessing now.
Use vertical space with trellises or supports where beds are limited. Choose convenient spots to organize tools and supplies so you can find them quickly. Finally, outline a maintenance routine and schedule tasks you can manage. A thoughtful plan makes planting, watering, and upkeep easier throughout the season.
Map Sunlight and Water Needs
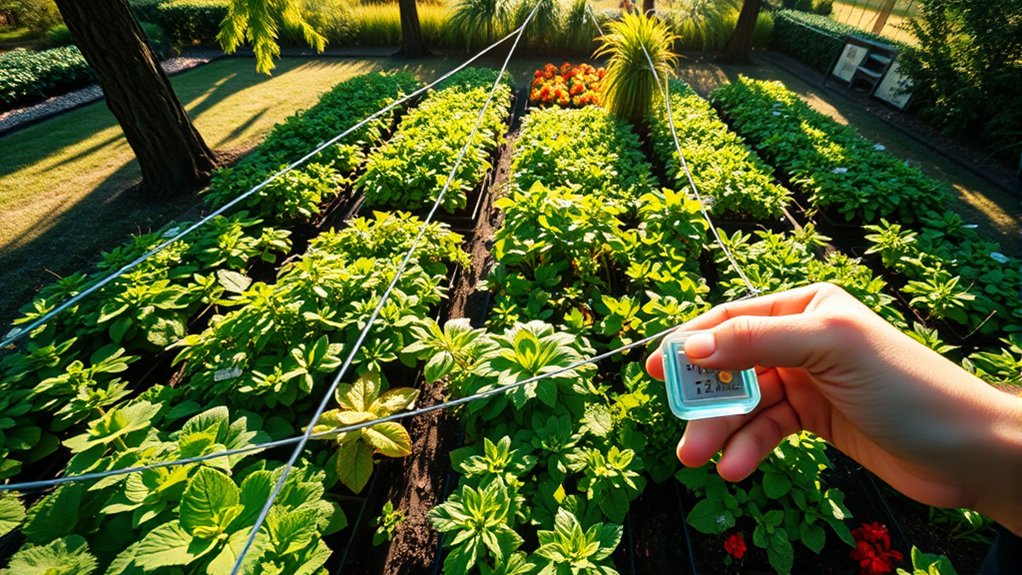
Map how sunlight moves across your garden before choosing where to plant. Check the space at several times of day, since shadows shift as the sun travels. Note which spots stay bright and which receive shade, then match those conditions to your plants’ needs.
Track sunlight throughout the day to find the right planting spots for each plant.
- Morning light suits plants that prefer gentler sun.
- Afternoon exposure brings stronger heat, so watch for wilting.
- Partly shaded corners may work for leafy greens.
- Dry patches often need more frequent watering.
- Low, damp areas may need plants that tolerate moist soil.
Next, assess your garden’s water needs. Check how quickly soil dries after rain or watering, and notice where water collects. Feel the soil a few inches down rather than judging only by its surface. Group plants with similar moisture needs in your notes, and consider how often you can water.
Your observations will help you choose suitable plants and avoid giving thirsty crops too little water or drought-tolerant varieties too much. Recheck conditions during the growing season, because weather and plant growth can change both light and moisture patterns.
Create Clear Paths and Growing Zones

Once you’ve noted where sun and water collect, plan clear paths and distinct growing zones. Sketch a simple layout, then mark routes wide enough for you to carry a basket or wheelbarrow. Use stepping stones, mulch, or gravel to keep paths firm and easy to follow. Leave room to reach every bed without trampling soil or brushing against delicate plants.
Shape growing zones around how you’ll use the garden. Set aside practical spaces for vegetables, flowers, seating, and storage, keeping each area accessible. Consider water wise grouping as you plan, but save detailed plant placement for your next step. If your yard is small, try vertical gardening with trellises or wall-mounted planters to free up floor space.
Include a spot for tool organization near your main work area, so you can put supplies away quickly. Clear boundaries and sensible routes also simplify maintenance routines, helping you spot weeds, tidy beds, and move through your garden safely.
Group Plants for Easier Watering and Care
Group plants with similar water and care needs so you can tend them efficiently. Match each plant’s sunlight, soil, and moisture preferences, then arrange compatible varieties in the same bed or nearby containers. This simple approach supports irrigation planning and helps you avoid overwatering drought-tolerant plants while thirsty crops dry out.
Group plants by sunlight, soil, and watering needs to simplify care and keep every variety thriving.
Use practical grouping mechanisms to keep your garden easy to manage:
- Place herbs such as rosemary and thyme together; both prefer drier soil.
- Keep moisture-loving greens near one another for consistent watering.
- Group plants with similar sun exposure to prevent uneven growth.
- Separate heavy feeders from plants that thrive in leaner soil.
- Cluster containers by watering frequency so you can check them in one pass.
As your garden grows, label groups or sketch their locations, making it easier to remember each zone’s needs. Check plants regularly, since weather and growth can change how often they need water. When you group thoughtfully, you’ll spend less time guessing and more time enjoying healthy, thriving plants.
Organize Garden Tools and Supplies
A well-organized tool area saves time and keeps garden supplies within easy reach. Start by sorting your tools into groups, such as hand tools, pruning equipment, and watering supplies. Remove broken items and set aside anything you no longer use.
When you keep only what you need, you’ll find the right tool faster and make cleanup easier. Choose a dry, convenient spot near your garden for storage. Use storage shelving, sturdy bins, or a small cabinet to separate supplies and protect them from weather.
Label containers so you can quickly locate seeds, gloves, ties, and plant food. Hang frequently used tools on hooks or place them in a bucket you can carry outdoors. Keep sharp blades covered and store chemicals securely, away from children and pets.
Return each item to its assigned place after use. This simple habit keeps organized tools ready for your next task and prevents clutter from building up. Check your supplies regularly, replacing essentials before you run out.
Use Vertical Space for More Growing Room
When garden space is limited, growing upward can make room for more plants. Look for sturdy structures that fit your garden’s layout, then match each one to the plants you want to grow. A few simple choices can turn bare walls and fences into useful planting areas:
- Add vertical trellises for climbing beans, peas, or cucumbers, and secure them firmly.
- Hang baskets of herbs or trailing flowers where you can reach them easily.
- Choose space saving planters that stack or attach to a fence.
- Install wall mounted shelves for small pots, seedlings, or lightweight supplies.
- Use a ladder-style stand to display several containers without crowding the ground.
Before you add weight, check that supports can hold it, especially after watering. Leave enough room between containers for plants to grow and for you to reach each pot. Place sun-loving varieties where they’ll get suitable light, and keep heavier pots on lower levels. With a little planning, you’ll use unused vertical space while keeping your garden accessible.
Set a Simple Garden Maintenance Routine
How can you keep garden care manageable? Set a simple schedule that fits your week, rather than waiting for chores to pile up. Choose brief, regular check-ins, and focus on what your plants need most. You’ll save time and spot problems early.
| Day | Garden task |
|---|---|
| Monday | Check soil moisture |
| Wednesday | Pull weeds and inspect leaves |
| Friday | Harvest ripe produce |
| Sunday | Clean tools and plan |
Treat these weekly tasks as flexible reminders, not strict rules. Water when the soil feels dry, since rain and heat can change your plants’ needs.
Group nearby jobs together so you won’t waste time moving around the garden. Keep gloves, pruners, and a watering can in one accessible spot.
After each check-in, note what you finished and what needs attention next. If a task takes only a few minutes, handle it right away.
Adjust your routine as seasons change, and skip unnecessary chores. A consistent rhythm keeps your garden tidy without taking over your free time.
Frequently Asked Questions
When Is the Best Time of Year to Reorganize a Garden?
The best time to reorganize your garden is usually early spring or fall, when mild weather makes moving plants and improving soil easier. In spring, you can prepare beds before the growing season; in fall, you can tidy up after harvest and plan ahead. Check your local climate and plant needs before choosing. Use seasonal planning to identify the best planting windows, and avoid disturbing plants during extreme heat or active flowering.
How Can I Organize a Garden on a Tight Budget?
You can organize your garden cheaply by using what you already own and planning before you buy. Sketch a budget friendly layout that groups plants by sunlight and water needs, then reuse containers, bricks, and reclaimed wood for beds or paths.
Try thrifty planting with seeds, cuttings, plant swaps, and affordable perennials. Make compost from kitchen scraps, mulch with fallen leaves, and tackle one small area at a time so you don’t overspend.
What Should I Do With Plants That Are Overcrowded or Unhealthy?
Move overcrowded plants apart and remove unhealthy plants before problems spread. One crowded bed can turn into a plant traffic jam in just a few weeks. Check each plant’s spacing needs, then transplant extras to open spots or share them with a neighbor.
For unhealthy plants, trim damaged leaves, inspect for pests or disease, and improve watering or drainage. If a plant keeps declining, pull it and dispose of it safely. Don’t compost diseased material.
How Can I Make My Garden More Accessible for Children or Older Adults?
Make your garden easier to enjoy by adding smooth, wide accessible pathways with firm, nonslip surfaces and gentle slopes. Keep routes clear of hoses, tools, and low branches, and provide sturdy handrails where needed.
Add child friendly seating at a comfortable height, plus benches with backs and arms for older adults. Place seating in shaded spots near play areas, and use raised beds so everyone can reach plants without bending or kneeling.
Are There Apps or Tools That Can Help Me Plan My Garden?
Yes, garden planning apps and layout tools can turn your ideas into a clear planting plan. Think of them as a compass for your green adventure. Use an app to map beds, test plant combinations, track sunlight, and schedule tasks.
Some tools offer drag-and-drop designs, while others help you choose plants for your climate. You can also sketch your space on paper or use a simple spreadsheet to organize seeds, dates, and supplies.
Conclusion
With a clear plan, your garden can feel less like a tangled puzzle and more like a welcoming retreat. You’ve mapped the sun, made room for paths, grouped plants, and gathered your tools.
Now, let your routine guide you as seedlings stretch toward the light and blooms brighten each corner. Keep adjusting as your garden grows, and you’ll find that a little organization makes every watering, harvest, and quiet moment outdoors easier to enjoy.
Following these steps to organize your garden can make it easier to care for and enjoy.