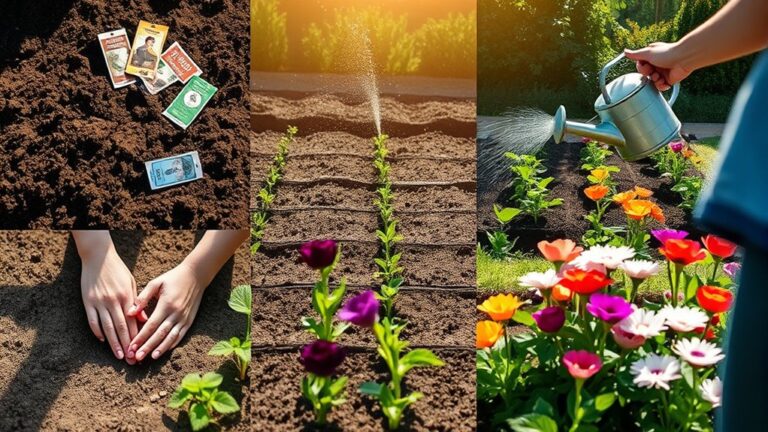
How to Plant Outdoor Containers in 5 Easy Steps
Choosing the right supplies for outdoor container gardening can feel overwhelming, especially when you want your plants to thrive without a lot of guesswork. You’re not alone—many people struggle to pick the right pot, plants, and soil mix. This guide to the best outdoor container gardening products makes it easier to get started.
To plant an outdoor container, choose a pot with open drainage holes and enough room for your plants. Match plants to the spot’s sunlight, grouping varieties with similar light needs. Fill the pot with a lightweight outdoor container mix, leaving space below the rim.
Arrange taller plants toward the center or back and trailers near the edge, then plant them at their original depth. Water when the top inch feels dry, and keep up with basic care. The steps below make each choice easier.
Key Takeaways
- Choose a container with open drainage holes, enough room for roots, and material suited to your climate and watering needs.
- Match plants to the site’s sunlight, grouping varieties with similar light requirements.
- Fill the container with lightly moistened outdoor potting mix, leaving space below the rim and avoiding compacting it.
- Arrange plants by height, with taller varieties toward the center or back and trailing plants near the edge; plant at their original depth.
- Water when the top inch of mix feels dry, let excess drain, and maintain plants with deadheading, pest checks, and label-guided fertilizer.
Choose a Container for Outdoor Planting

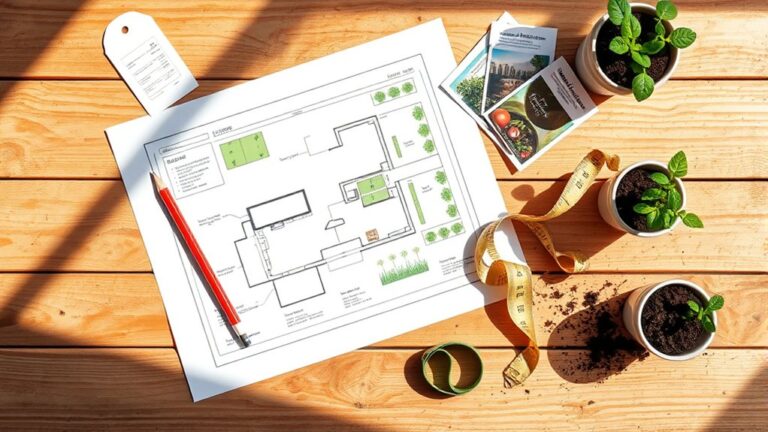
Choose a container with drainage holes that’s large enough to give your plants’ roots room to grow. A roomy pot gives roots space to spread and holds enough soil to support steady growth.
If you’re planting several specimens together, choose a wider container so each one has room without crowding.
Consider container material before you buy. Terracotta looks classic and lets soil dry quickly, so you’ll need to water more often.
Plastic and resin pots weigh less and retain moisture longer, while wood offers a natural look but may need protection from rot. Choose a material that suits your climate, budget, and willingness to move the pot.
Check drainage considerations carefully. The holes should remain open and let excess water escape; add more if the container lacks enough.
Set the pot on feet or a raised stand to keep holes clear and protect the surface beneath it. Avoid adding gravel as a drainage layer, since it won’t improve water flow.
Match Plants to Your Sun and Shade
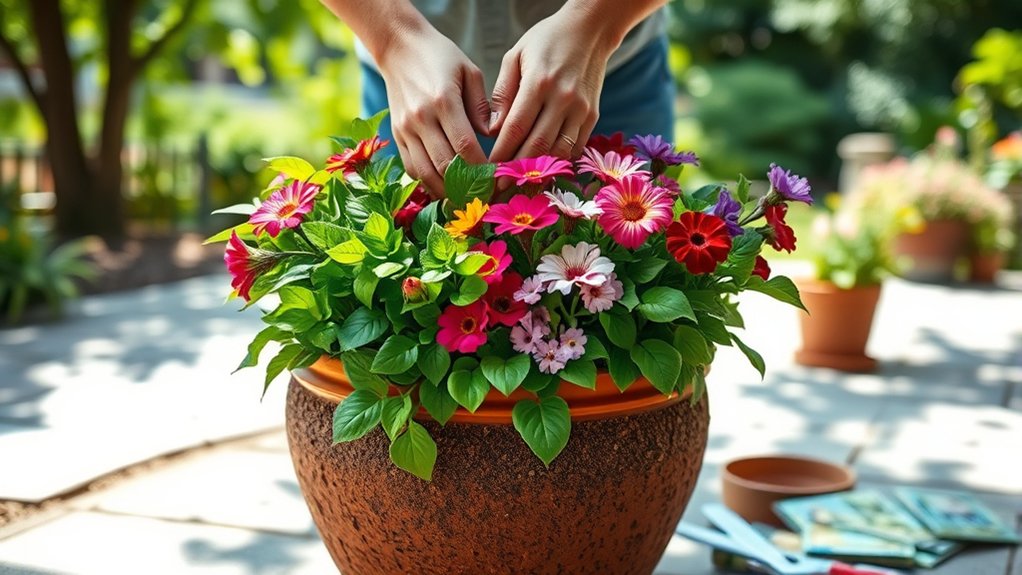
Once you’ve picked a container, match your plants to the light where it’ll sit. Watch the spot throughout the day, noting direct sun, bright indirect light, and deep shade. Sun alignment matters: a balcony that gets morning rays may offer very different conditions from a hot, west-facing patio.
Check plant labels for recommended light and compare them with your observations. Full-sun plants generally need at least six hours of direct sunlight, while partial-sun varieties do well with fewer hours. For shady locations, choose plants with strong shade tolerance, such as ferns or begonias. If your spot receives changing light, combine plants with similar needs so none struggle.
Consider heat as well as brightness. Reflected sunlight from walls or pavement can dry plants quickly, while a sheltered corner may stay cool and dim. Choose varieties suited to your local climate, too. When you’re unsure, start with a few plants and watch how they respond before adding more to the display.
Fill Your Pot With Outdoor Container Mix
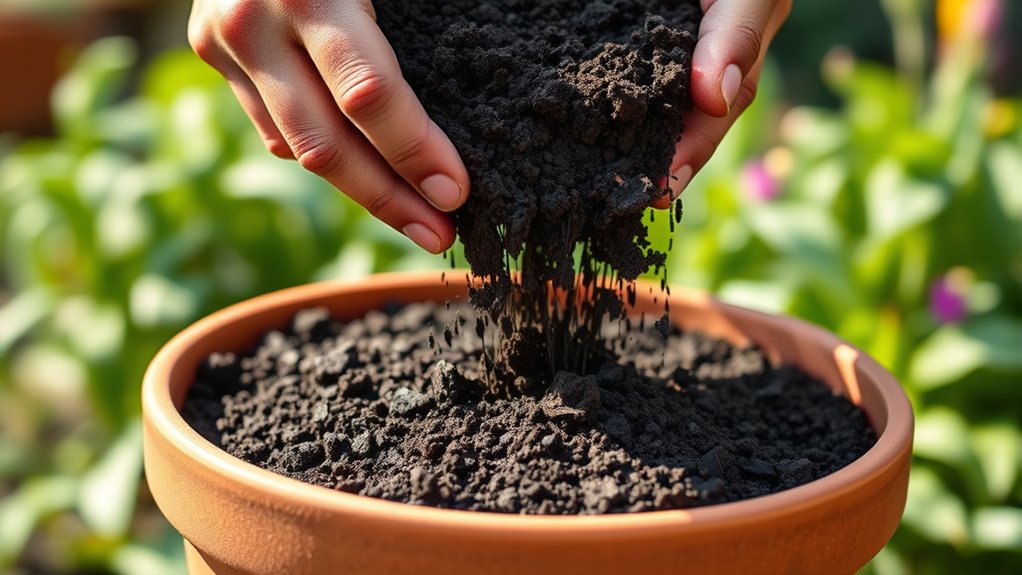
When you’re ready to plant, fill your pot with a lightweight outdoor container mix rather than garden soil. Garden soil can compact in a pot, limiting airflow and drainage, while a quality mix helps roots get the conditions they need. Choose a blend labeled for outdoor containers; it should hold enough moisture for plants without staying soggy.
Check the package for ingredients such as peat or coir, compost, and perlite or bark. These materials help balance water retention, nutrients, and drainage. If the mix feels dry, moisten it lightly before filling the pot so it settles evenly.
Don’t pack it down; a gentle tap on the pot can remove large air pockets while keeping the mix loose. Leave a little space below the rim to make watering easier and help prevent spills. For a large container, consider its weight when full, and set it where you want it before adding the mix.
This simple idea one supports healthy roots; idea two is choosing a fresh, clean blend.
Arrange and Plant Your Outdoor Container
Before planting, arrange your plants in the container while they’re still in their nursery pots. This lets you test different ideas about Subtopic without disturbing roots. Place taller plants near the center or back, then position shorter varieties around them.
Let trailing plants sit near the edge, where their stems can spill over the sides. Turn the container to check the arrangement from every angle, and leave enough room for each plant to grow.
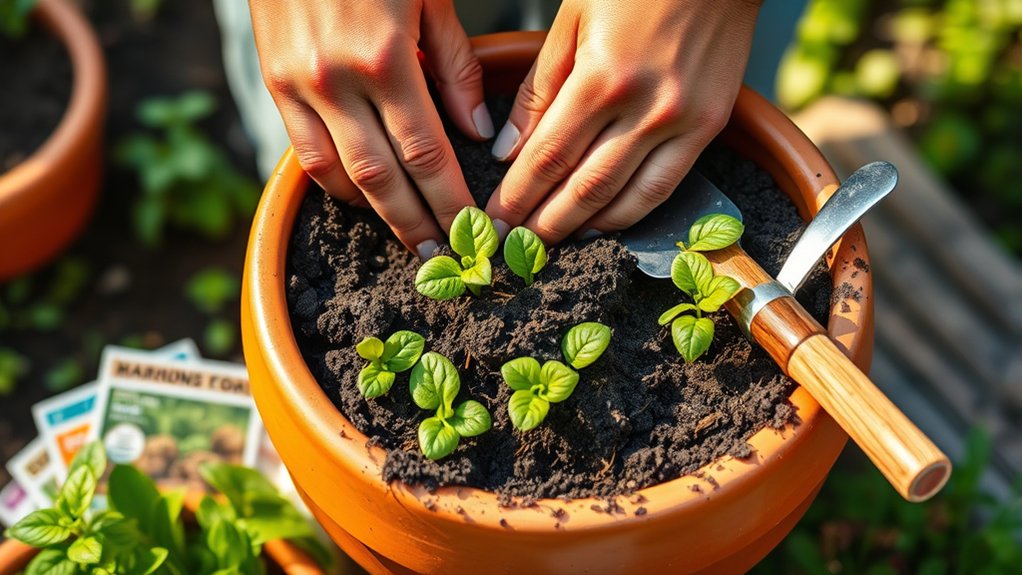
When you’re happy with the layout, remove each plant from its nursery pot. Gently loosen any tightly bound roots, taking care not to damage them. Make a hole in the container mix, set the plant at the same depth it grew before, and fill around its roots.
Firm the mix lightly to hold it in place. Continue with the remaining plants, following your chosen two word ideas about Subtopic. Keep the soil surface below the rim so you can add water later. Avoid pressing the mix too firmly.
Water and Care for Your Container Plants
How often should you water your container plants? Check them daily, especially during hot, windy weather, because containers dry out faster than garden beds. Push a finger about an inch into the soil; if it feels dry, water. These simple watering tips help you respond to changing conditions rather than follow a rigid schedule.
Water slowly at the soil’s surface until excess drains through the container’s holes. This encourages roots to grow deeply and prevents dry pockets. Don’t let pots sit in standing water, which can cause root rot. Monitor soil moisture more often in small pots and in containers exposed to full sun.
Remove faded flowers and yellowing leaves to keep plants tidy and encourage fresh growth. Check regularly for pests, disease, and crowded roots, and trim or remove affected growth promptly.
Feed plants with a balanced fertilizer according to its label, since frequent watering can wash nutrients from potting mix. As plants grow, adjust their position or support tall stems when needed. Recheck drainage after heavy rain.
Frequently Asked Questions
When Is the Best Time of Year to Plant Outdoor Containers?
The best time to plant outdoor containers is after your area’s last spring frost, when temperatures stay mild and your plants can establish without cold damage. For warm-season flowers and vegetables, wait until nights remain reliably above 50°F.
Cool-season plants can go in earlier, as long as you protect them from hard freezes. Your best planting window depends on local climate and plant type, so check frost dates for optimal timing and adjust accordingly.
Can Outdoor Container Plants Survive the Winter?
Yes, your outdoor container plants can survive winter, but a pot’s shelter can’t match the ground’s insulation. Choose hardy perennial choices suited to your climate, and remember that roots in containers face colder temperatures than roots in garden beds. For winter protection, move pots beside a sheltered wall, group them together, and wrap containers with burlap or insulating material. Water before the soil freezes, and avoid letting pots sit in standing water.
How Do I Prevent Pests From Damaging Container Plants?
Inspect your container plants often, checking leaf undersides and stems for pests before damage spreads. Remove insects by hand or rinse them off with a firm spray of water.
Use pest resistant strategies, such as choosing sturdy plant varieties, spacing pots for airflow, and clearing away dead leaves. For serious infestations, try biological controls, including beneficial insects or targeted products.
Avoid broad-spectrum pesticides, which can harm pollinators and helpful predators. Keep monitoring your plants regularly.
Are Self-Watering Containers Worth the Investment?
Yes, self-watering containers are worth the investment if you want steadier moisture, fewer watering trips, and healthier plants. You’ll pay more upfront, but you may save time and reduce water waste, making the cost benefit worthwhile for busy gardeners or thirsty plants.
Choose a model with a durable reservoir and easy-to-check water levels. If you grow drought-tolerant plants or enjoy daily watering, a standard pot may suit you better.
How Often Should I Replace the Soil in Outdoor Containers?
Replace the soil in outdoor containers once a year, ideally before spring planting. If plants stay healthy and the mix drains well, you can refresh just the top few inches and replace the rest every two years.
Replace it sooner if you notice pests, disease, compaction, or poor drainage. To retain water, mix fresh potting soil with compost and water-holding materials, but avoid reusing depleted soil without refreshing it.
Conclusion
Planting an outdoor container may seem like a small task, but the theory that good gardening depends on perfect conditions doesn’t hold up. You can create a thriving display by choosing a suitable pot, matching plants to your light, and using quality mix.
Arrange your plants, water them well, and keep checking what they need. When you adapt instead of aiming for perfection, you’ll find that even a modest container can bring beauty, growth, and satisfaction to your outdoor space. With these tips, planting outdoor containers can be simple and rewarding.