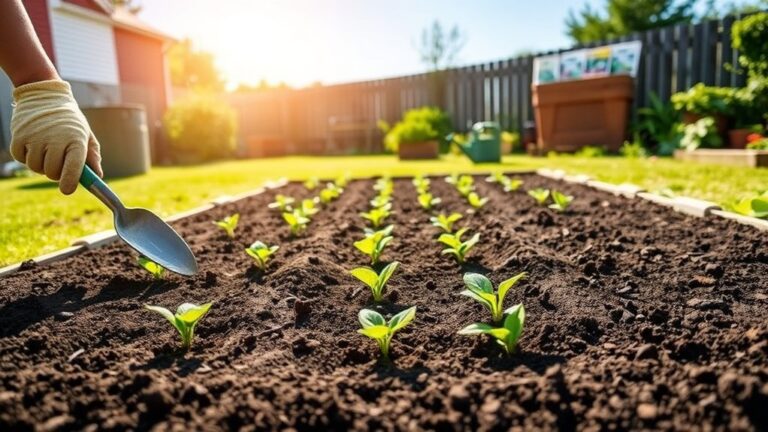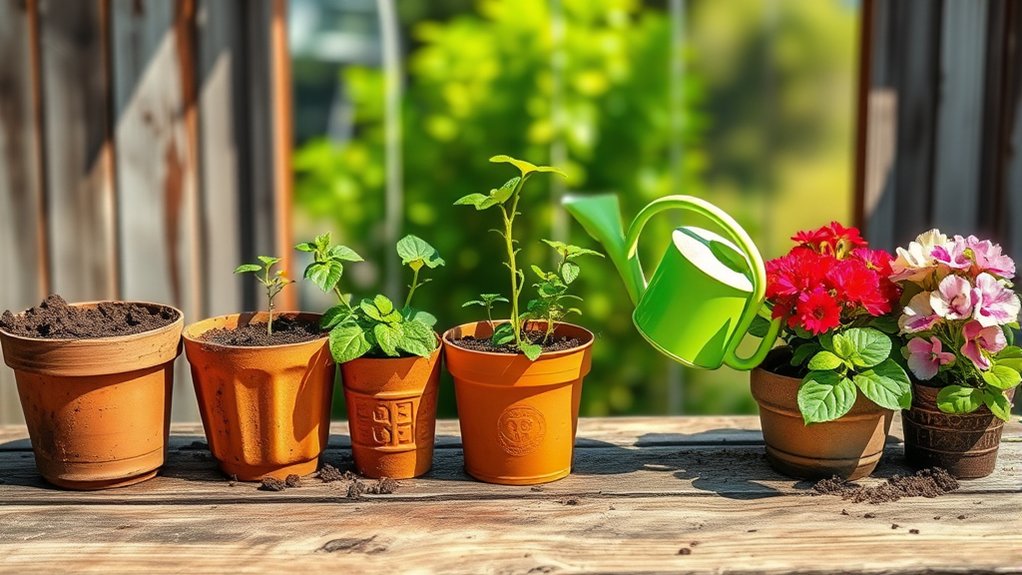
7 Steps to Make a Container Garden
Starting a container garden can feel overwhelming when you’re unsure which pots, plants, or care routines to choose. You’re not alone—many people struggle to get the right balance of sunlight, space, and watering. These seven steps to make a container garden will help you get started with confidence.
To make a container garden, follow seven steps: choose a spot with enough sunlight, select pots with drainage holes and room for mature roots, and pick plants suited to your light and space. Fill containers with appropriate potting mix, then plant at nursery-pot depth and label each variety.
Water and feed according to plant needs, keeping drainage clear. Finally, prune spent blooms and dead stems, inspect leaves for pests, and act promptly if problems appear. You’ll find helpful details for each step below.
Key Takeaways
- Choose a sunny location, observing light throughout the day and matching it to your plants’ needs.
- Select plants suited to your space, sunlight, care routine, and desired harvest or appearance.
- Choose containers large enough for mature roots, with unobstructed drainage holes.
- Fill pots with suitable potting mix, then plant at nursery depth and space plants to prevent crowding.
- Water and monitor regularly; prune spent or damaged growth, inspect for pests, and keep tools clean.
Choose a Sunny Spot for Your Container Garden
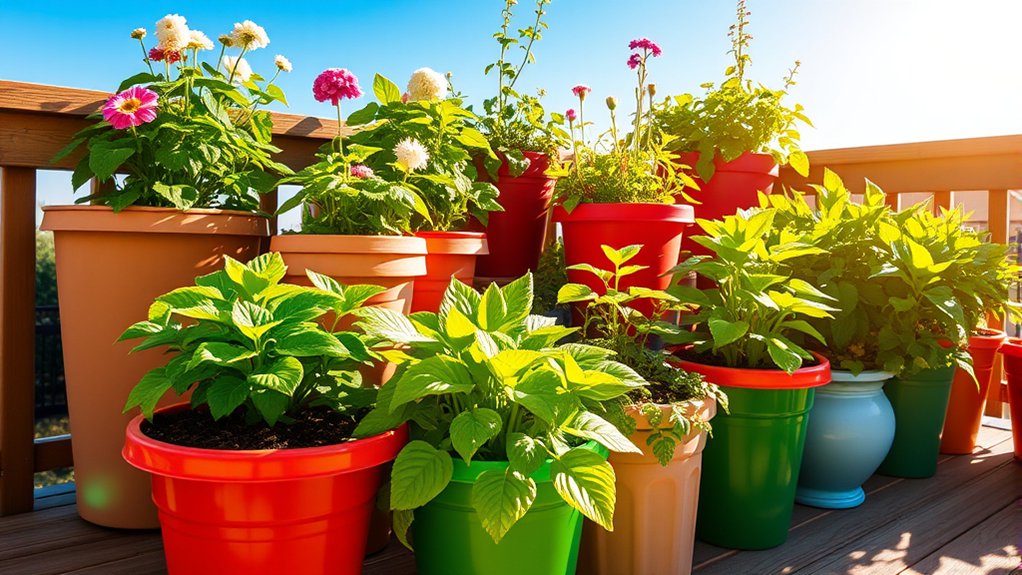
Before you choose containers or plants, find a spot that gets enough sunlight. Check your balcony, patio, porch, or yard at different times of day. Note where direct light falls and how long it lasts. Most vegetables and flowering plants need at least six hours of sun daily, while leafy greens and some herbs tolerate partial shade. Match the location to the plants you hope to grow.
Assess sunny spot suitability by watching for shade from trees, fences, walls, and nearby buildings. A place that looks bright in the morning may lose light by afternoon, so track exposure across the day. Consider seasonal sunlight patterns, too: the sun’s angle changes throughout the year, and deciduous trees may cast more shade in summer. If you’re unsure, use a sunlight meter or keep a simple observation log for several days. Choose a location with reliable light for your preferred plants, and remember that you can move your garden if conditions change.
Choose Pots With Drainage and Room to Grow
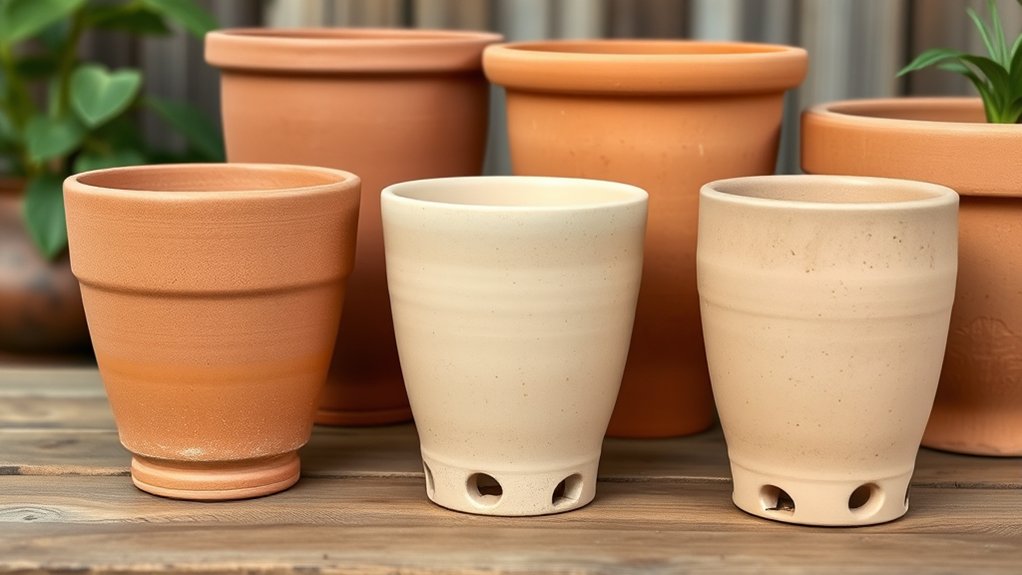
Choose pots with drainage holes so excess water can escape and keep roots healthy. Also, make sure each pot gives your plant enough room to grow. As your plants mature, you may need to move them into larger containers.
Check Drainage Holes
How will excess water escape your container garden? Before you add soil, check drainage by inspecting the bottom of each pot. Look for open holes that let water flow out freely. If a pot has no openings, choose another or carefully drill holes if its material allows. Ensure holes aren’t blocked by labels, feet, or a solid surface beneath the container.
Set your pot on a saucer or risers, but don’t let collected water cover the openings. After filling the container, pour in a little water and watch how quickly it drains. If water pools on the surface or barely exits, clear the holes with a small tool and test again.
Good drainage helps prevent soggy soil and root rot, giving your plants a healthier start. Check holes periodically, since roots and debris can clog them.
Allow Room to Grow
Give your plants enough room to develop healthy roots by matching each pot to the plant’s mature size. A cramped container can restrict growth, dry out quickly, and leave roots competing for water and nutrients.
Consider each plant’s grow rate and how long you plan to keep it in the pot. Good space planning helps you avoid frequent repotting while keeping your garden manageable.
- Check the plant label for mature height and root needs.
- Choose a pot with enough width and depth for those roots.
- Leave a little extra room for growth, but don’t oversize the container; excess soil can stay wet too long.
- Confirm the pot has drainage holes so water can escape.
If you’re growing several plants together, account for their spread and avoid overcrowding. Give each one room to thrive, and you’ll make watering and care easier.
Pick Container Plants for Your Sunlight and Space
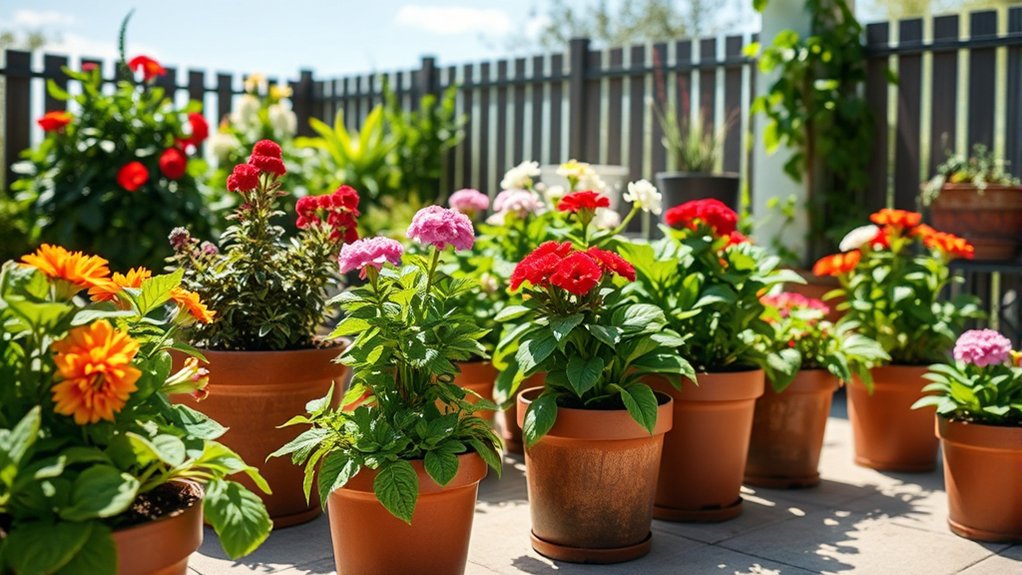
Before selecting container plants, assess how much direct sunlight your space gets and how much room each plant will have to grow. Track sunny and shaded areas throughout the day, since nearby buildings, trees, and balconies can change light levels.
Then match your choices to each spot’s sunlight needs. Full-sun herbs, tomatoes, and peppers need several hours of direct light, while leafy greens and some flowers tolerate partial shade. Check plant labels for light requirements, and choose varieties suited to the conditions you can provide.
Next, consider mature height and spread, not just a plant’s size at purchase. Pair compact vegetables or dwarf varieties with small containers, and reserve larger pots for crops that need more space.
Combine plants only when their light preferences and growth habits align; vigorous growers can crowd smaller neighbors. For topic ideas, think about what you enjoy eating, the colors you want, and how much care you can manage.
Choose a few compatible plants rather than squeezing too many into your available space.
Use Potting Mix That Suits Your Plants
Choose a potting mix based on what you’re growing, since plants need different levels of drainage and moisture retention. Don’t use garden soil in containers; it can compact, restrict airflow, and hold too much water. Instead, check the mix label and match its ingredients to your plants’ needs.
- For moisture lovers: Choose a mix with coir or peat moss to help retain water between drinks.
- For plants needing sharp drainage: Look for perlite, pumice, or coarse bark to keep roots from sitting in soggy mix.
- For nutrient needs: Select a mix with slow-release fertilizer, or use suitable Soil amendments to improve its structure and nutrient balance.
- For surface care: Add a thin layer of mulch. Mulching benefits include slower moisture loss and steadier soil temperatures, but keep mulch away from stems.
Check the mix’s pH when your plants have specific requirements. Refresh old mix if it’s compacted or depleted, and choose a clean, fresh product for each new container setup.
Plant Herbs, Flowers, or Vegetables in Containers
Once you’ve prepared the pot and potting mix, decide what to grow based on your space, sunlight, and cooking or garden plans. Check each plant’s mature size and light needs so you can choose varieties that suit your location.
Compact basil, parsley, and chives make practical herbs in containers, especially near your kitchen. For color, combine flowers in containers by matching plants with similar sunlight and space requirements. Choose dwarf or patio varieties of tomatoes, peppers, and eggplants if you’d like to harvest vegetables without a large garden.
Before planting, arrange your selections in their pots to check spacing and balance. Place taller plants toward the center or back, and leave room for foliage to spread.
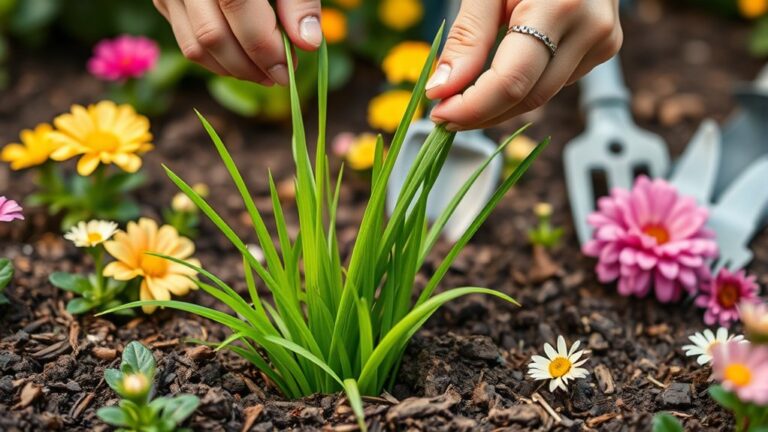
Set each plant at the same depth it grew in its nursery pot, then gently firm the mix around its roots. Follow the spacing guidance on plant labels, and avoid crowding; good airflow helps keep leaves healthy. Add a plant marker if you might forget a variety.
Water and Feed Your Container Garden
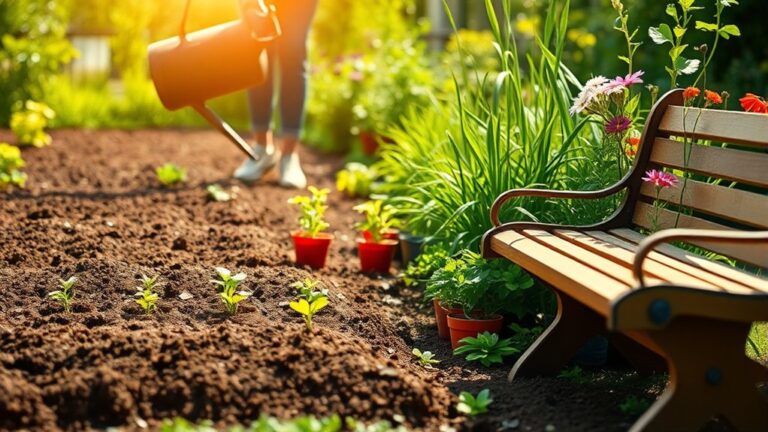
Water container plants when the top inch of potting mix feels dry, since pots dry out faster than garden beds. Pour water slowly over the surface until it drains from the bottom holes. This thorough approach moistens the root zone and helps prevent dry pockets. Empty saucers after watering so roots don’t sit in standing water.
Water container plants when the top inch is dry, soaking the mix thoroughly and emptying saucers to protect roots.
Use these simple habits to keep your plants hydrated and nourished:
- Check the water and soil each morning during hot or windy weather; containers may need daily watering.
- Water at the base of each plant to keep foliage dry and reduce waste.
- Feed with a balanced, water-soluble fertilizer, following the label’s dilution instructions.
- Set feeding frequency according to the plant type and fertilizer directions; too much fertilizer can damage roots.
Adjust your routine as temperatures and rainfall change. If rain has soaked the potting mix, wait before watering again. Consistent care supports steady growth, healthy leaves, and a productive container garden.
Prune Plants and Check for Pests
Remove dead growth to keep your container plants tidy and healthy. Also, check the leaves regularly for pests. If you spot an infestation, treat it promptly before it spreads.
Prune Dead Growth
As you tend your container garden, remove dead leaves and stems with clean, sharp snips to keep plants tidy and limit places where pests can hide. When you prune dead growth, cut damaged or spent parts back to healthy tissue without removing more than necessary. You can also prune for shape, helping each plant keep a balanced form and leaving room for fresh growth.
- Remove spent blooms: Snip faded flowers to encourage continued blooming on many plants.
- Cut dead stems: Trim them near the base, avoiding healthy shoots.
- Shape carefully: Shorten overly long stems just above a leaf node.
- Discard debris: Clear cuttings from the container and surrounding area.
Wipe your tools between plants, especially when you’ve cut diseased material. Check stems as you prune for visible insects or webbing, and act promptly if you find a problem.
Inspect Leaves Regularly
After pruning, inspect your plants’ leaves regularly for discoloration, spots, holes, or pests. Check both sides of each leaf, along with stems and new growth, where problems can hide.
Make inspecting leaves part of your watering routine so you’ll notice changes early. Use a hand lens to examine tiny specks, webbing, or clusters of insects, and compare affected leaves with healthy ones.
Keep monitoring foliage throughout the growing season, especially after hot, humid, or rainy weather. Note which plants show symptoms and whether the damage spreads.
Look for patterns: curled edges, pale patches, sticky residue, or chewed margins can signal stress or unwanted visitors. Record observations in a garden notebook, including dates and changes.
Regular checks help you understand your plants’ condition and decide when further attention may be needed.
Treat Pests Promptly
When you spot pests, act promptly to keep them from spreading. Check leaves, stems, and soil, then identify the insect before choosing a treatment. Quick, careful action protects healthy growth and keeps your container garden thriving.
- Isolate the plant: Move an infested container away from others to limit pest movement.
- Prune damaged growth: Use clean scissors to remove heavily infested leaves or stems, then discard them in the trash.
- Treat the pest: Rinse foliage with water or apply insecticidal soap according to its label. Test a small area first.
- Recheck regularly: Inspect the plant and nearby containers every few days; repeat treatment only as directed.
These prompt ideas support practical pest management without harming beneficial insects. Keep tools clean, avoid overwatering, and improve airflow around crowded plants. If pests persist, identify them again and choose a targeted solution.
Frequently Asked Questions
Can I Grow a Container Garden Indoors During Winter?
Yes, you can grow a container garden indoors during winter. Choose herbs or leafy greens, and give them enough Indoor lighting with a sunny window or grow light.
Check soil moisture regularly; water when the surface feels dry, and use pots with drainage holes. Consider Container placement near a bright window, away from cold drafts and heat vents.
Maintain gentle airflow to discourage mold, and rotate pots so plants grow evenly.
How Do I Protect Container Plants From Frost?
Shield your container plants from frost by covering them before temperatures drop. Use breathable protective covers, such as frost cloth, and remove them during sunny days. Move pots beside a sheltered wall or indoors; these frost protection strategies help roots stay warmer.
For container placement on balconies, group pots away from wind. If you’re practicing indoor winter gardening, check plants for pests. Keep edible container safety in mind, and don’t reuse potting mix without refreshing it. Design small space balcony design for shelter.
Can I Reuse Potting Mix From Last Season?
Yes, you can reuse potting mix from last season if it’s clean, crumbly, and free of pests or disease. Remove old roots and debris, then refresh it with compost and fresh potting mix to support soil integrity and root health.
Don’t reuse mix from plants that struggled with disease, or if it smells sour or feels compacted. Check container drainage issues, too; poor drainage can harm new plants. Replace heavily depleted mix.
Which Containers Are Safest for Growing Edible Plants?
Choose food-grade containers made from glazed ceramic, stainless steel, or labeled food-safe plastic for edible plants. You can also use untreated wood, such as cedar, or fabric grow bags designed for gardening.
Avoid containers that previously held chemicals, and don’t use old tires or plastics without food-safety labeling; unsafe plastics may leach unwanted substances.
Check glazed pottery for lead and other heavy metals, especially if it’s antique or decorative, and ensure every container has drainage holes.
How Can I Arrange Containers on a Small Balcony?
Arrange containers by height: place taller pots against the wall and shorter ones near the railing, where they won’t block your view. A coincidence worth using: the sunniest corner often feels like the smallest, so reserve it for herbs that need the most light.
For a smart balcony layout, keep a clear path to the door. Try container grouping by plant needs, and use shelves or railing planters to free up floor space.
Conclusion
With the right spot, roomy pots, suitable plants, and quality potting mix, you’ve laid the groundwork for a thriving container garden. Plant with care, water and feed regularly, then prune and check for pests to keep everything healthy.
Think of your containers as little green stages: with your attention, herbs, flowers, and vegetables can take center stage. Start small, learn what works in your space, and enjoy the color, flavor, and satisfaction of growing your own container garden.